This page documents the many projects I took to decorate my wedding. I’m very fortunate that my then Fiance (now wife) was supportive of my crazy ideas.
Tables
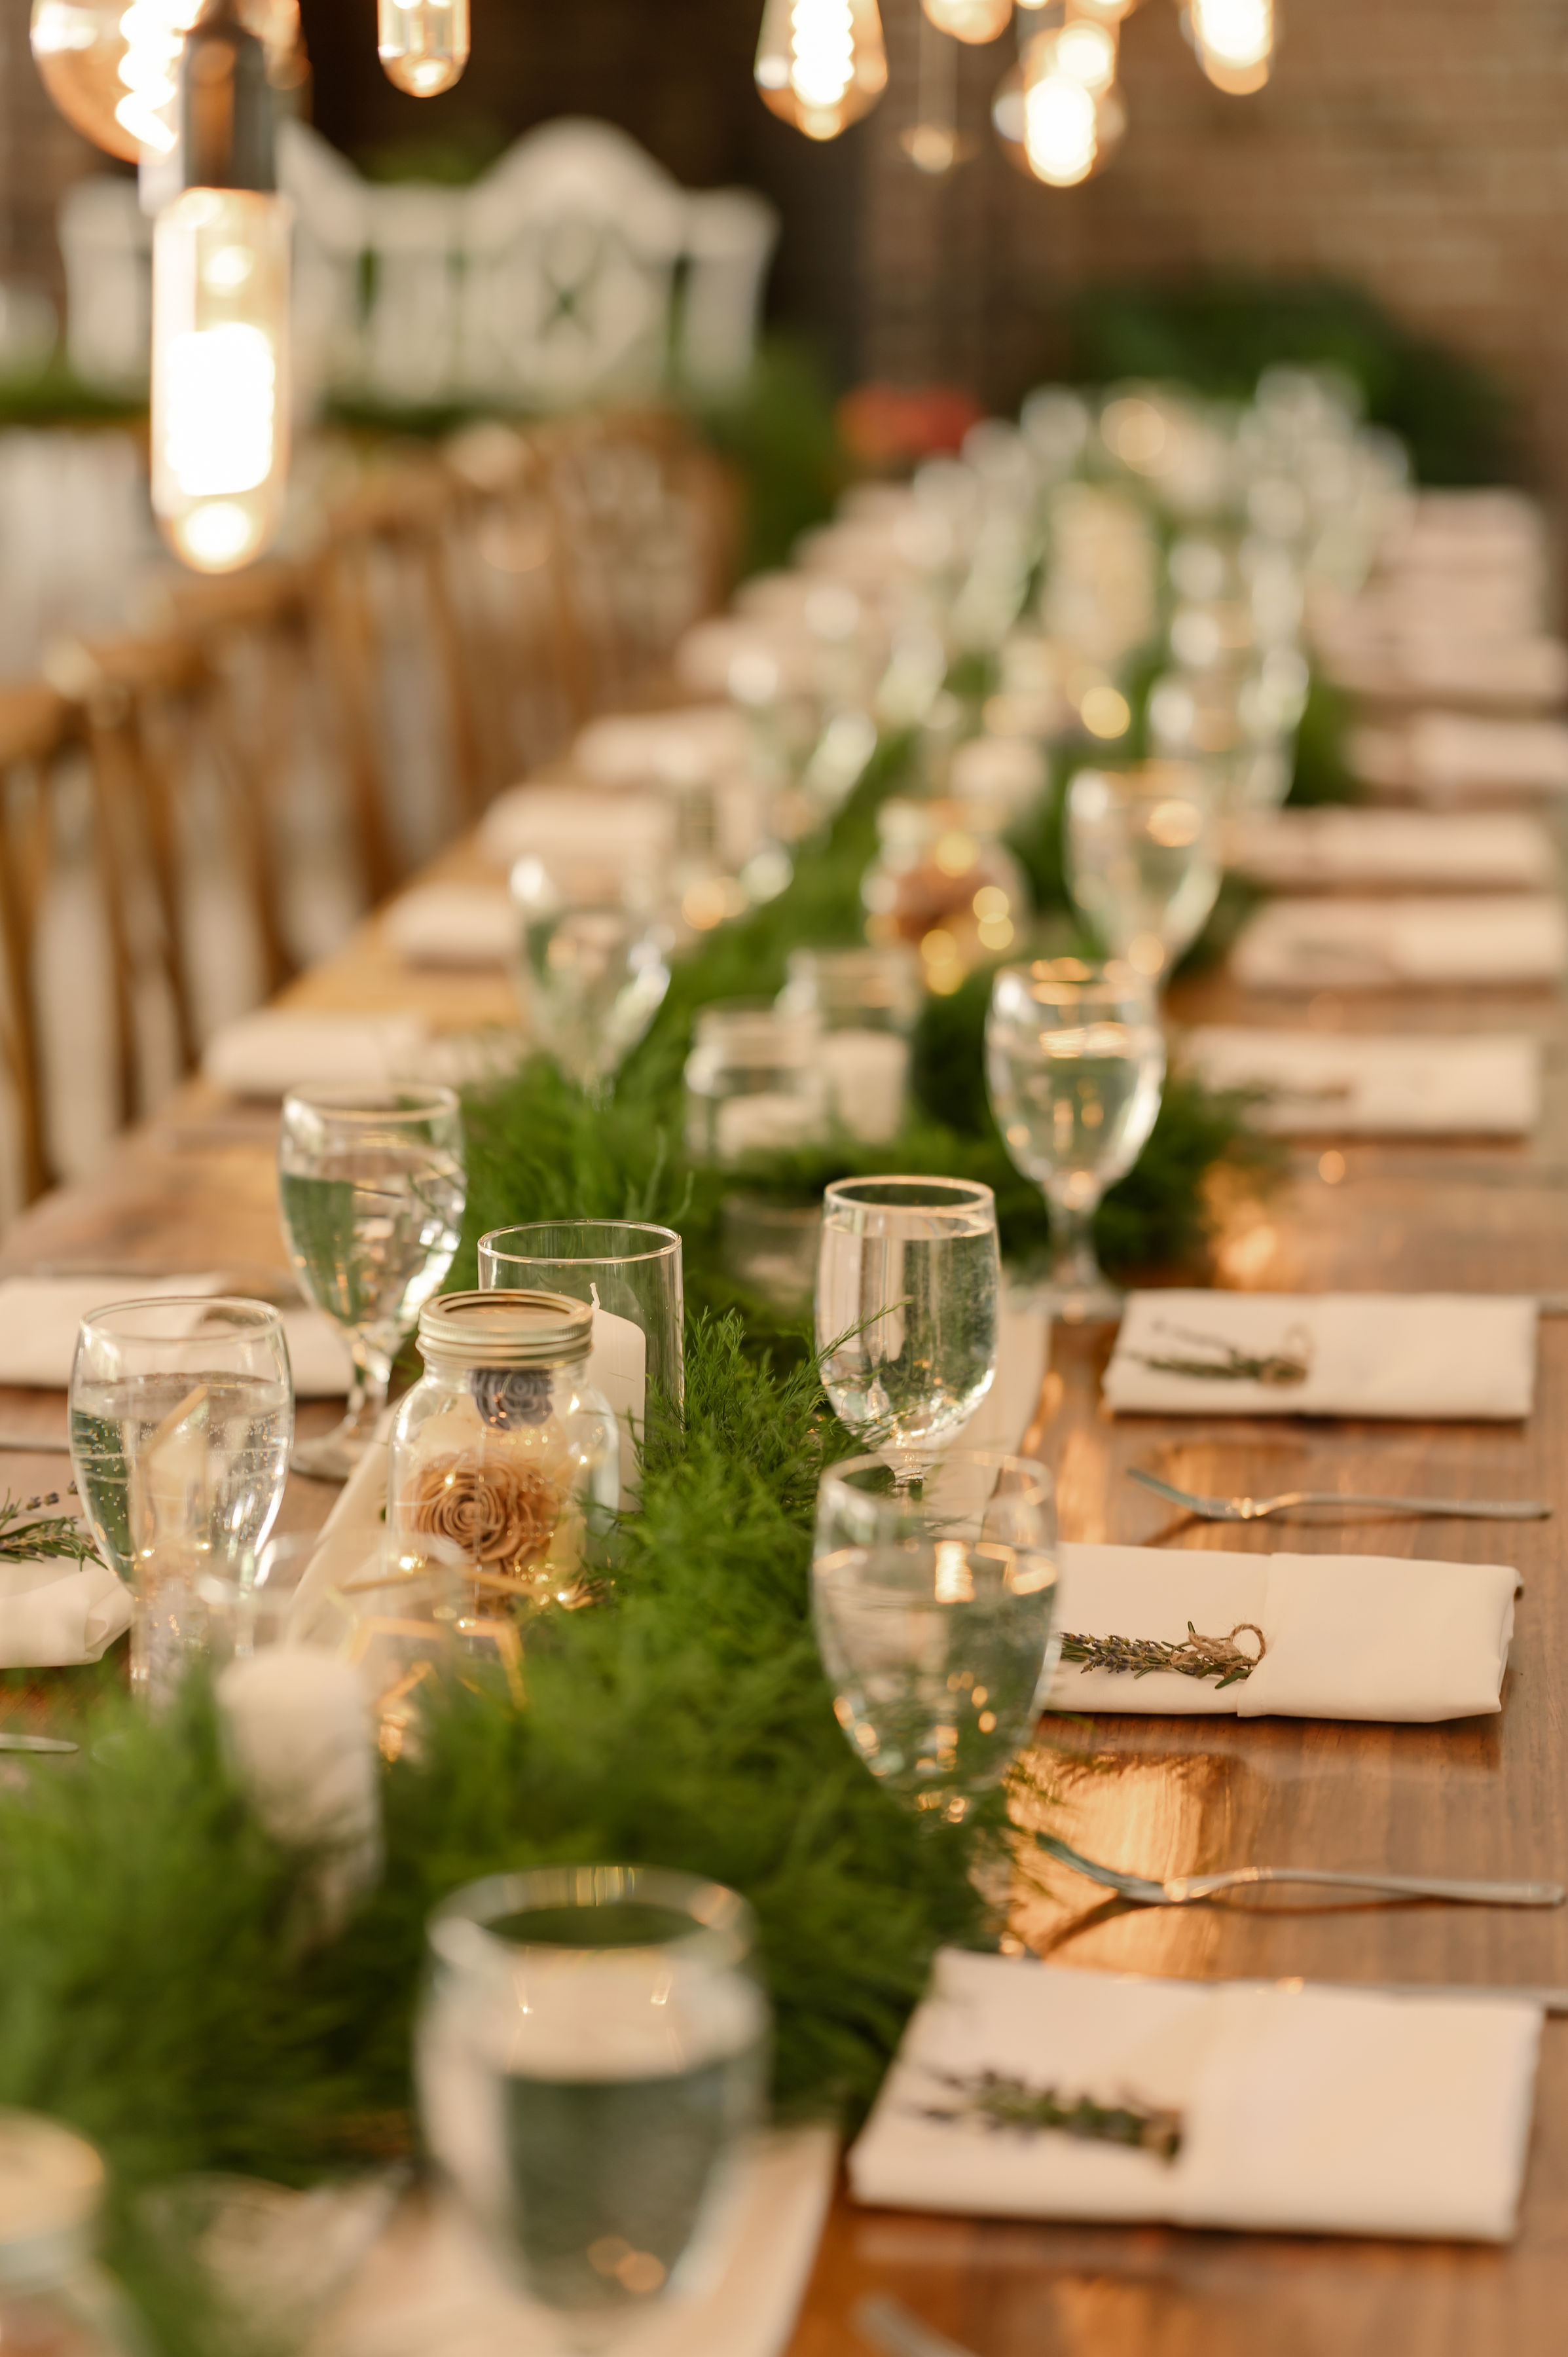
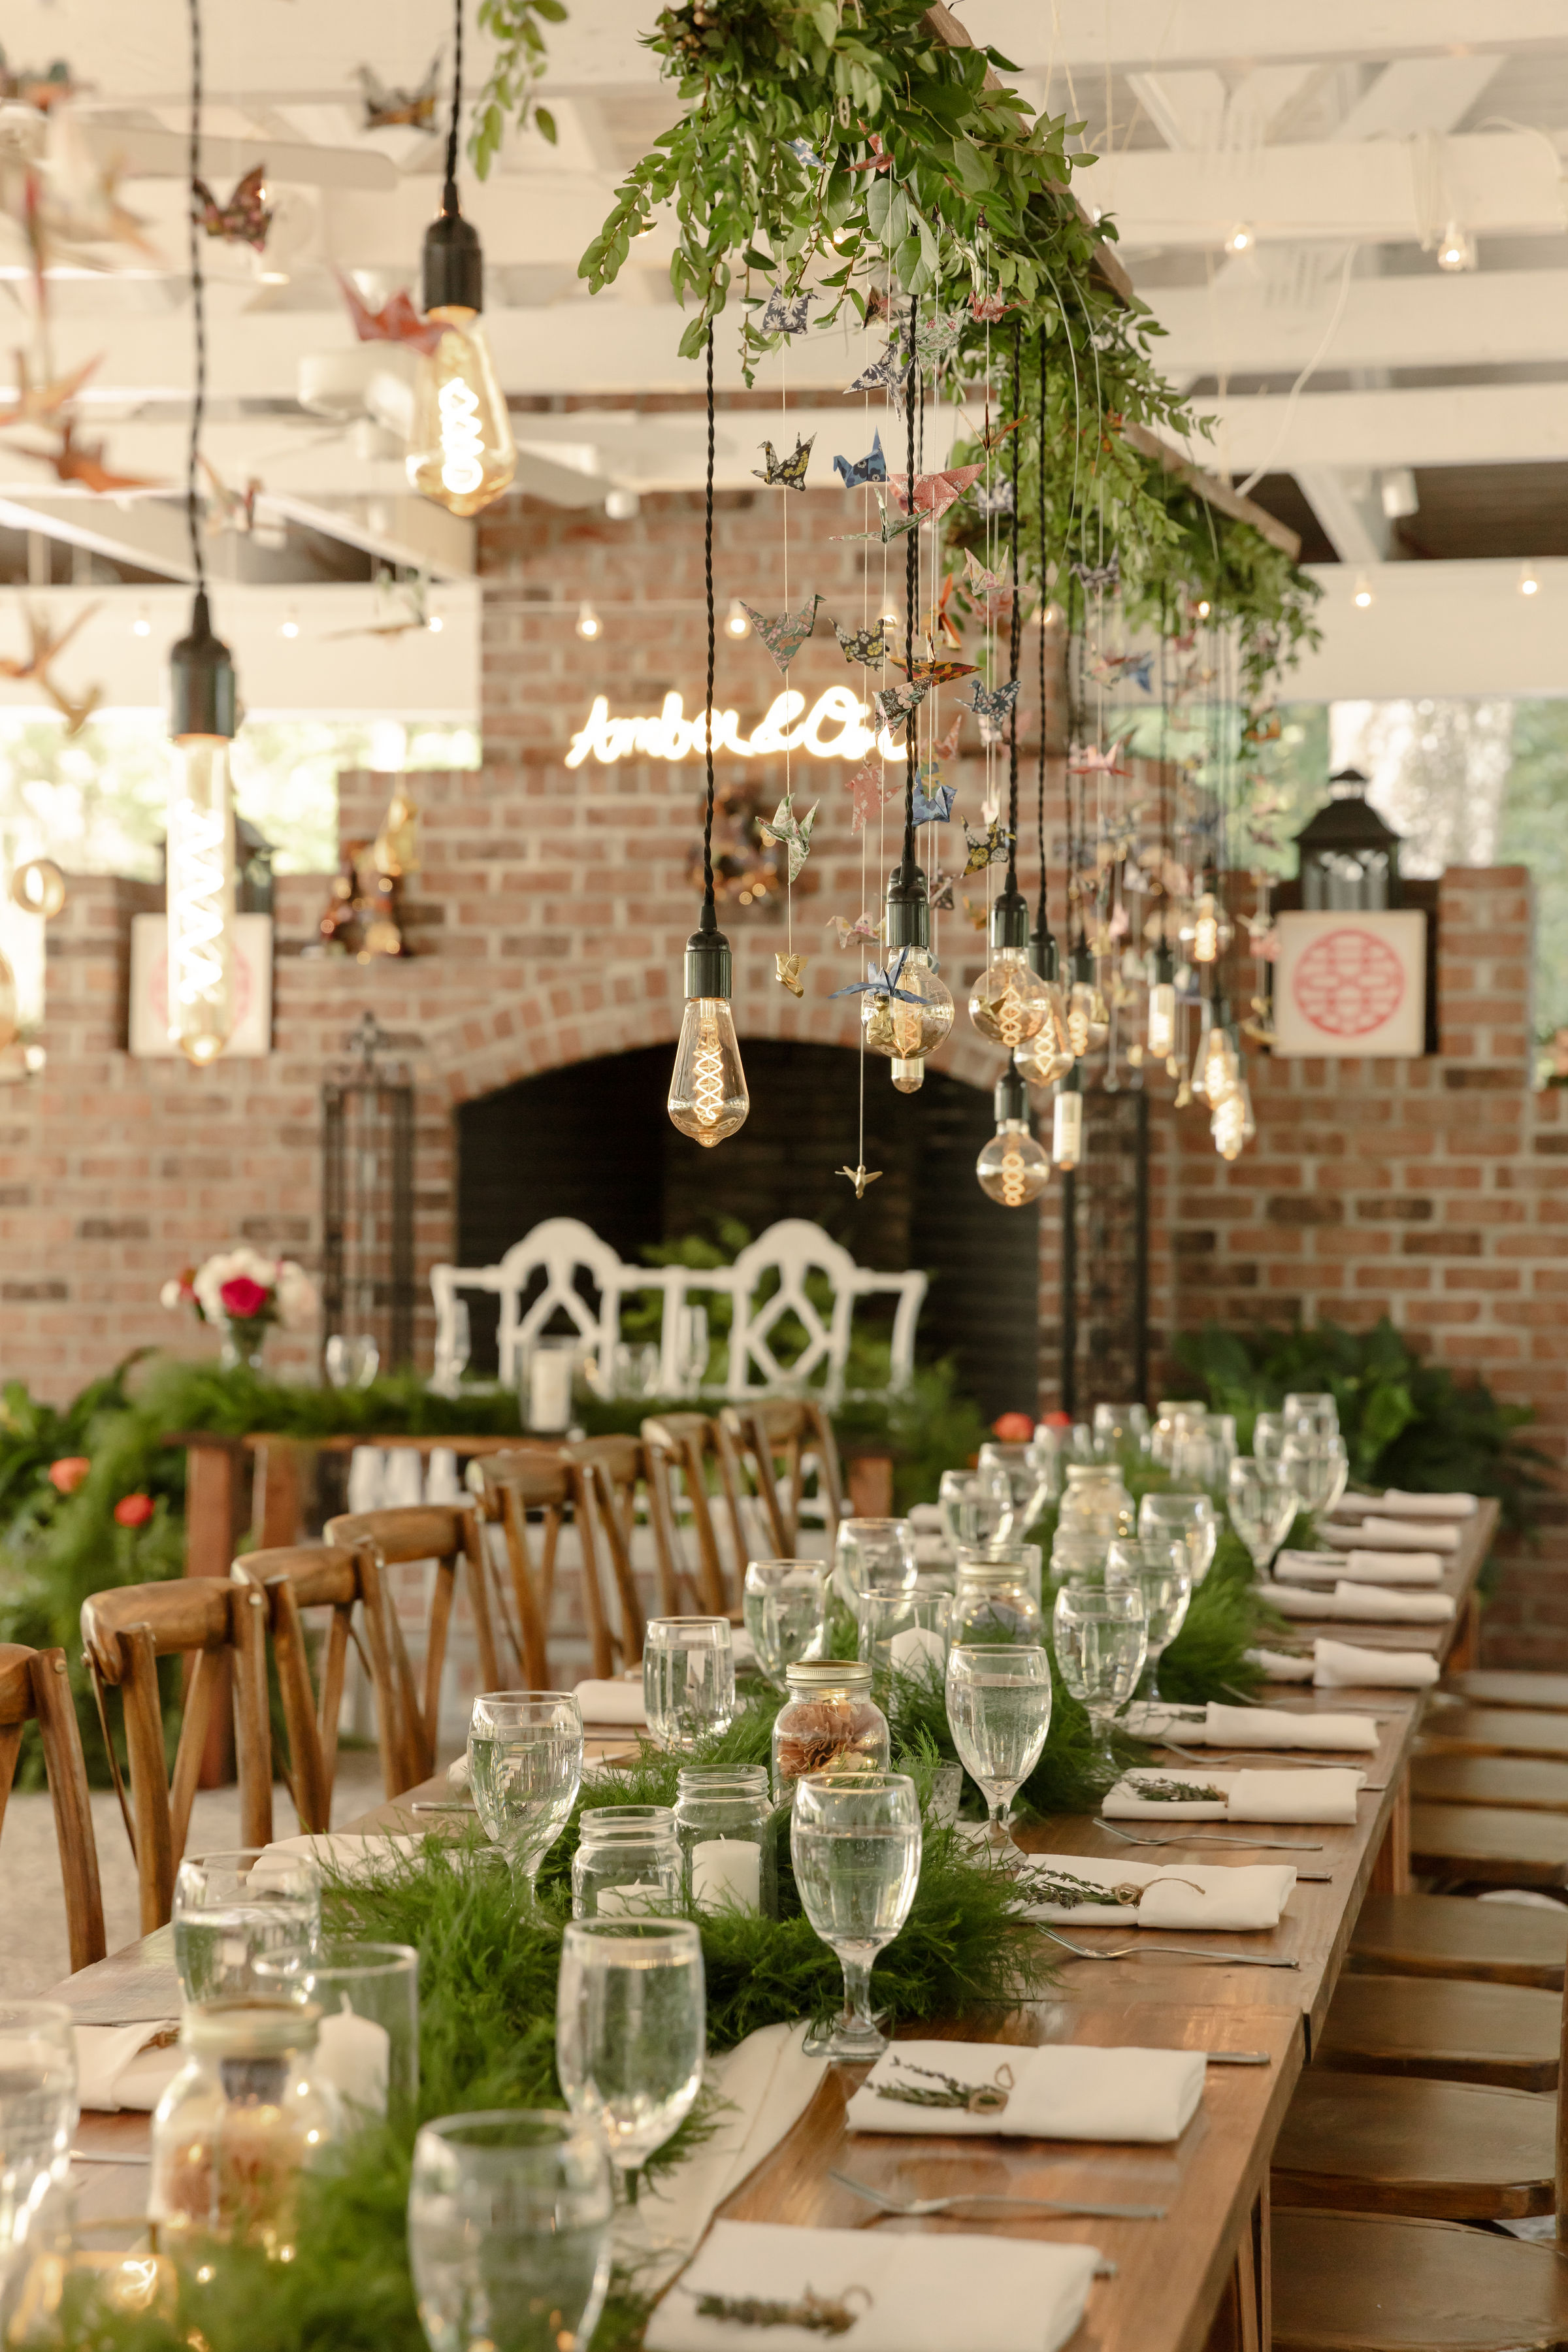
One of the things I really wanted at our wedding reception was for our guests to feel as if they were at a large family table. To make that happen I floor planed a design that utilized 6 farm house tables 33″ x 90″. Of course it would have been much easier for us to rent these tables – but where’s the fun in that? Instead I took a month down at my In-laws house converting their garage into a saw dust room.
The process I used to make the tables were as follows:
- Buy 2x10x8′ wood.
- Remove the bow/twist.
- Joint the edges.
- Glue the boards together.
- Sand the edges.
- Apply stain.
- Apply a protective coat.
Wood
As with any wood project – the material itself is the most important. I was working on this project with a budget so there was only one choice of wood: Southern Yellow Pine aka Construction Lumber.
Pine is an incredibly soft wood that is amazingly cheap in terms of $/board-foot (and really $/kg). Unfortunately given that the pieces are designed for a house – the quality of the pieces are typically unsuitable for furniture projects. Fortunately there were multiple stores within my vicinity and I could filter out the prime parts.
Planarizing
After wood selection the next step is to transform the alleged square pieces into something actually square. To do this I utilized a planar in conjunction with a planar sled and a reference surface. The planar sled is a jig that allows you to shim your work piece. By supporting the high points of the wood you’re able to convert a bowed or twisted piece of wood into something flatter.
The planar sled was made out of 2 pieces of 1 inch plywood glued and screwed together in order to be as stiff as possible. The shims were secured with some hot glue. The reference table I utilized was the kitchen’s granite counter top (pretty flat!).

Jointing
After flattening the faces of the boards the next step is to create two straight edges for the glue up. This is really the most important part of the project as without proper edges its impossible to get a strong bond between adjacent boards.
This part of the project also took the longest to get right. The main difficulty I had was finding a process that worked with such an 8′ edge. The table below list some of the techniques I tried and what worked and didn’t.
| Technique | How it works | Notes |
|---|---|---|
| Table saw blade guide | By using a jig that butts against the blade edge its possible to guide the work piece into the blade in order to remove the hills/valleys from the work piece. Essentially this turns the table saw into a vertical jointer. https://www.youtube.com/watch?v=YwUixCEgJck | I struggled to get this technique to work and more often than not I would end up with a bowed piece of wood. I attribute this to the fact that the working piece was much too long for this method, even when using a jig that was on par with the length of the 8′ part. |
| Double length fence | This technique utilized a fence that was 2x the length of the work piece. In my case a 16′ fence built out of plywood off cuts securely fastened to the the table saw’s fence. It works by extending the reference edge that the fence provides – with the goal of supporting the high spots. | This method worked better than the table saw blade guide, but suffered from snipe at the ends of the cut. I attribute this defect to the fact that with such a long fence the rigidity of the entire table wasn’t high enough to avoid slight deflection on the in and out feeds. |
| Moving straight edge | This technique uses a moving 4′ straight edge with the idea that the edge provides a reference point for the high spots space averaged by 4′. | The edge is progressively getting smoother but I found similar problems as the double length fence. Again the length of the work piece was running into rigidity problems when feed into the blade. |
| Double length fence + moving straight edge + guide fingers | This technique combined the 2 previous methods and utilized guide fingers to maintain part pressure against the reference surface. | This worked very well – I could get almost flawless joints. On average I could maintain a flatness of <1/32 of an inch over an 8 feet span. |
Glue up
After having completed 4 boards the next step was to glue them together. As with all processes I learned a lot! Which was partially surprising because I’ve been gluing things together since pre-school.
The process that ended up working was as follows:
- Choose boards that had joints that aligned the best.
- Place the boards on 1″ pvc rollers on the floor.
- Orient the boards so that the glue edge is placed horizontal.
- Using glue bottle apply a bead of glue along one edge.
- Use a finger to spread the bead over the entire surface area.
- Use a rag to clean up any dross/drips.
- Align the board edge with its companion edge and rub the two surfaces together.
- Repeat for other edges.
- Utilize 8 pipe clamps in an alternating pattern to apply pressure.
- Wait minimum 8 hours before unclamping.

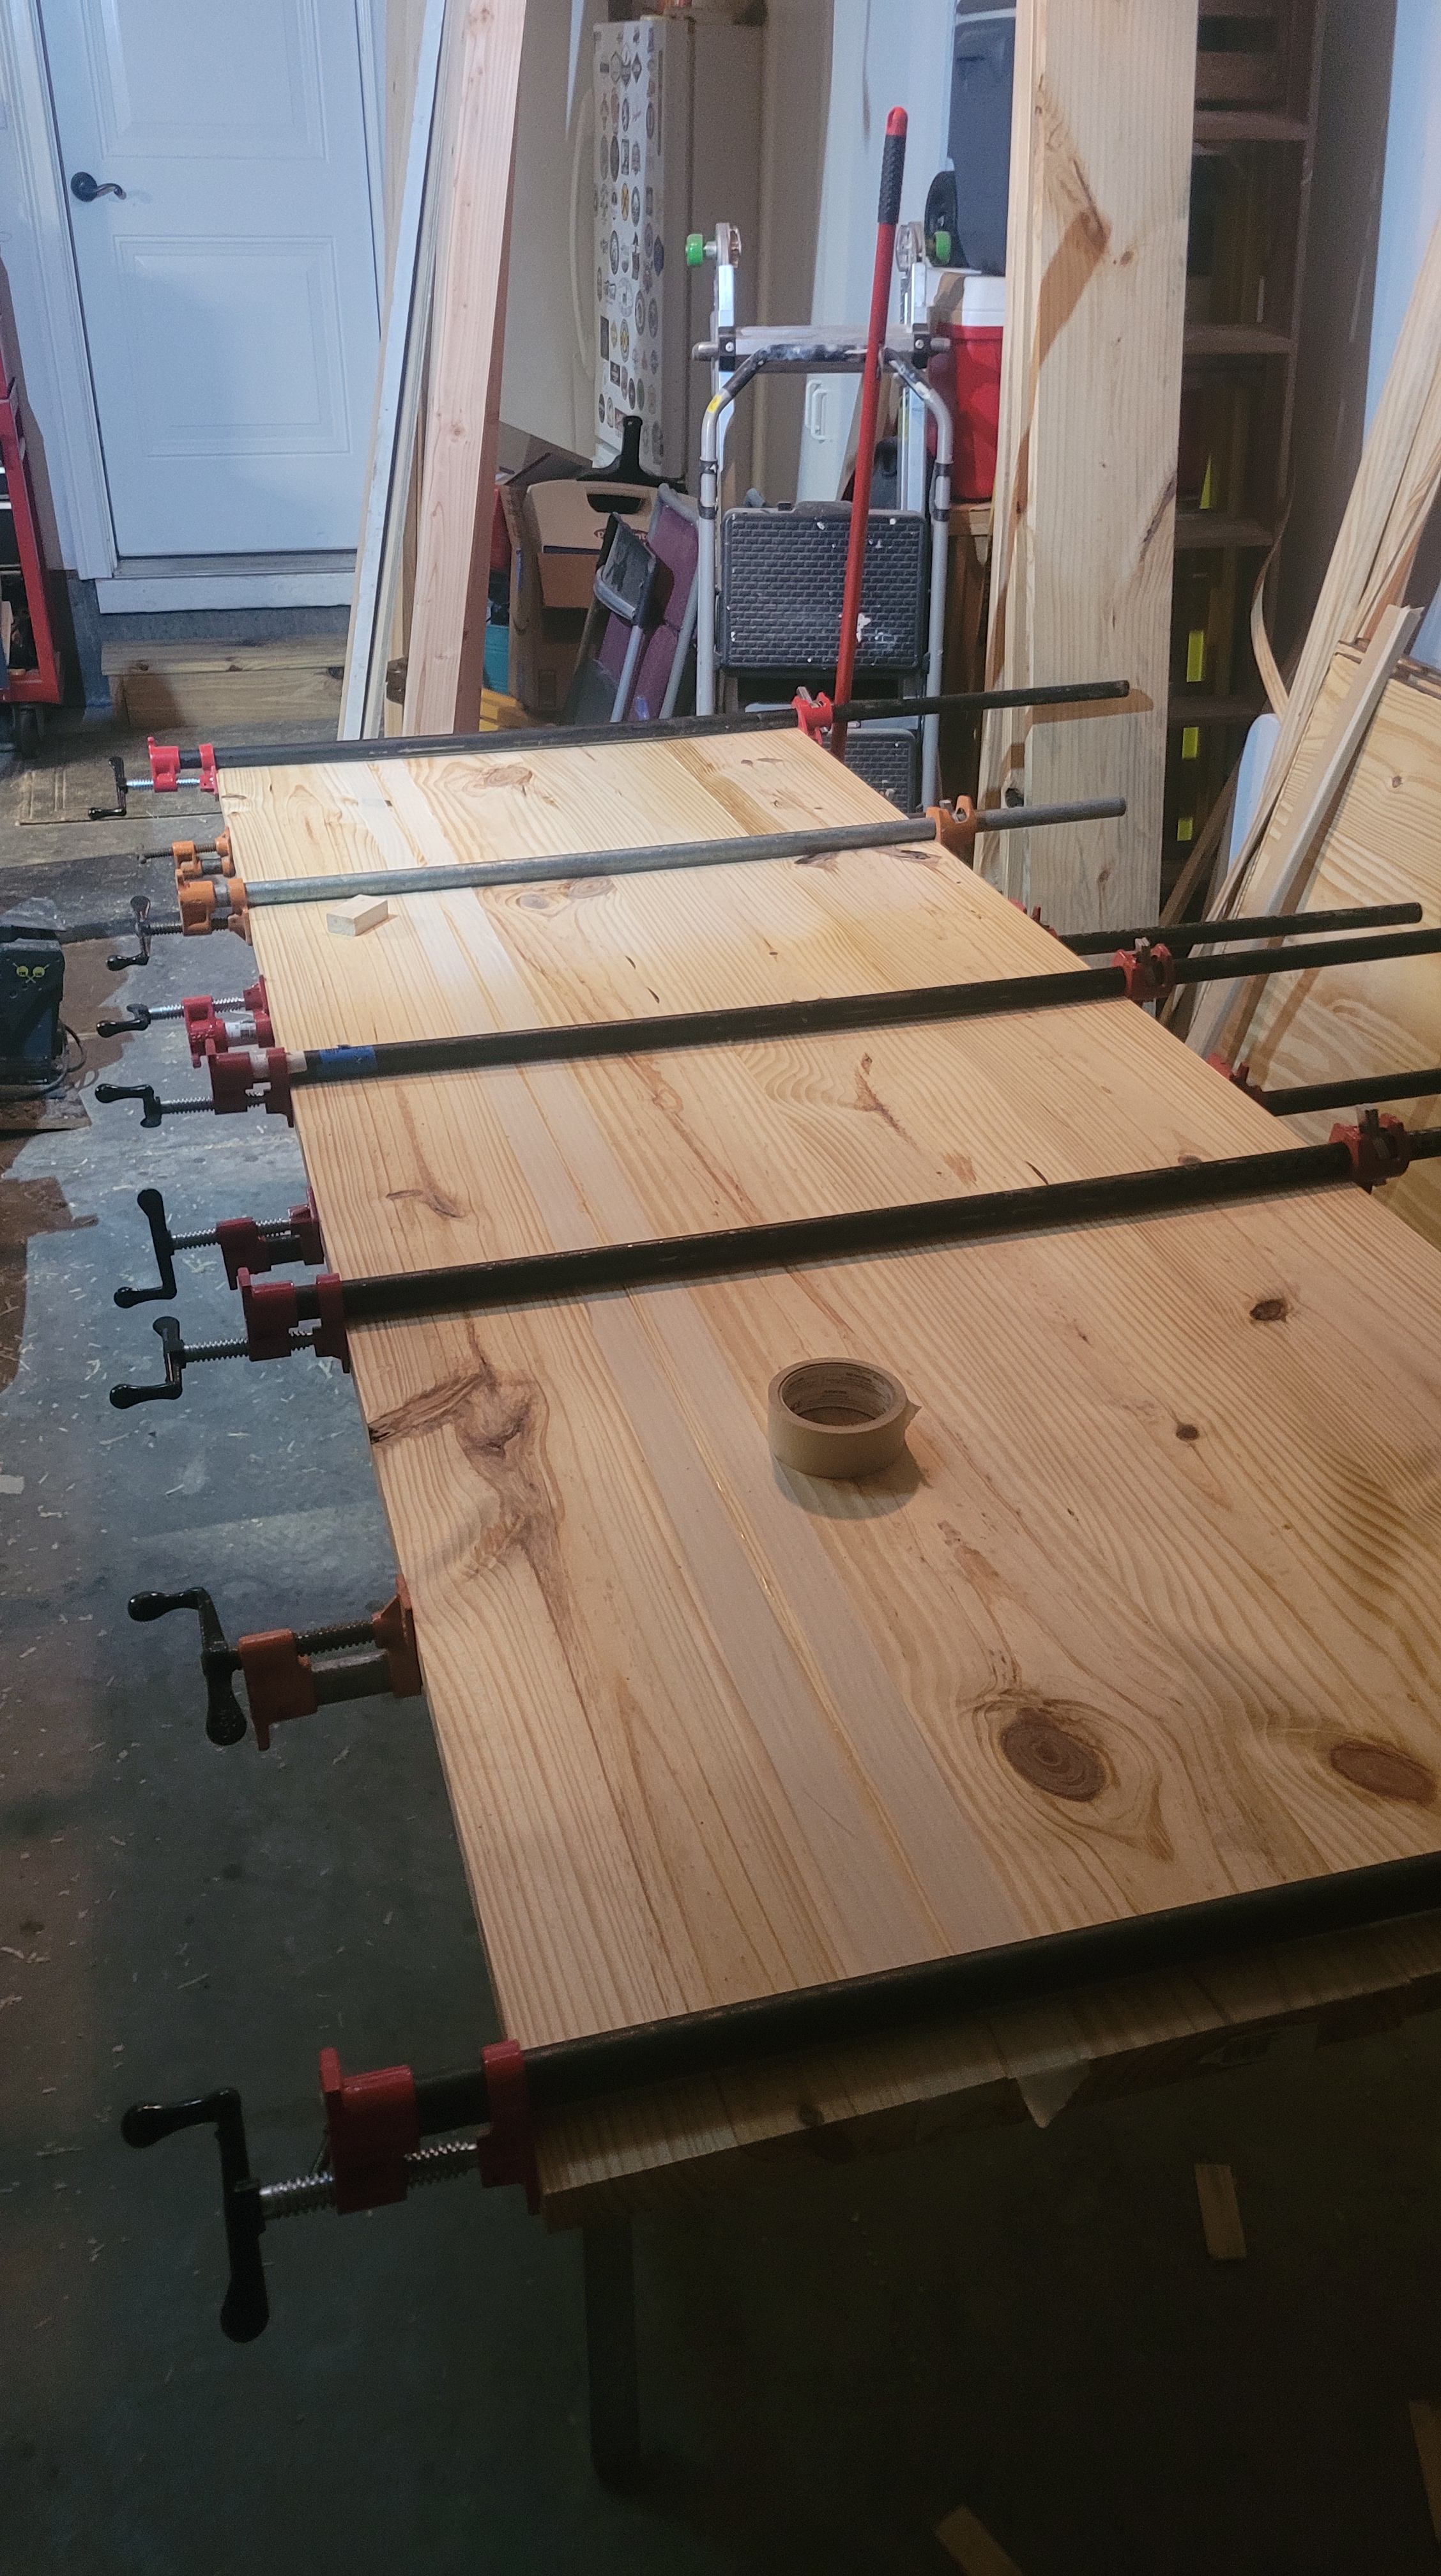

Something that I learned in the glue process was that wood glue dries fairly quickly in the initial bond. This meant that for each joint I had ~5 minutes to align the edges before I could no longer re-adjust the edges.
For the first glue up I made some home made cauls to help with edge alignment. However in the end I decided I could align the board edges well enough and apply the clamping pressure evenly enough to not really need these. The biggest issue I had with my cauls were the fact that they were not stiff enough over the full 33″ span to avoid bowing out. In the future I would probably work to make a stiffer variant to help with my alignment issues.
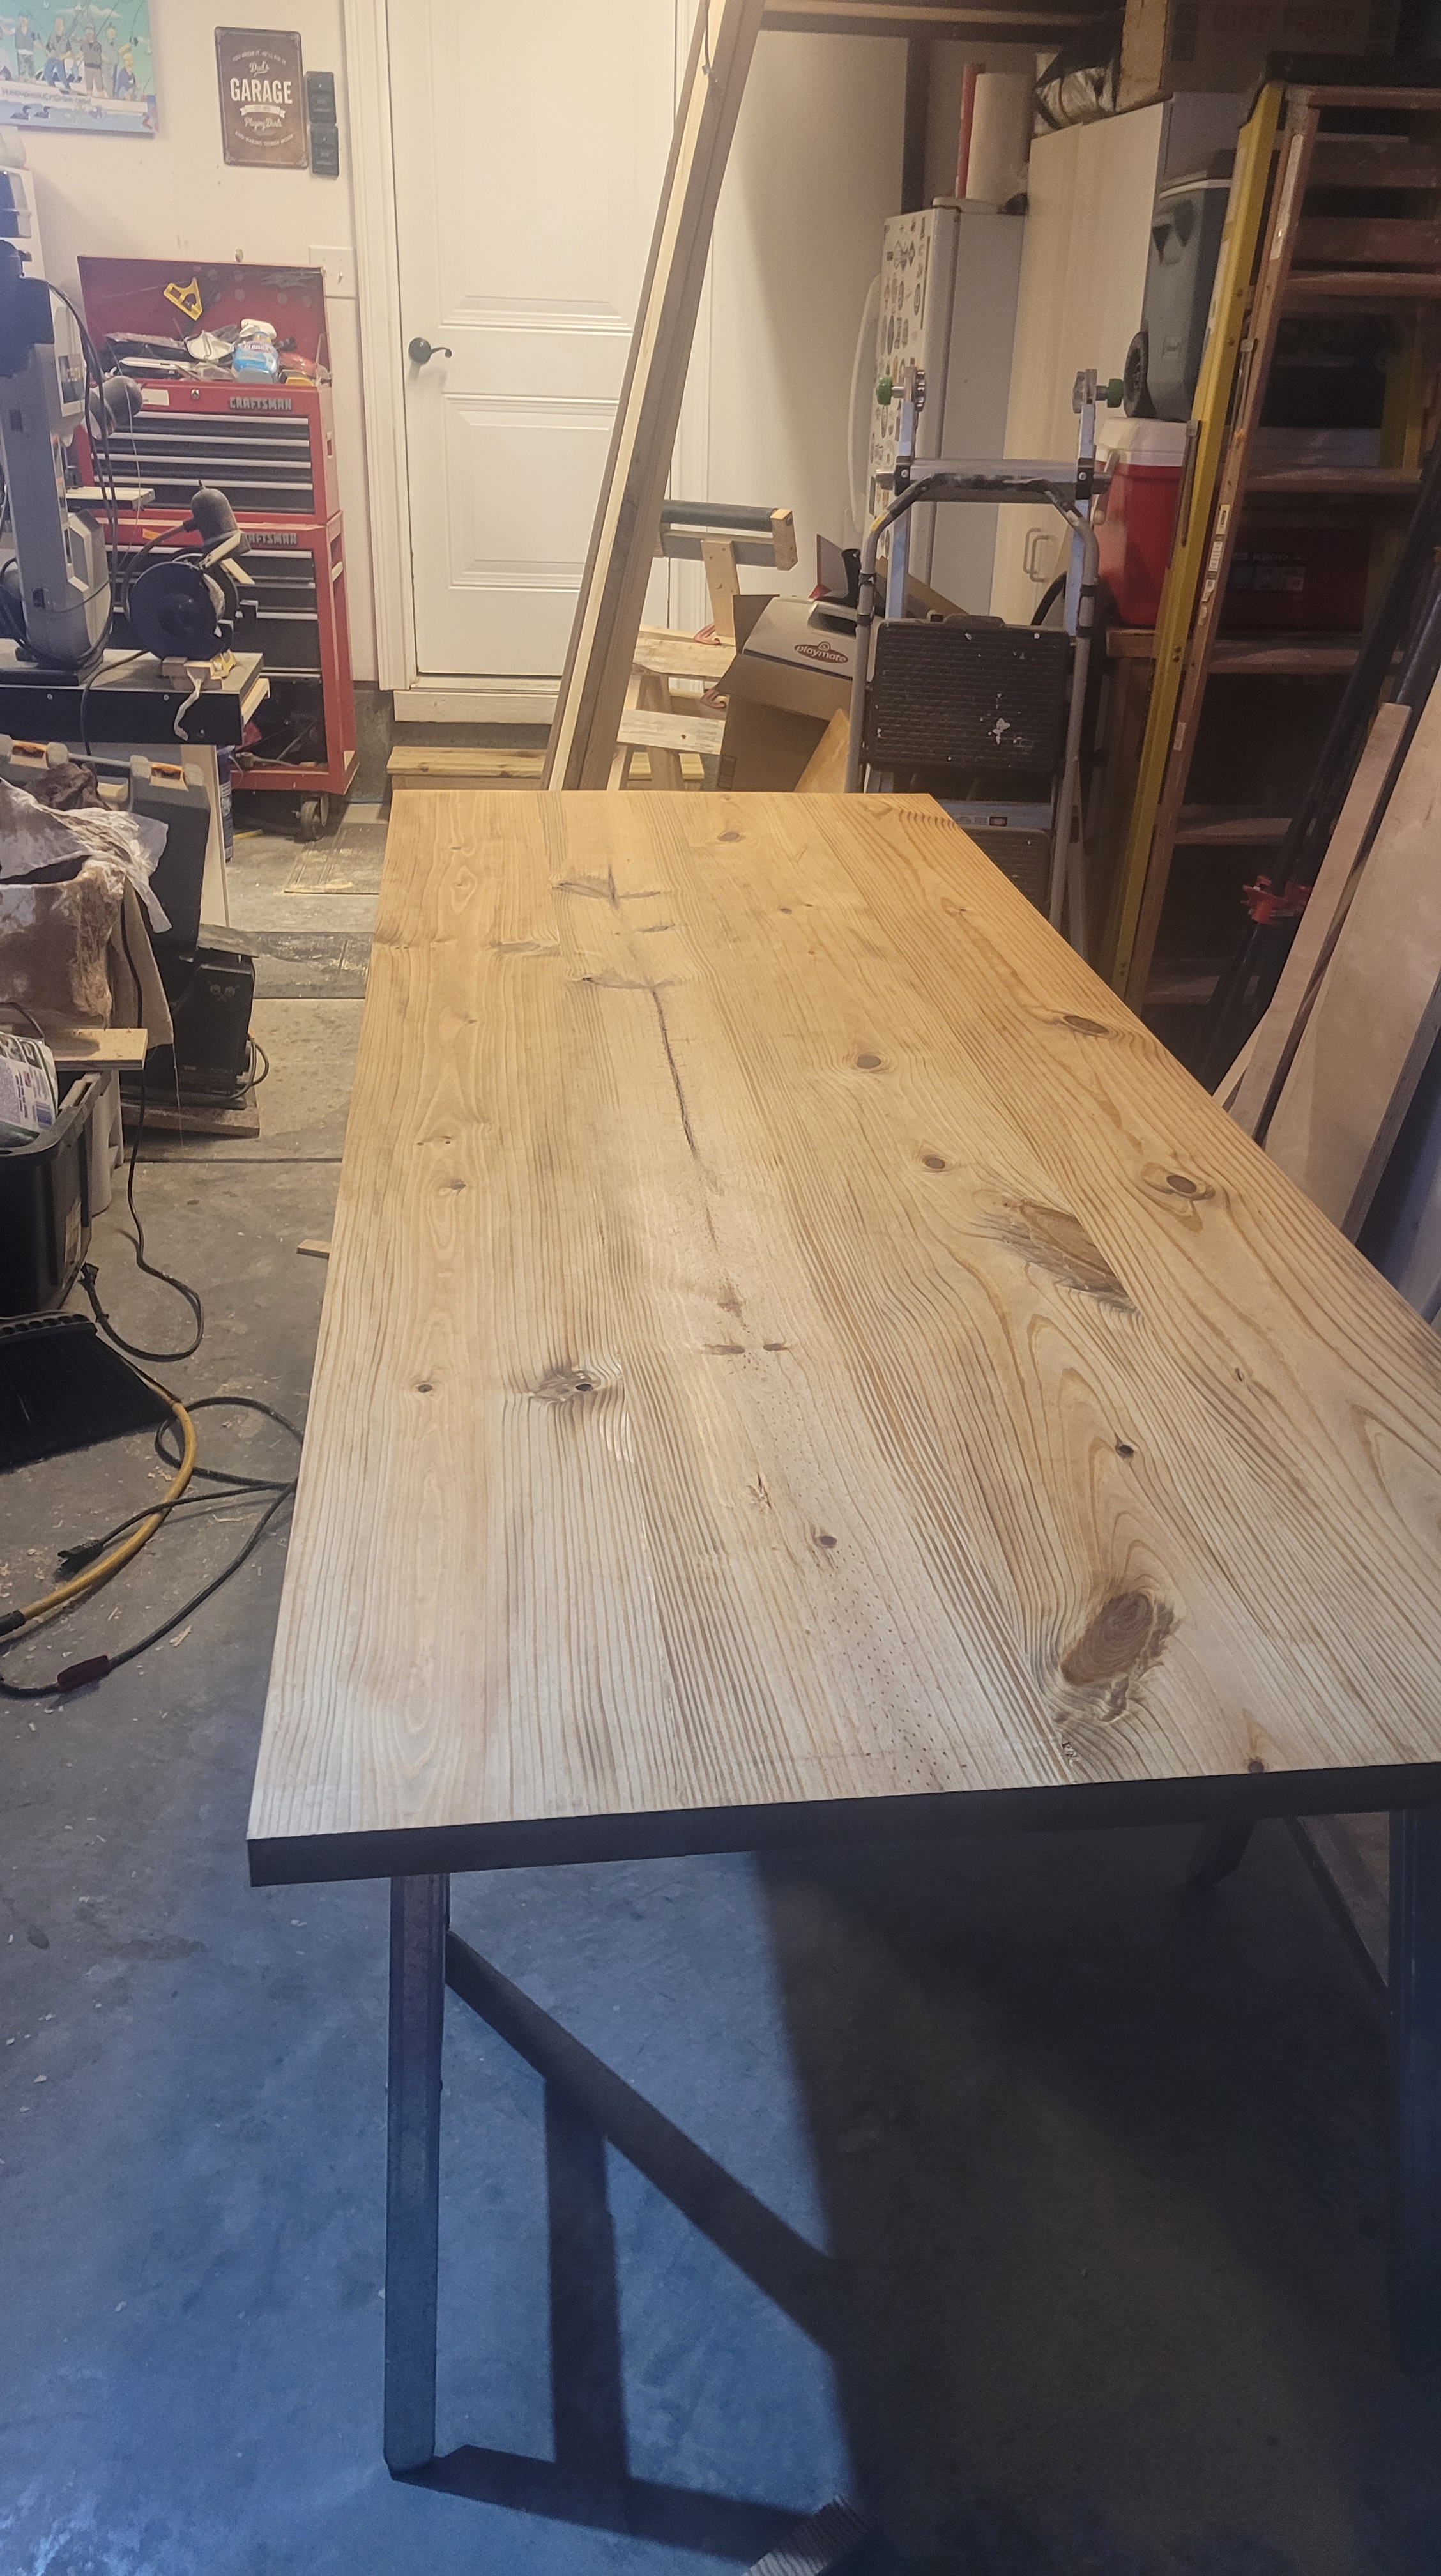
Sanding and Finishing
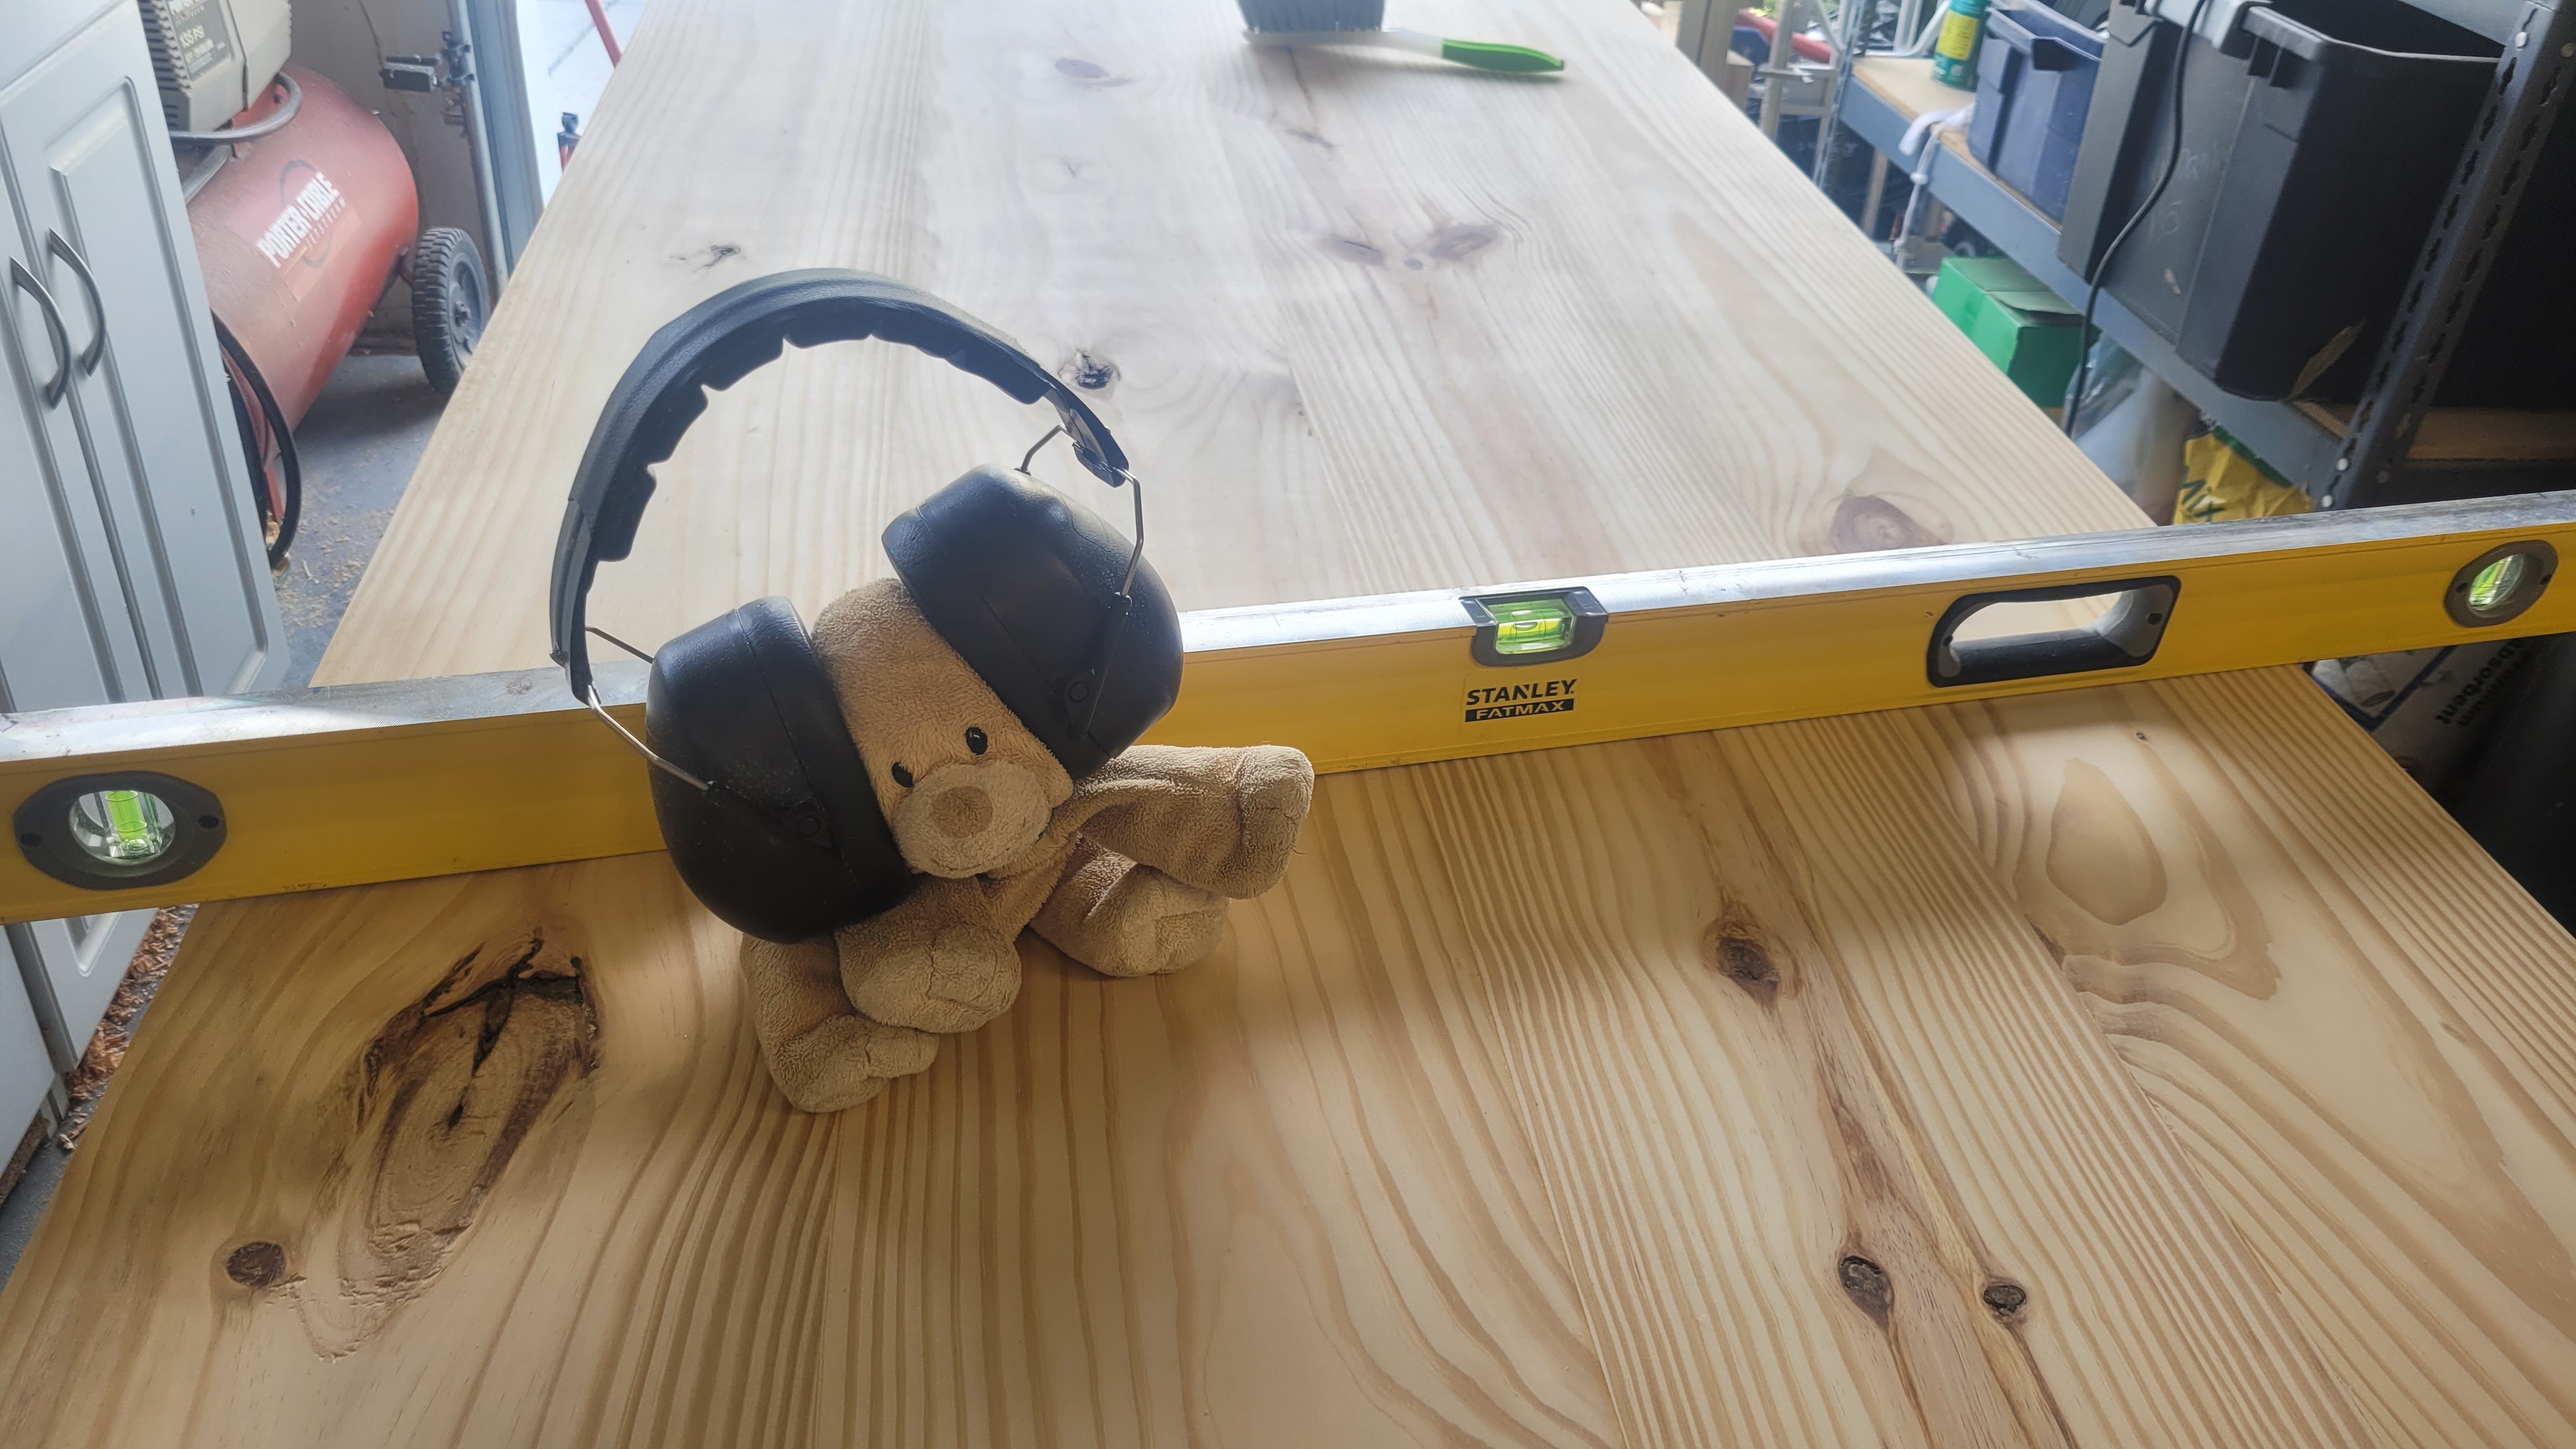
After gluing I sanded and applied a stain and protective finish.
Despite my best attempts at making square parts and edges for the glue up – nothing was quite perfect in terms of alignment. In order to remedy these issues I used a hand scrapper and a hand held belt sander to smooth things out.
The belt sander is a great tool for aggressive leveling. By using a pencil I could find which board was positioned below its neighbor and then go at it with an 80 grit belt. As long as I worked in long continuous strokes I could slowly level out the table top until the glue edge disappeared.
A hand scrapper is an amazingly simple tool that works very well. Just a thin piece of metal with a sharpened edge you can shave off wood one bit at a time. I found that a 6 inch hand scrapper was just the right size to go down the full 8 foot joint length. It did a great job removing glue squeeze and leveling the edges.

For the finish I utilized Minwax Pre-stain, Minwax Provincial Stain, Verathane satin oil based polyurethane.
- Apply Minwax pre-stain with a lint free rag.
- Wait 15 minutes.
- Wipe off excess.
- Apply Minwax Provincial stain with a lint free rag.
- Wait 10 minutes.
- Wipe off excess.
- Let dry for 4 hours.
- Apply Polyurethane with a lint free rag.
- Let dry for 4 hours.
- Lightly sand with 180/220 grit sand paper by hand.
- Repeat steps 8-10 for 2 complete sets.
- Repeat steps 8-10 again but with 320 grit sand paper to finish.

Legs
For the table legs I utilized 4×4 untreated pine. I didn’t really care too much for the surface finish of the legs but to clean up the rough saw marks I did planarize all 4 sides, used a hand jointer to chamfer the edge, and hit each leg with 120 grit sand paper. The finish was the same process as for the table tops.
The legs are attached to the the table top utilizing 3inch 3/8-16 hanger bolts embedded within each leg and a 3/8-16 insert embedded within each table top. I was initially worried about the shear out strength of the insert, but after a few rounds of testing I found you could reliably maintain the insert strength. One thing I had to keep in mind during the assembly process was to avoid excessive moment on the leg to help avoid the risk of tear out.
On the ground facing side of each leg I embedded a 1/4-20 machine screw that was utilized to level the legs in case the pavilion’s concrete slab wasn’t quite flat. In practice this wasn’t that useful, but did allow us to adjust the 1 or 2 corners that needed a littler more space to flatten out.
Initially I wasn’t planning on utilizing cross brace members for stability with the thought that the leg contact area to the table top would be sufficient to avoid wobble. After putting together the first table I found that this wasn’t quite the case and there was a moderate side to side sway when leaned against. To remedy this I made some cross brace members out of the table saw joint edge cut offs from the long boards. By embedding some 1/4-20 inserts into each leg and by creating a slot-pin feature on the cross-members I was able to quickly put together a few cross-braces.
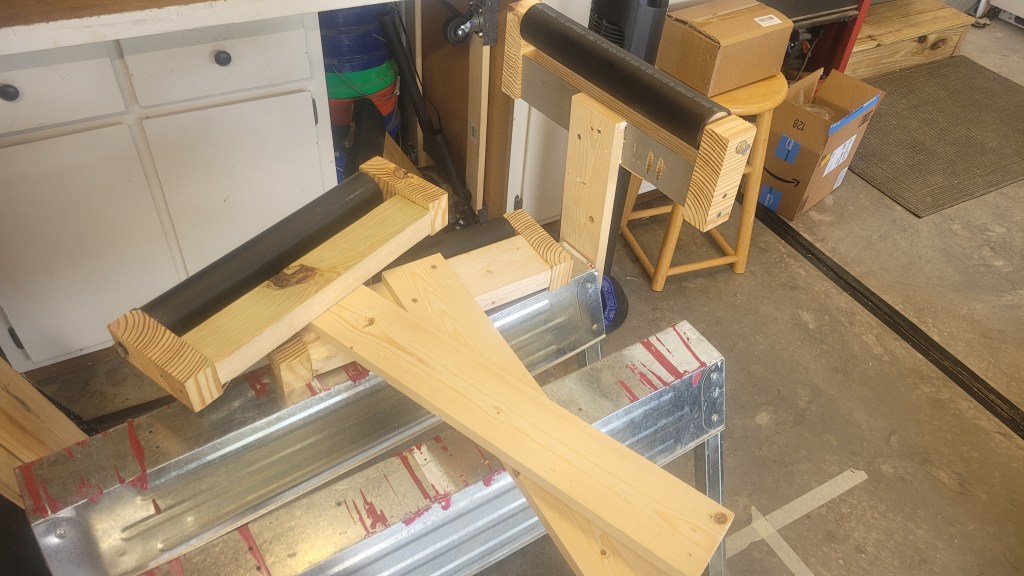
Rollers
One of the first things I did when making these tables was build a set of saw horse rollers. I knew that the full 8 feet length of my work pieces would be unwieldly on the table saw and planar, not only because of the length, but also because of the weight. By using some wood off cuts and a PVC pipe I made 3 rollers that could assist me in both out feed and in feed supports. Super useful, but I did find that if the rollers were misaligned to the feed direction they would exasperate the problem as the part rolled over them. The trick was to slowly align them so that there would be no deviations from the cut path. In the future I would probably make a support that had caster rollers so that it could handle misalignments.
Lessons Learned
As my first large scale wood project I was pleasantly surprised with how everything came together! All in all I was averaging ~2 tables per week over the month I was there. A few things I learned:
- Savannah GA weather in July is HOT and HUMID. I quickly learned that sweat + sawdust isn’t the most comfortable. Also steel tools like the hand scrapper really like to rust.
- Roller supports should have some swivel mechanism to enable travel misalignment.
- Using Cauls is a good idea if you can make them stiff enough to not bend.
- Vacuum attachments on sanders makes life 1000x easier and prolongs sand paper life.
- A clean jointed edge requires a tuned setup. Making sure things are stiff and properly aligned is the key to perfect joints.
Figures
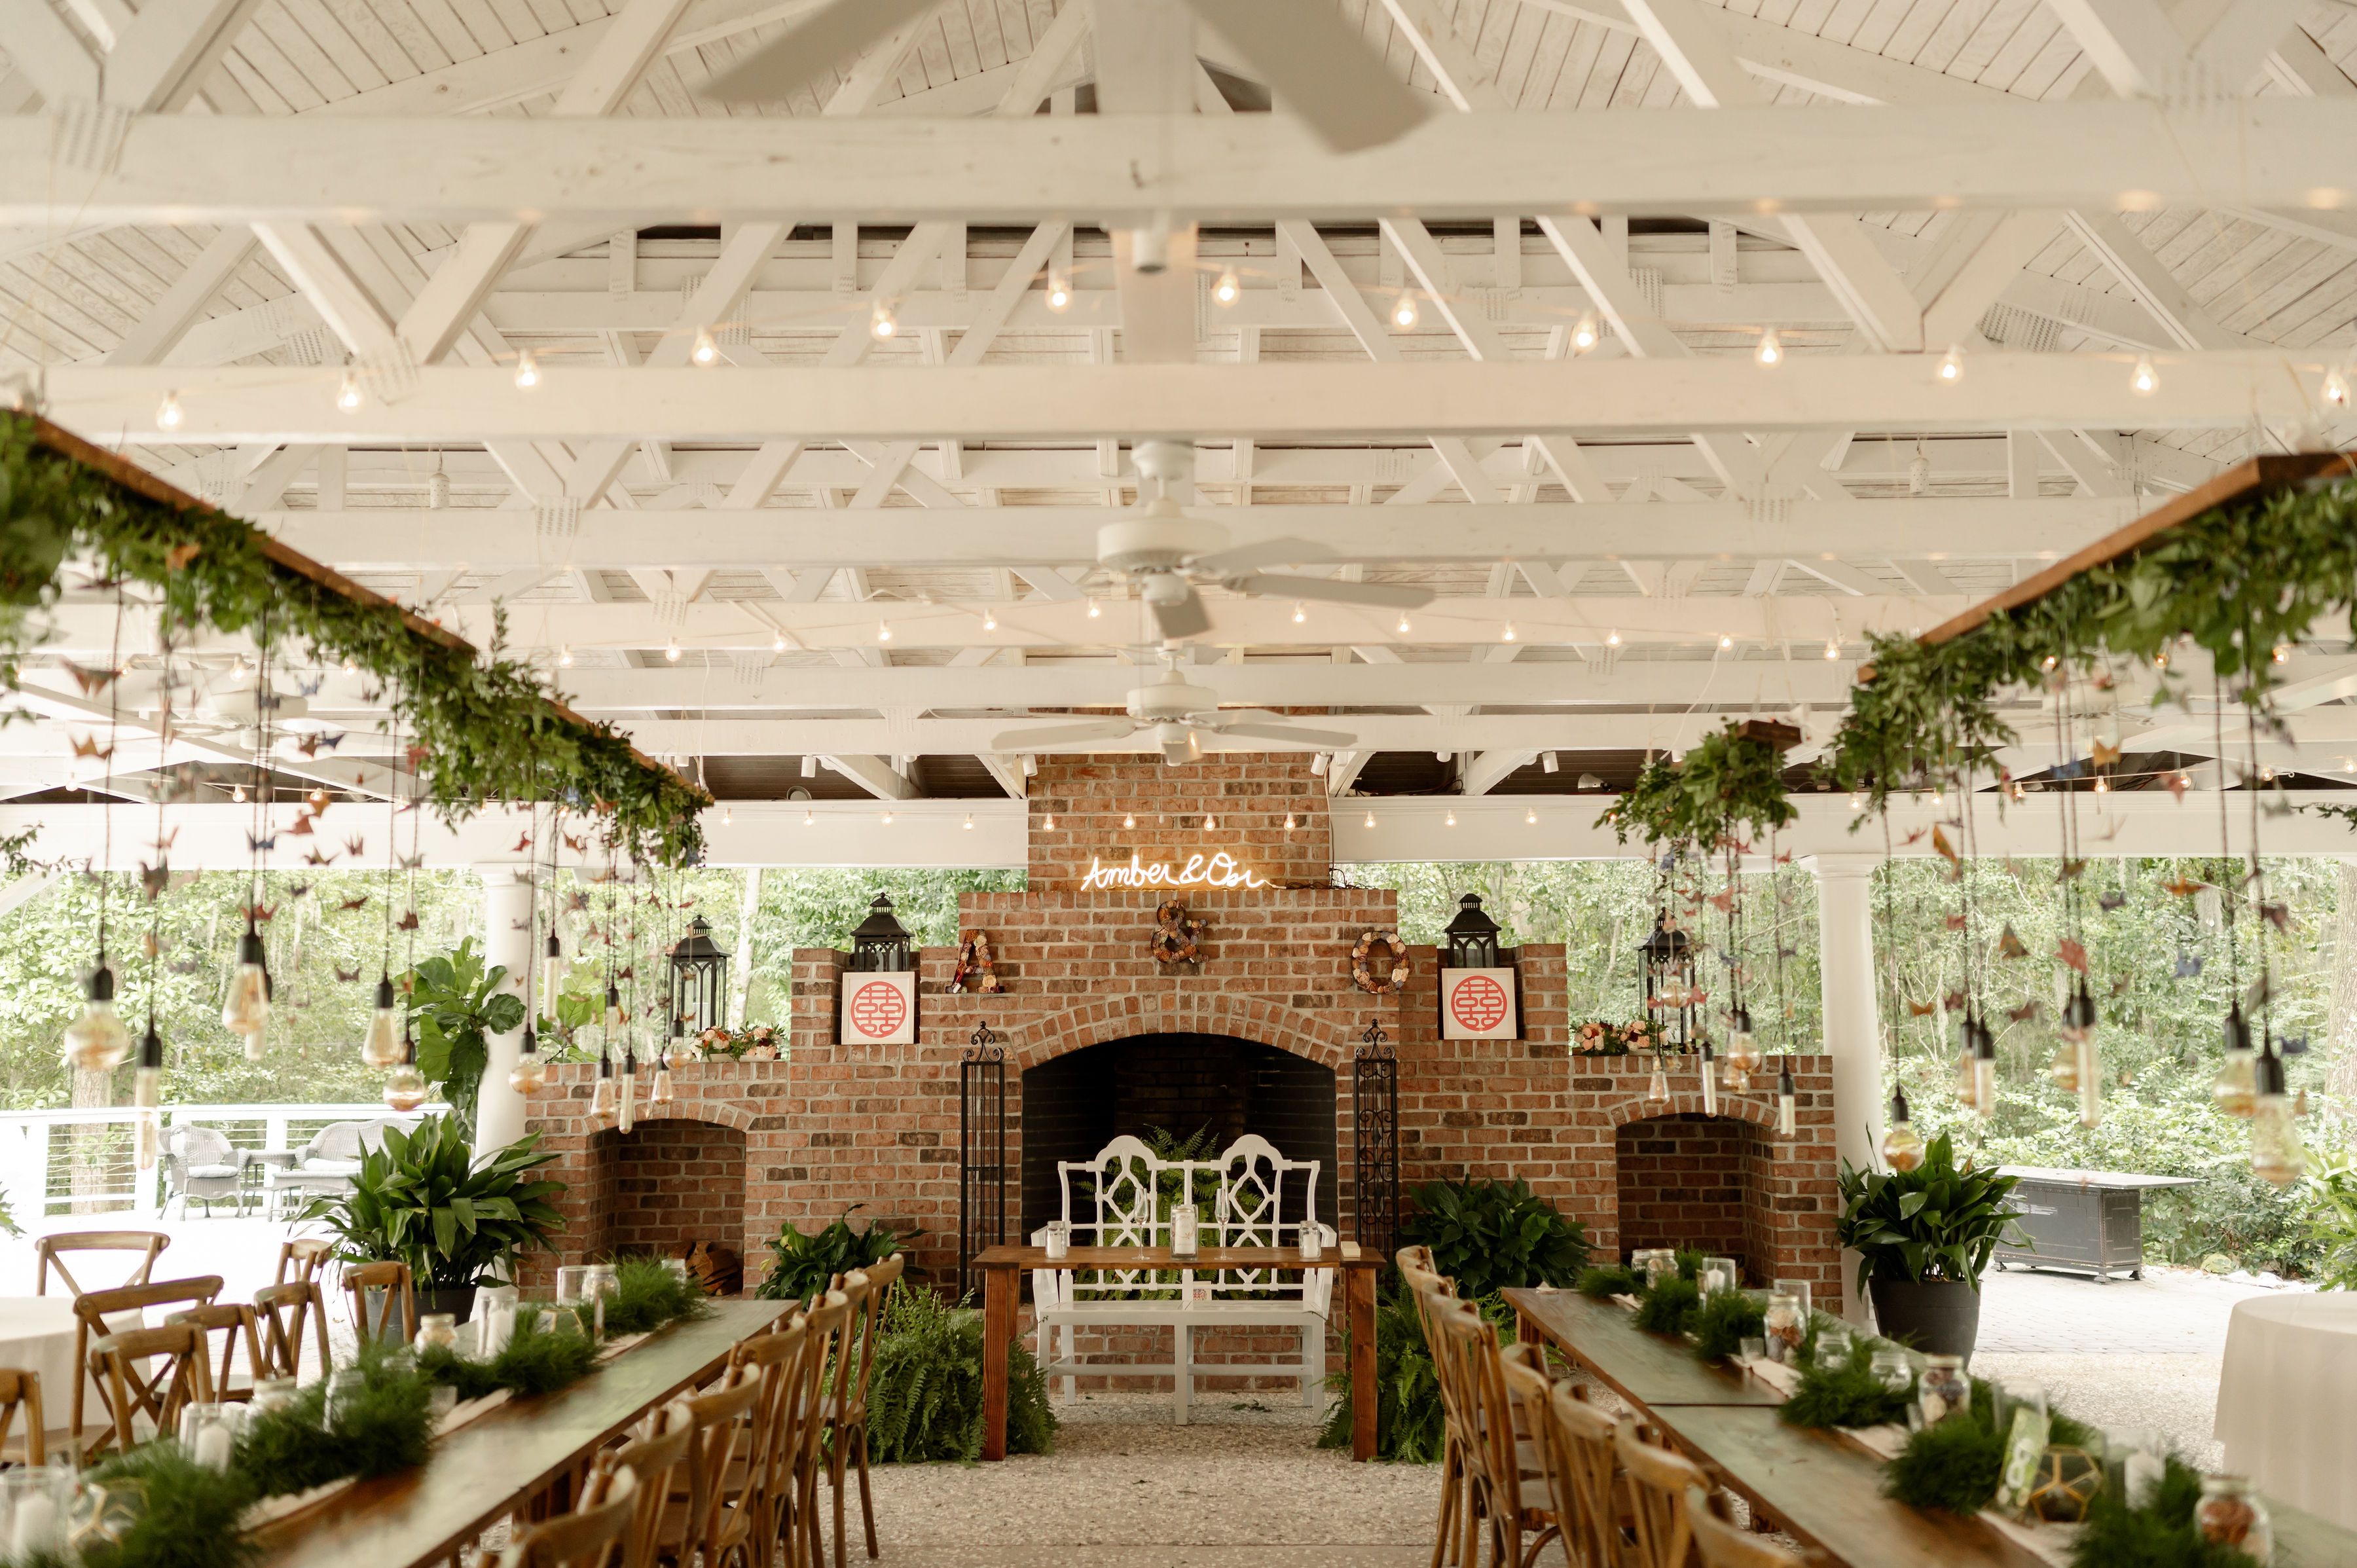
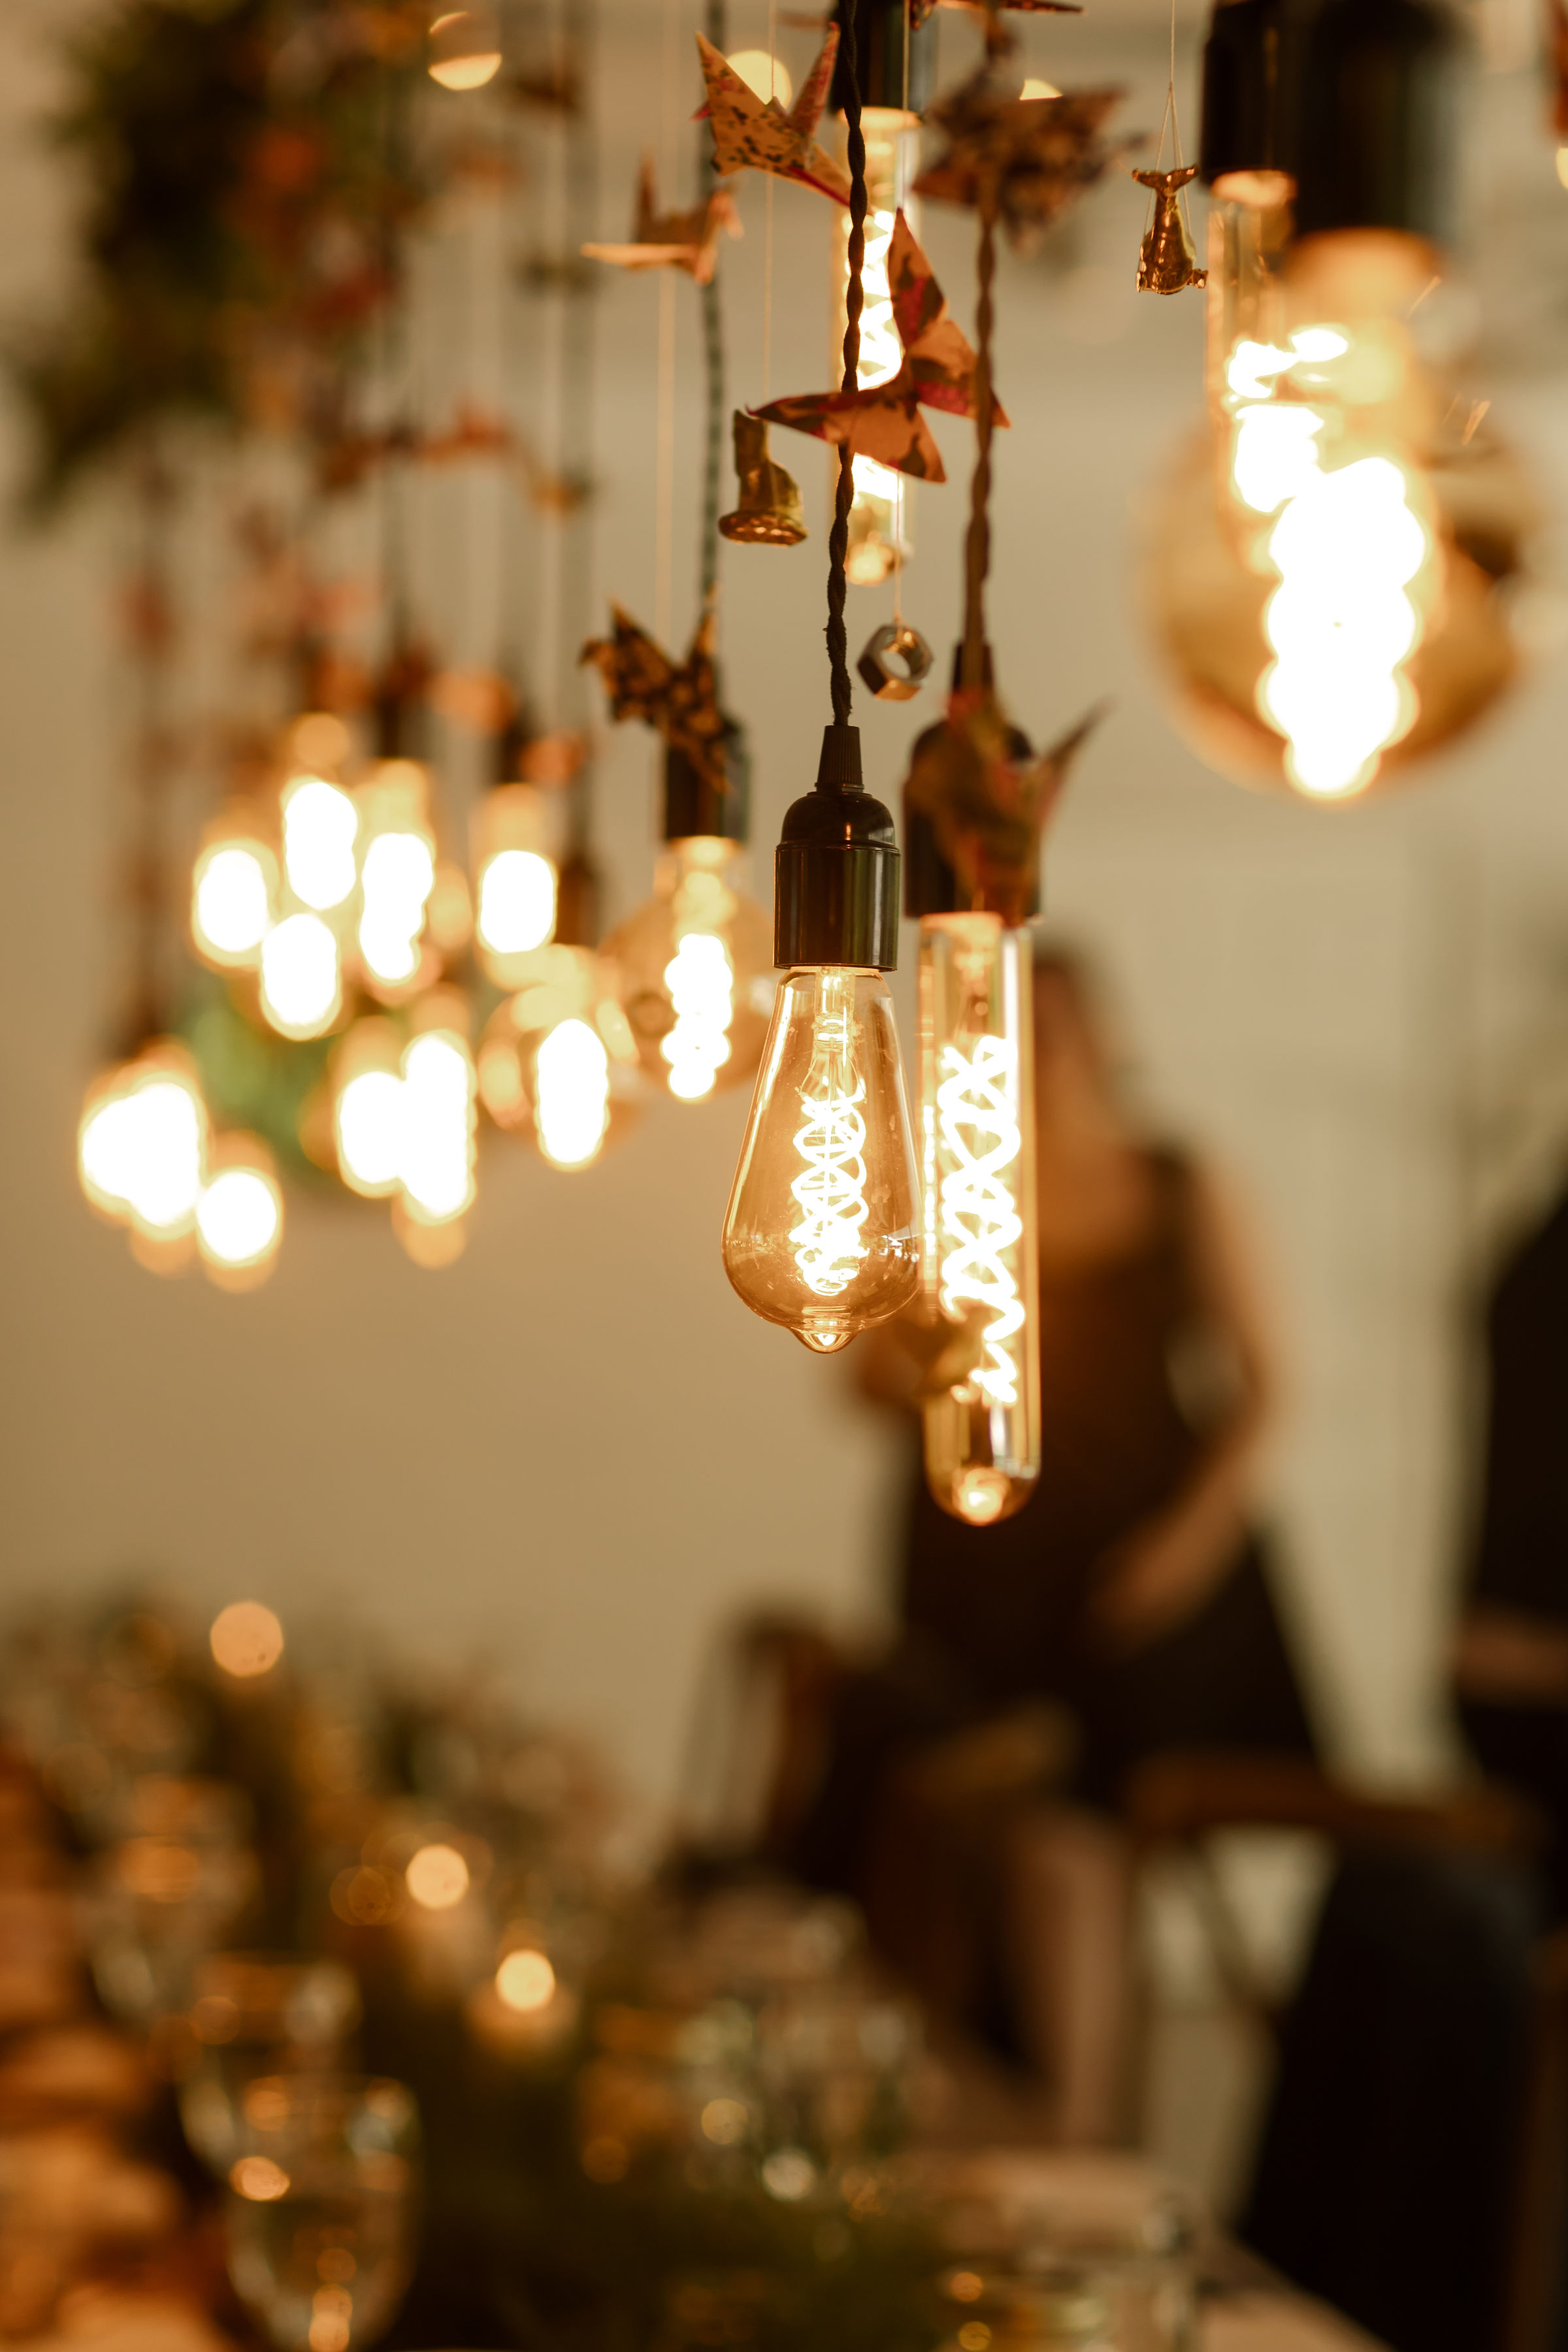
For the chandeliers hanging above the tables I wanted to string a bunch of origami cranes in order to add a splash of color and whimsy to our decor. In the end I folded ~700 cranes over the course of a few months which was quite the cathartic task. I got pretty efficient at it too with a timed average of ~ 1.5 minutes per crane.
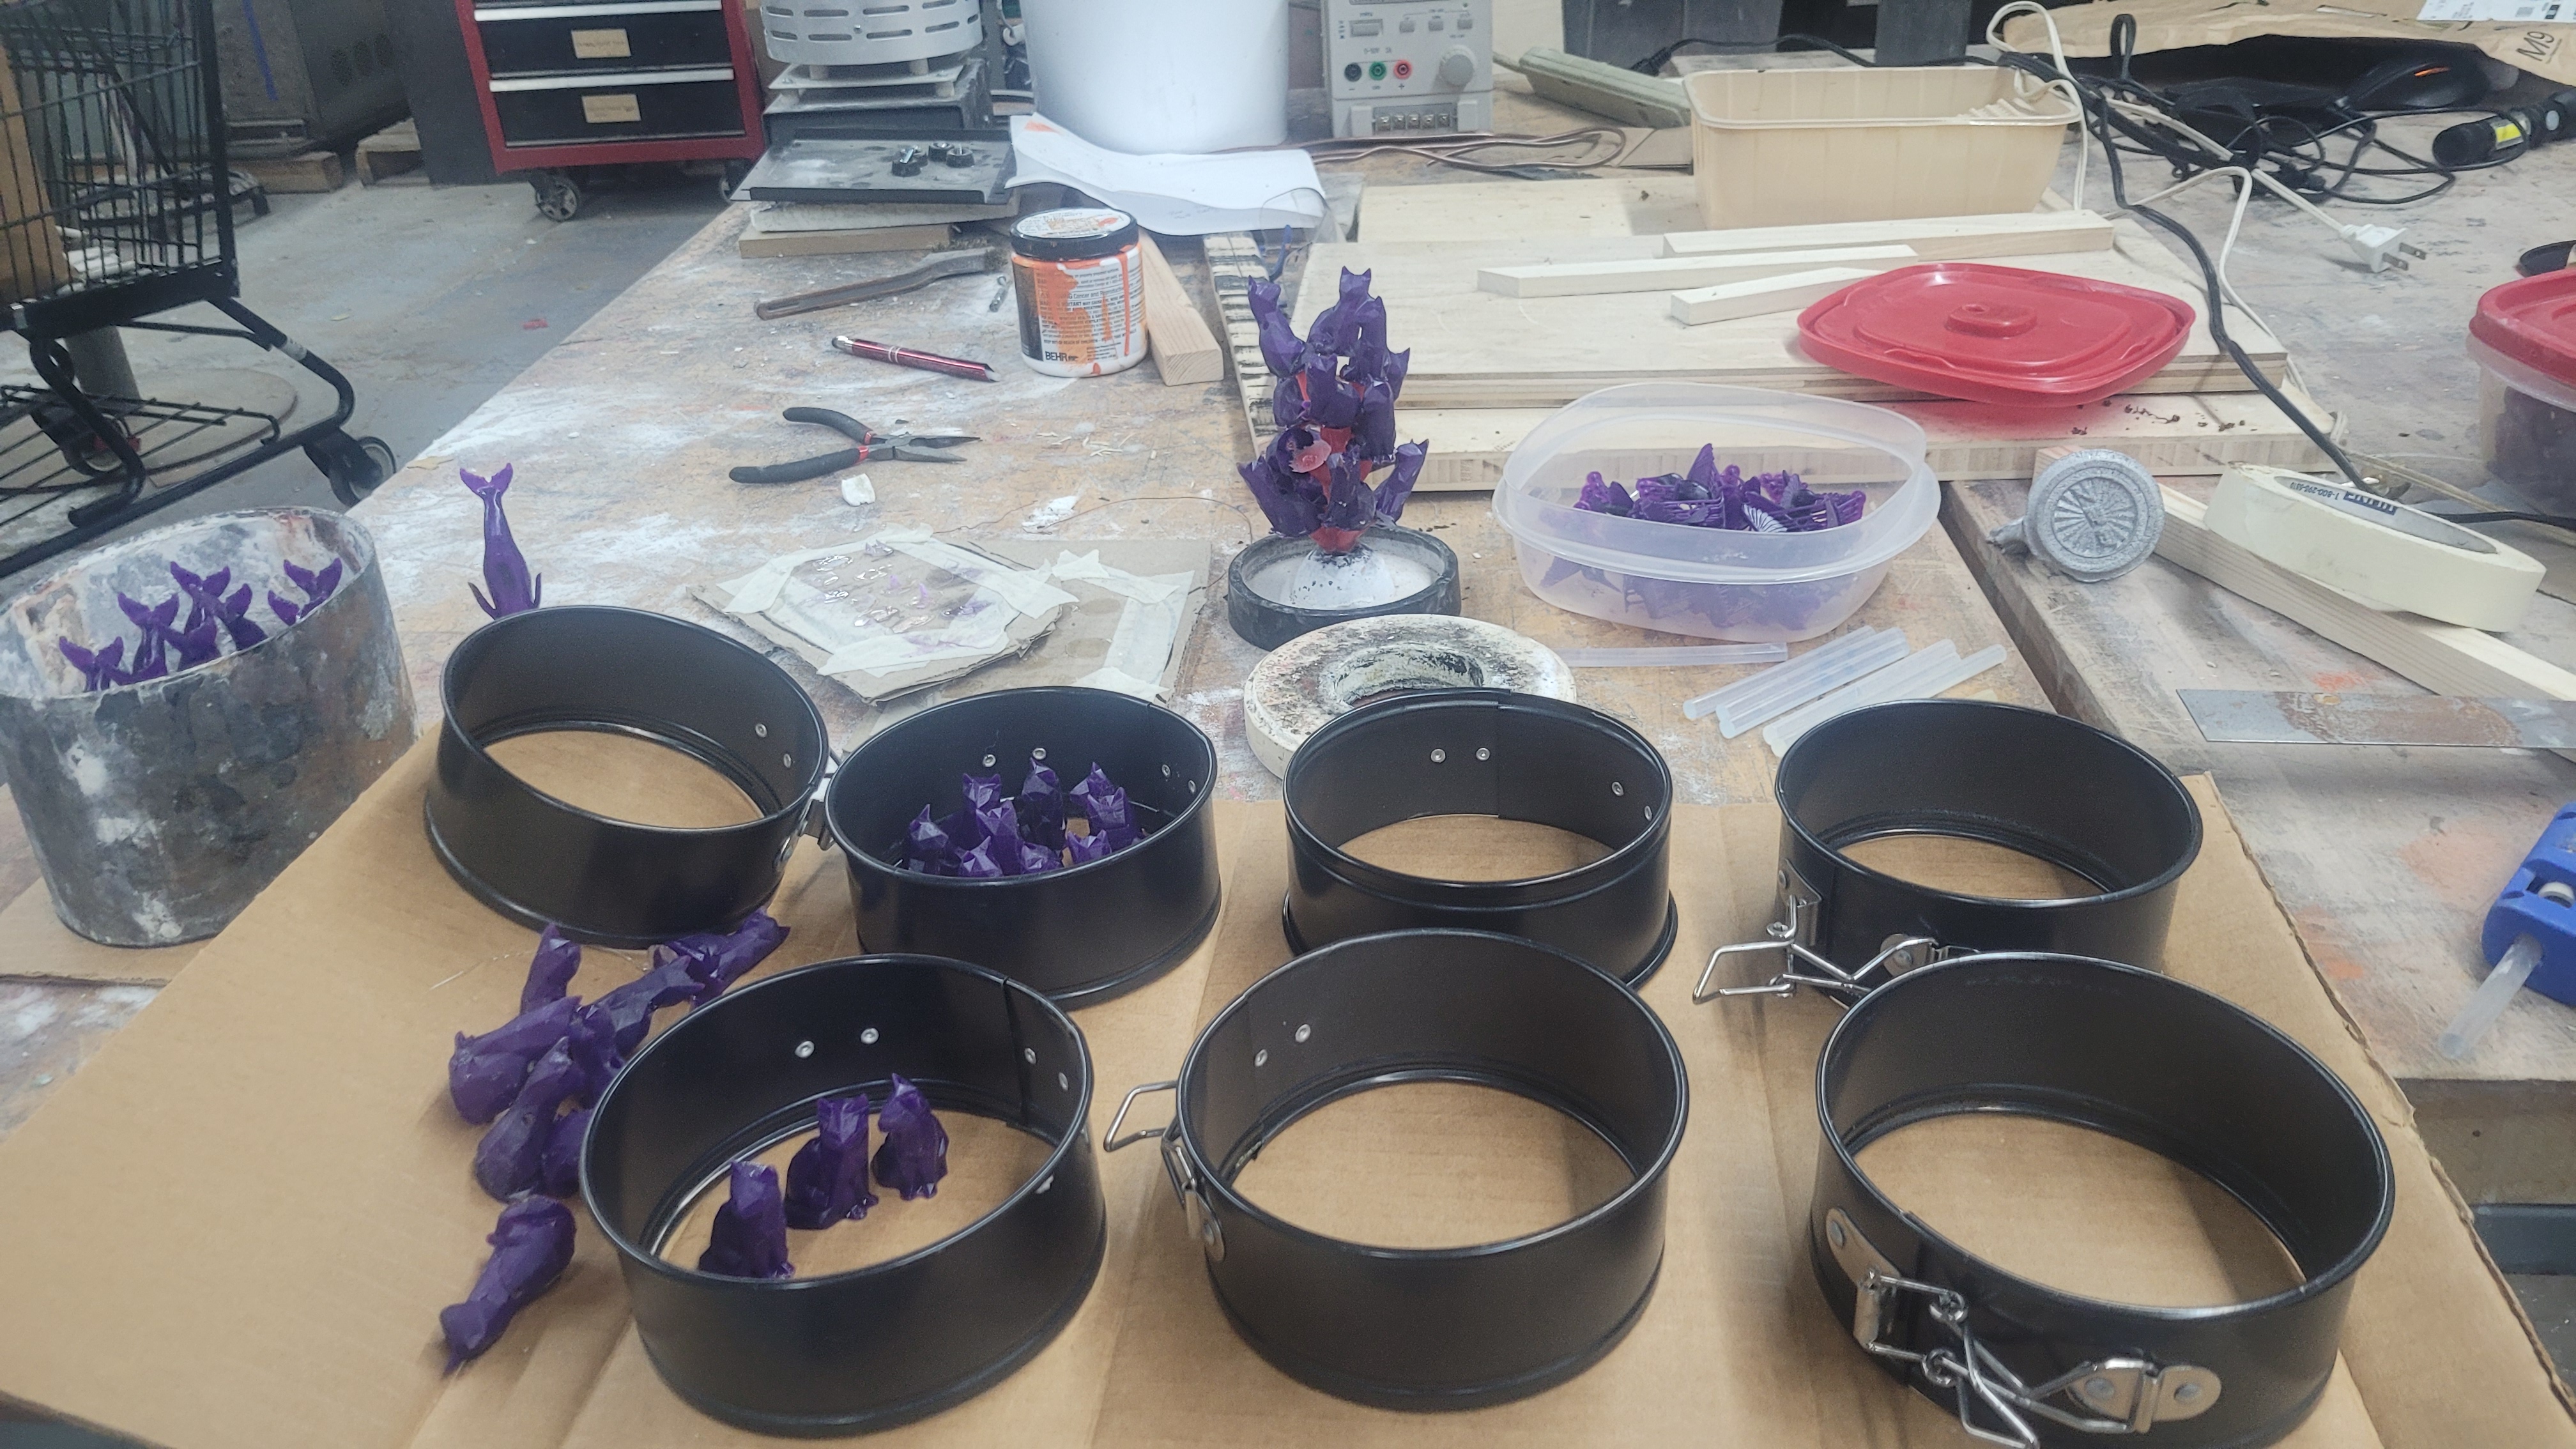
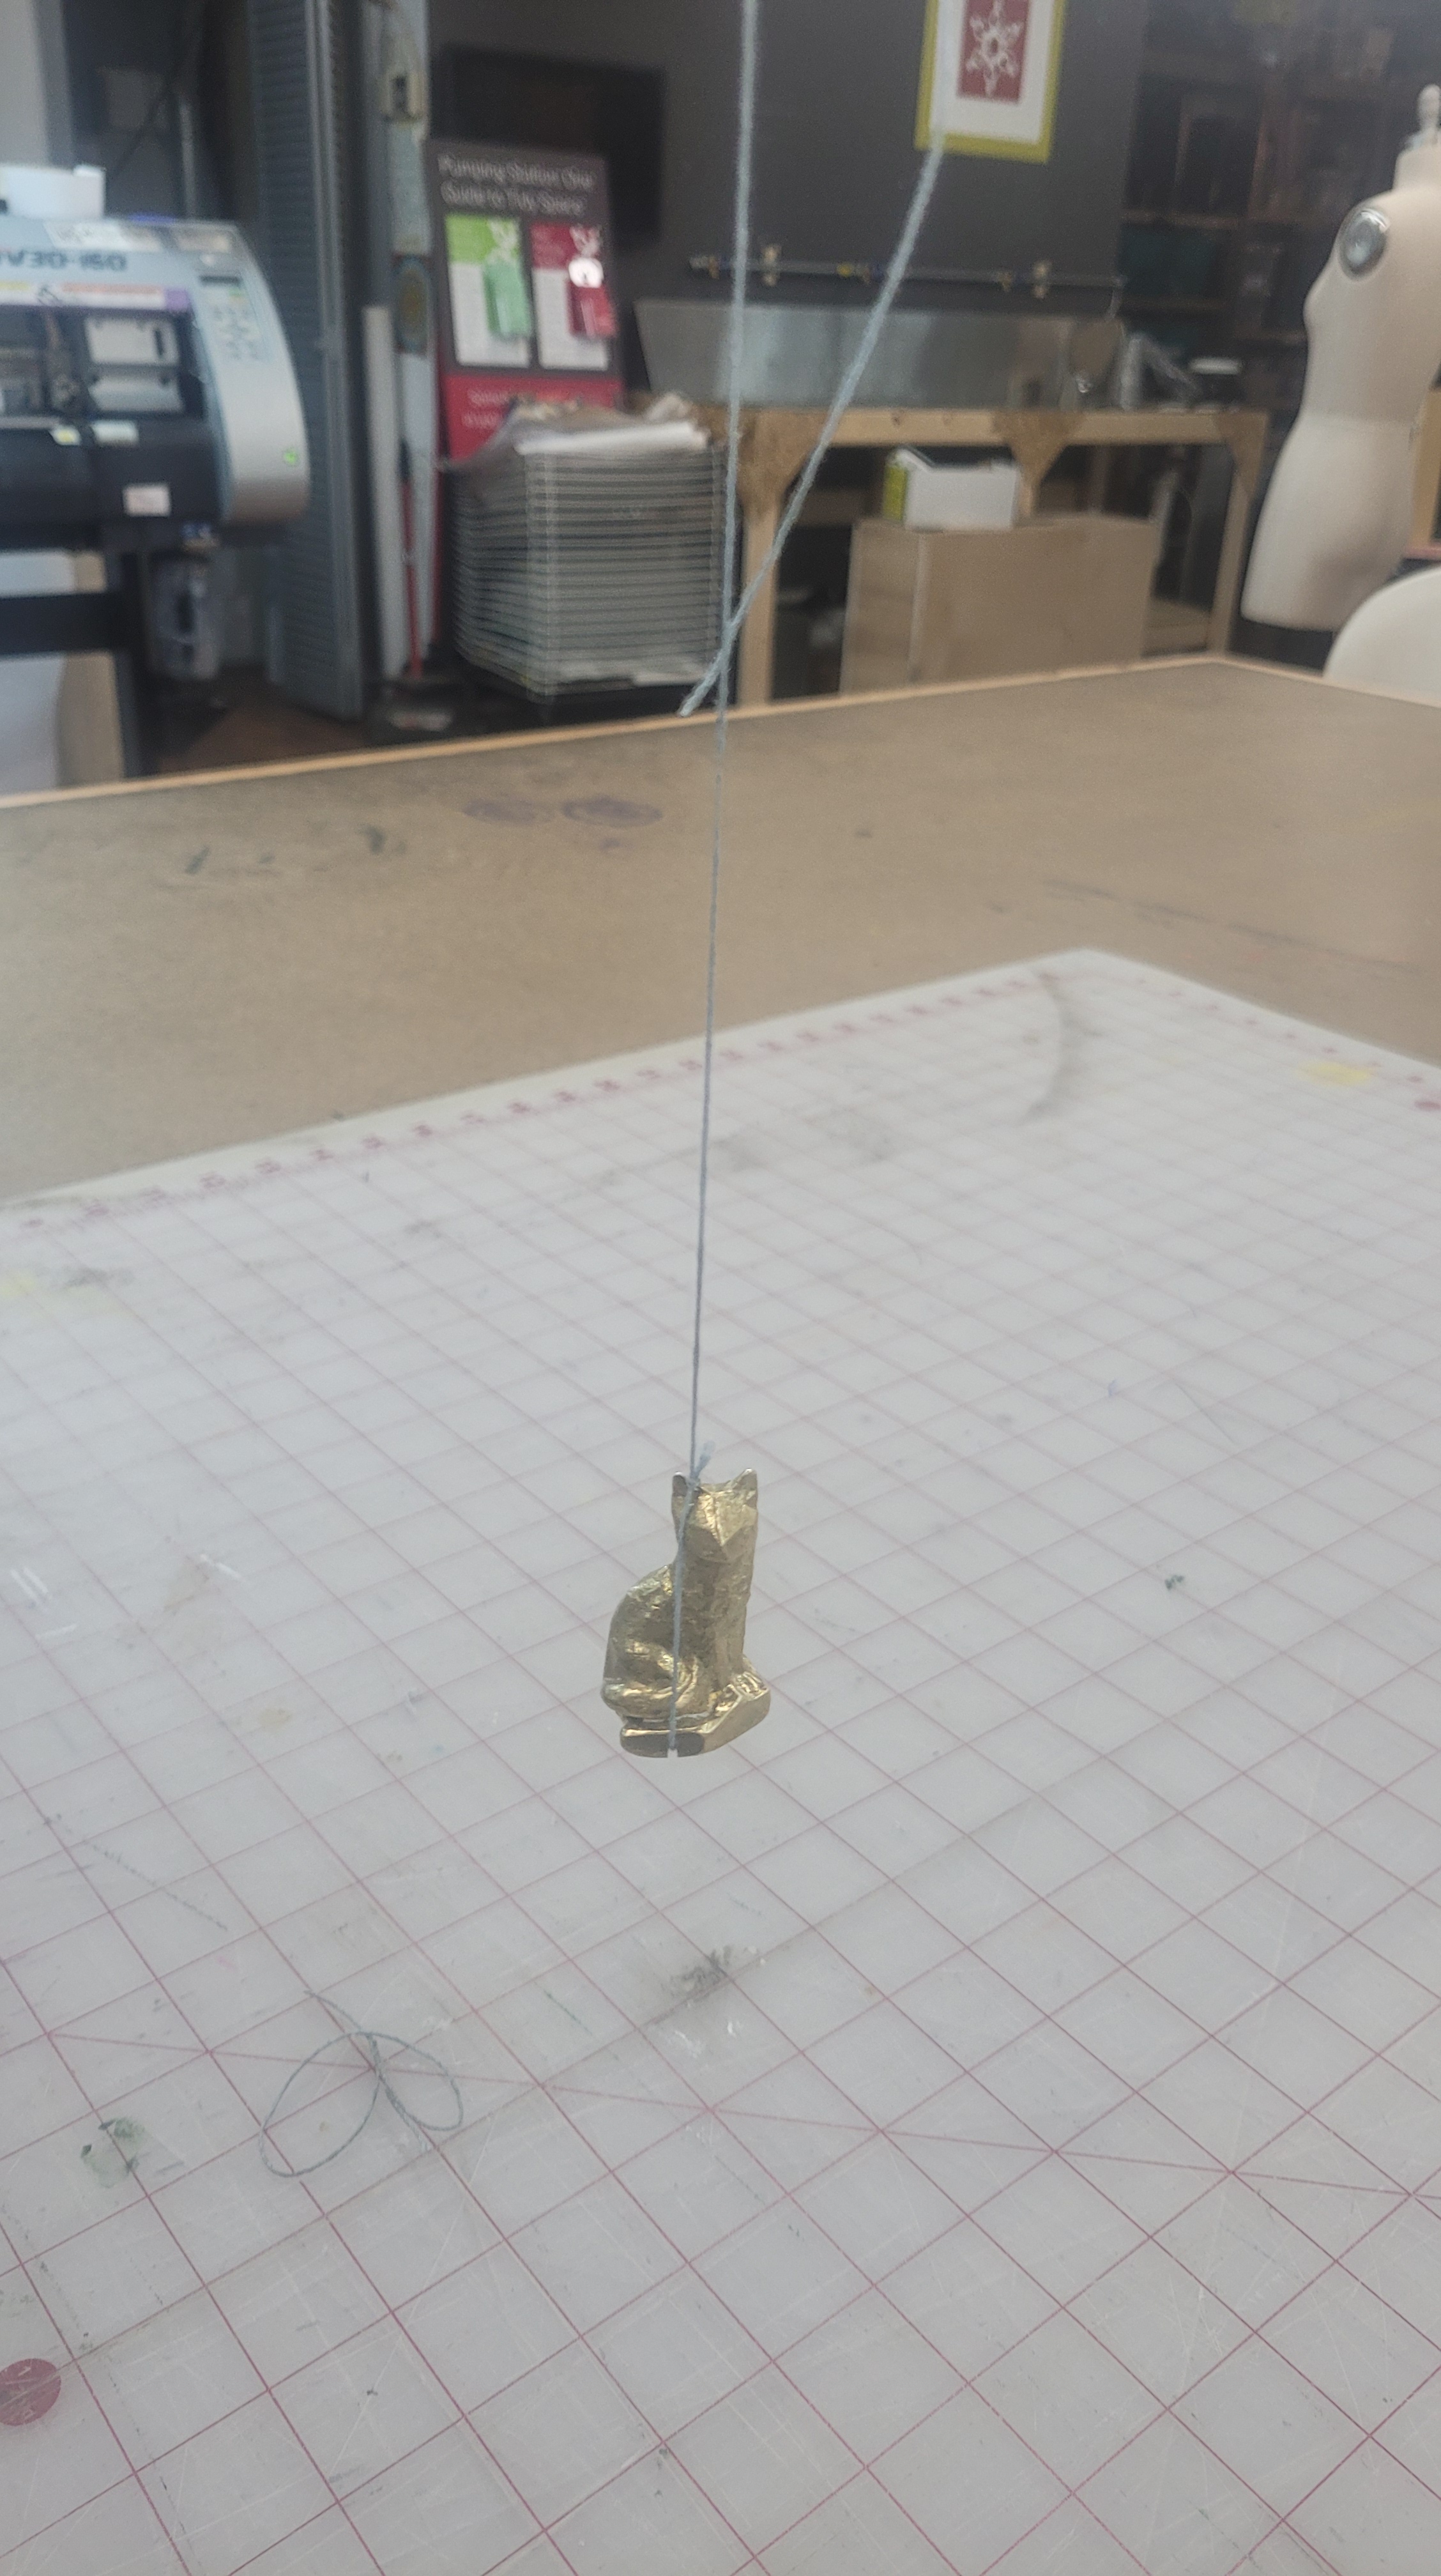
Because our venue was outside I was slightly worried that the wind blowing against these paper cranes would make them sway too much. To counter act this I figured I would attach a little weight to the end of each crane. To do so I casted a variety of figurines out of bronze.
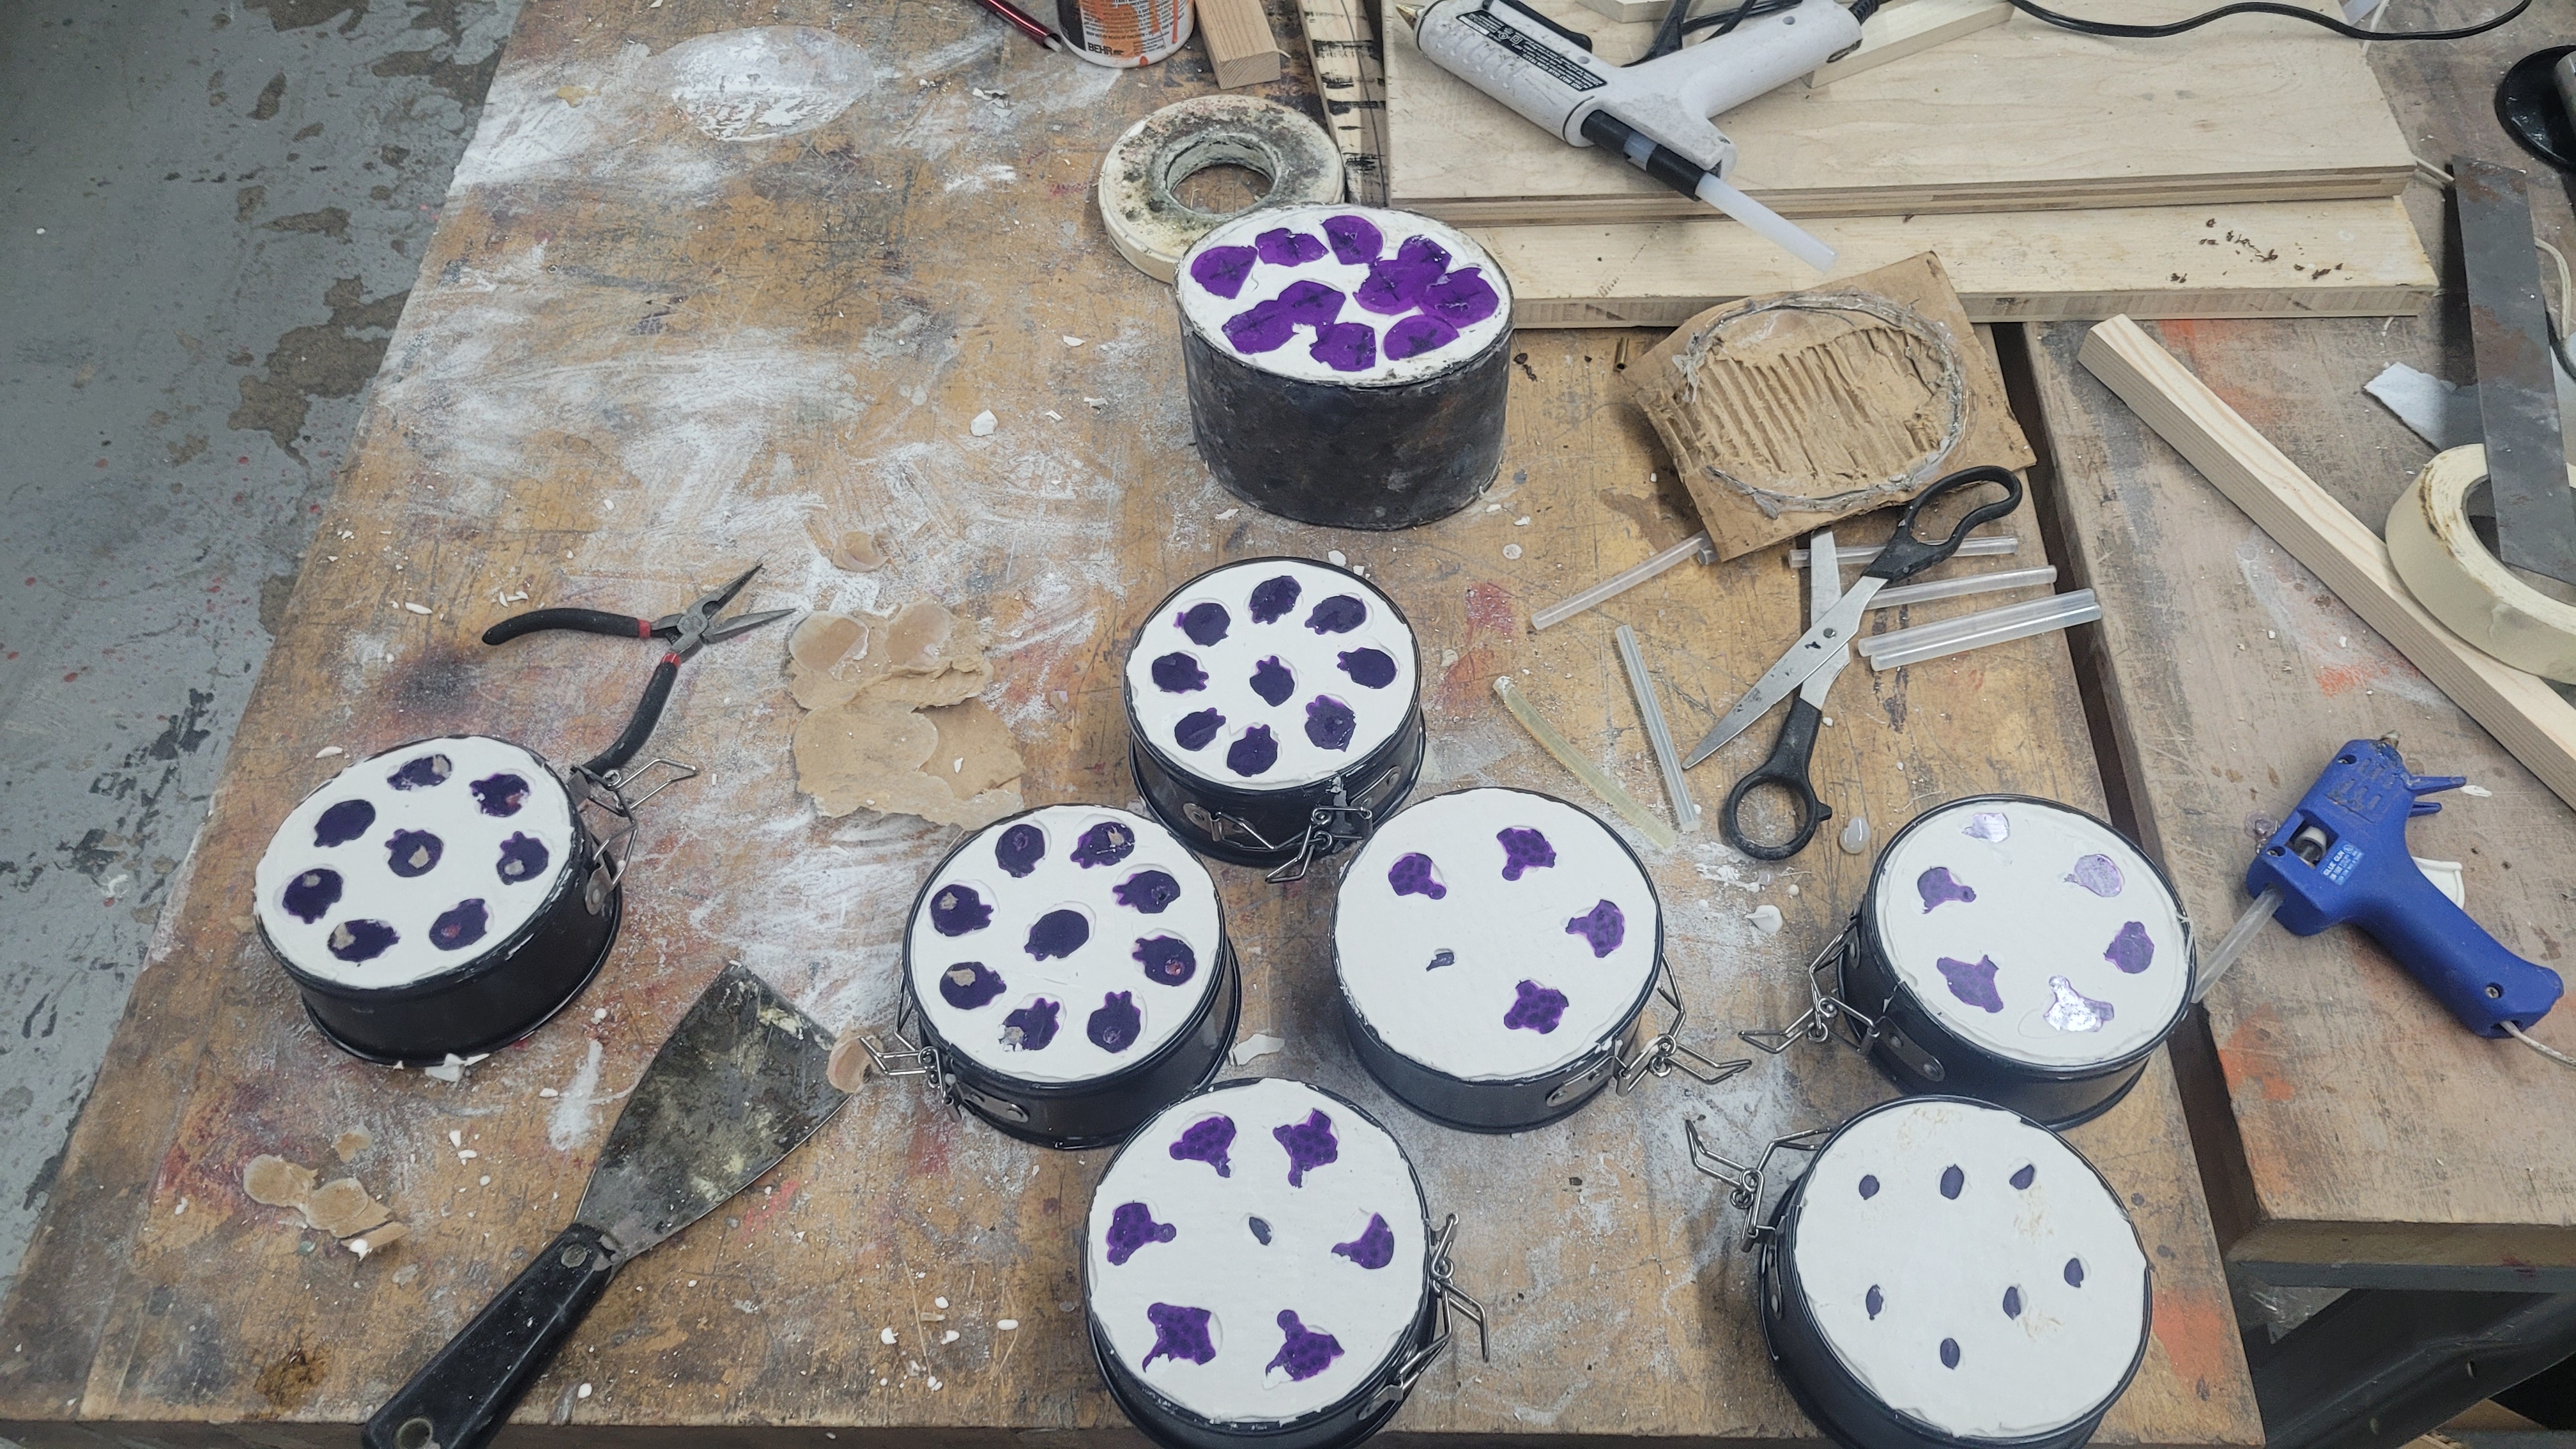
What was interesting about the process I used for these castings was an open face group casting method rather than a sprued method. I found that this worked fairly well given that I used steel mini cheesecake tins rather than real flasks.
- Print out figurines with my Mars Pro 3.
- Glue the prints to a cardboard base with hot glue.
- Glue the tins to the cardboard with hot glue.
- Mix the investment and pour over molds.
- Remove the cardboard base after 3 hour set time.
- Place in kiln for burnout over 12 hours.
- Cast bronze into completed molds.
- Use a cut-off wheel on a flex shaft tool to cut off excess.
- Use a sanding cylinder on a flex shaft tool to smooth rough edges.
- Use a 1″ radial bristle disk on a flex shaft tool to complete the finish.
- Use a tumbler with assorted steel shot and burnishing compound for 1 hour.
I had a few difficult moments – namely the electric kiln I typically use for bulk pours was out of commission. Instead I jerry rigged a thermal couple into a different burnout furnace and placed my bronze crucibles in there.


Lights
Another feature of the chandeliers we used were some vintage looking Edison bulbs. Of course this is the 21st century so we really are using an LED variant of the classic designs.
One thing that was slightly annoying was that I couldn’t find these bulbs with the variety in 120V flavors, and instead had to rely on 220V bulbs. To work around this I got a 120-220 V step up transformer. For dimming control I initially attempted to use a cheap triac controlled SRC. Unfortunately the flicker was far to noticeable so I resorted to using a 120V auto transformer.
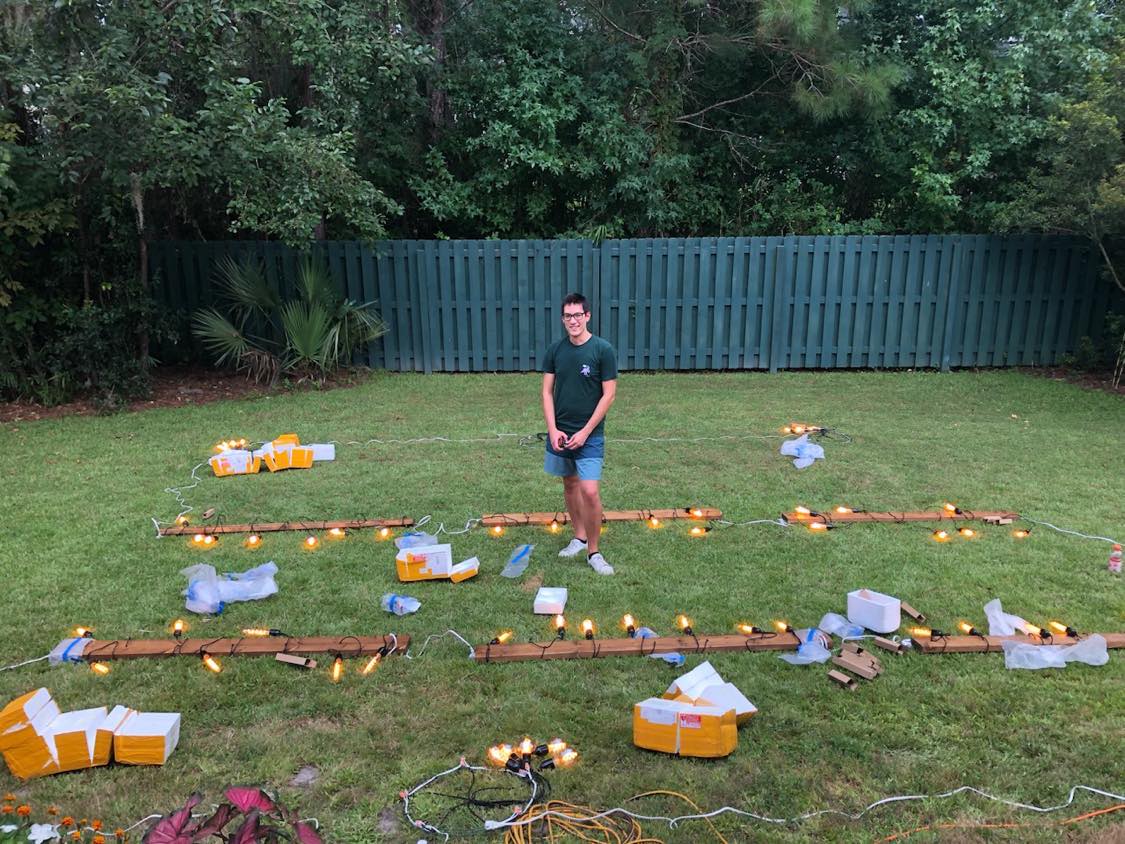
The lights are strung together utilizing modified extension cables in a series/parallel arraignment.
We did a test run in the backyard of my In-laws place to double check we had enough cabling between chandeliers and to see how long it took to add the bulbs. With 4 people it took only 10 minutes to connect 90 bulbs. Which answers the joke on how many people do you need to screw in a wedding venue’s lighting decor? (sorry)

Signs
LED Sign
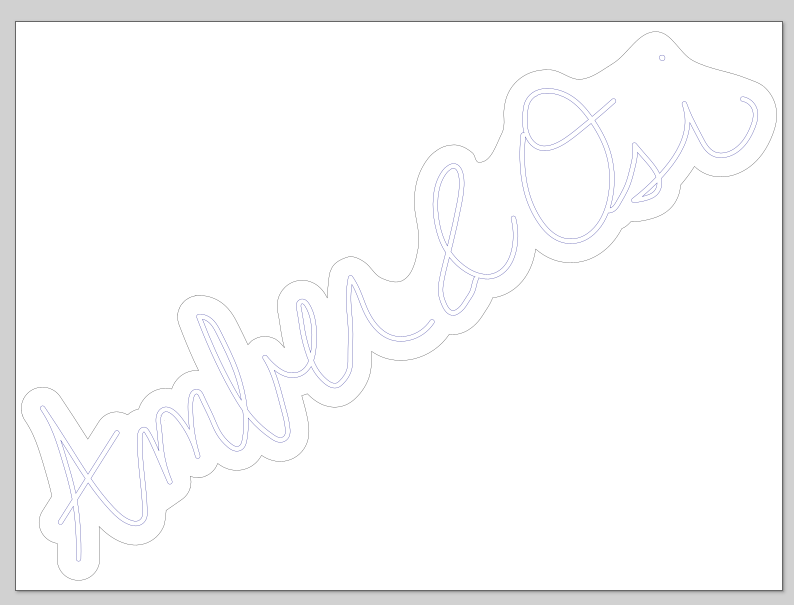
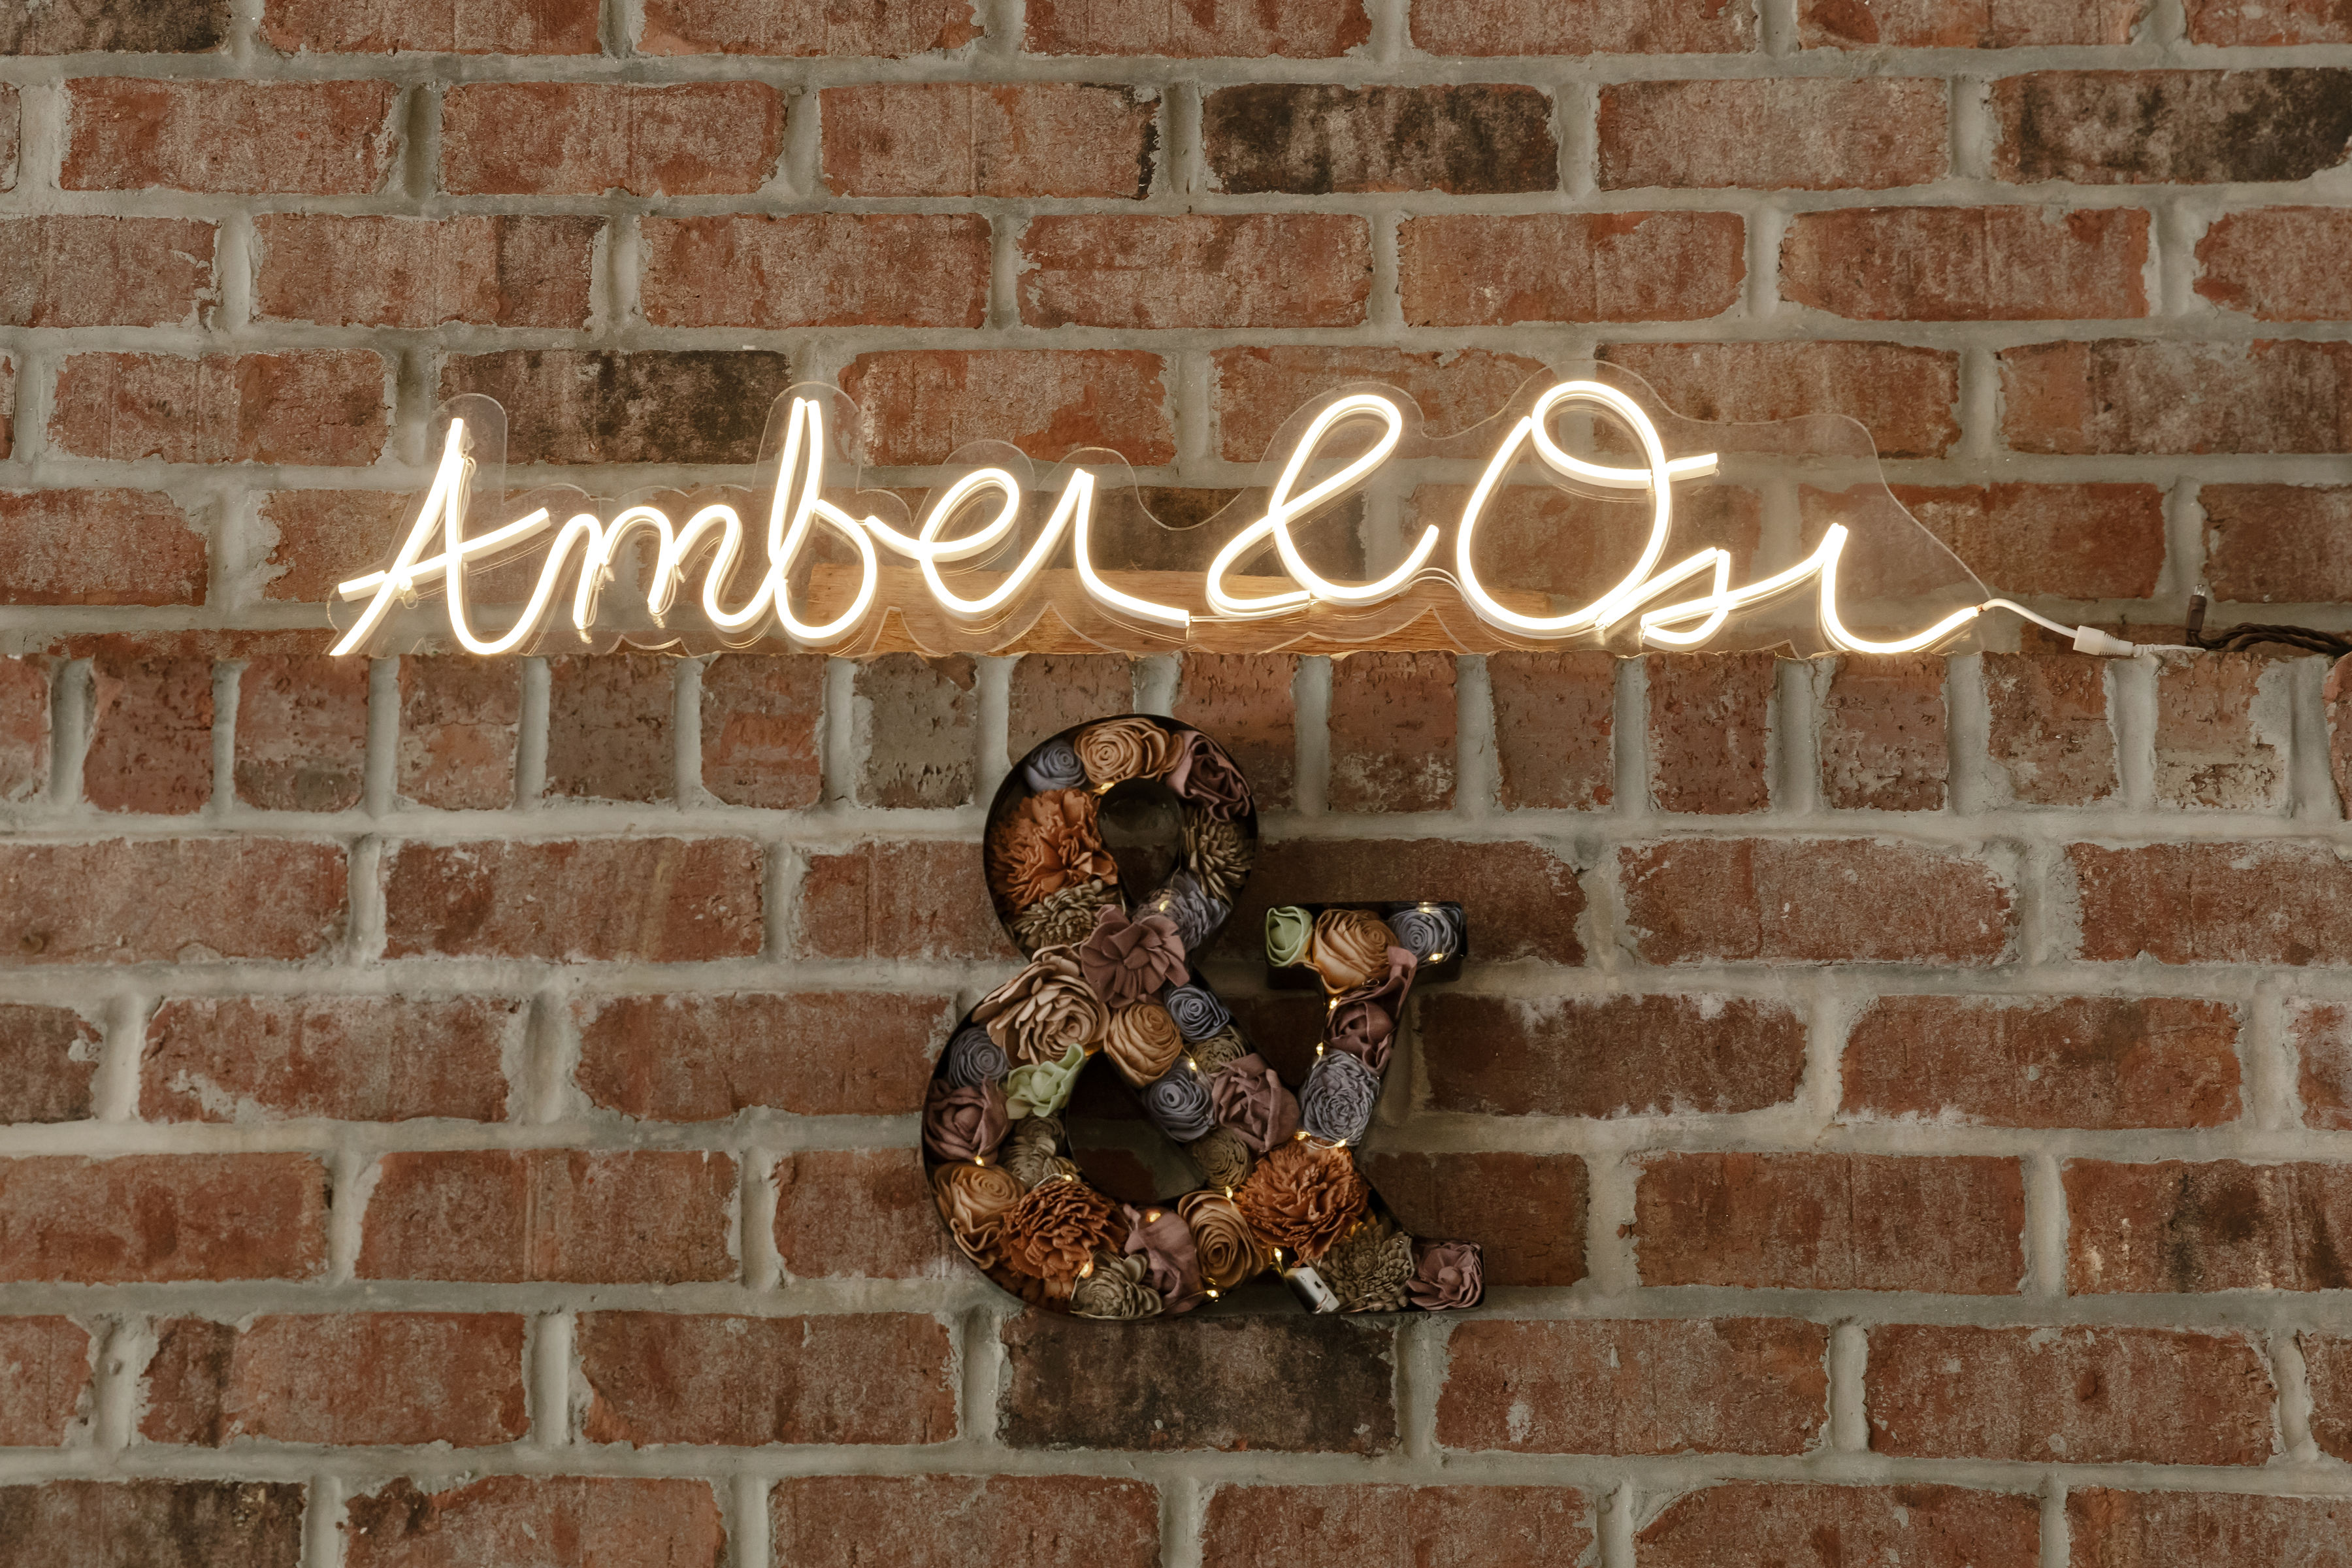
When searching around for wedding decorations we came across these very retro looking LED neon signs. They looked great but they were a pretty penny, so of course I put my own sweat equity into it to save some material costs.
I started off by having my fiance write our names with sharpie on a piece of paper and then scanning it with our printer. Importing the image into Inkscape I was able to trace the bitmap into some vectorized curves. Some editing, cleanup, and smoothing I ended up with a digitized version of our names.
To assemble the LED rope onto an acrylic sheet I laser cut a piece of cardboard that would hold the led in place while the glue dried. Wiring between the discrete LED pieces was accomplished with some 28awg white wire tucked away to avoid unsightly harnessing.
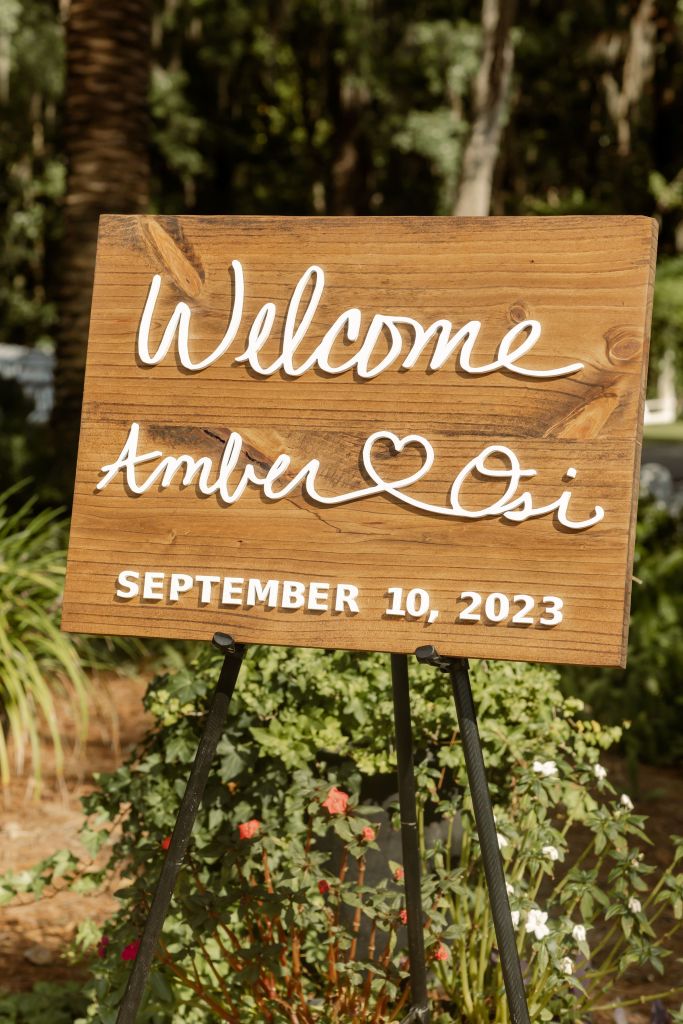
Wood Welcome Sign
To greet our guests I put together a wooden welcome sign based off a picture that my Fiance sent me. It was relatively easy to construct after some post processing of my fiance’s handwriting as was described for the LED sign.
The lettering was created out of 1/4 inch MDF on a laser cutter. This was my first time using MDF as a material and I have to say I will 100% be using it again. The cut is very clean which I attribute to the small loosely held particles being easily burned and blown away by the compressed air system. A few layers of white paint and then a little bit of quick setting epoxy completed the sign nicely.
The backing of the board was made from some off cuts of the tables. Finished but without a poly coat to give it a nice matte shine.