For a Christmas gift for my dad I decided to take the wooden chess set he grew up with and make bronze castings out of them. I began the process by creating silicone molds with the wood pieces in order to make wax replicas of the parts. With these wax pieces I could utilize lost wax casting to create the final parts. I soon realized that with 32 total pieces this would have been incredibly time consuming as well as costly given the total volume of investment needed. So I tried out sand casting instead.
Sand Casting Supplies
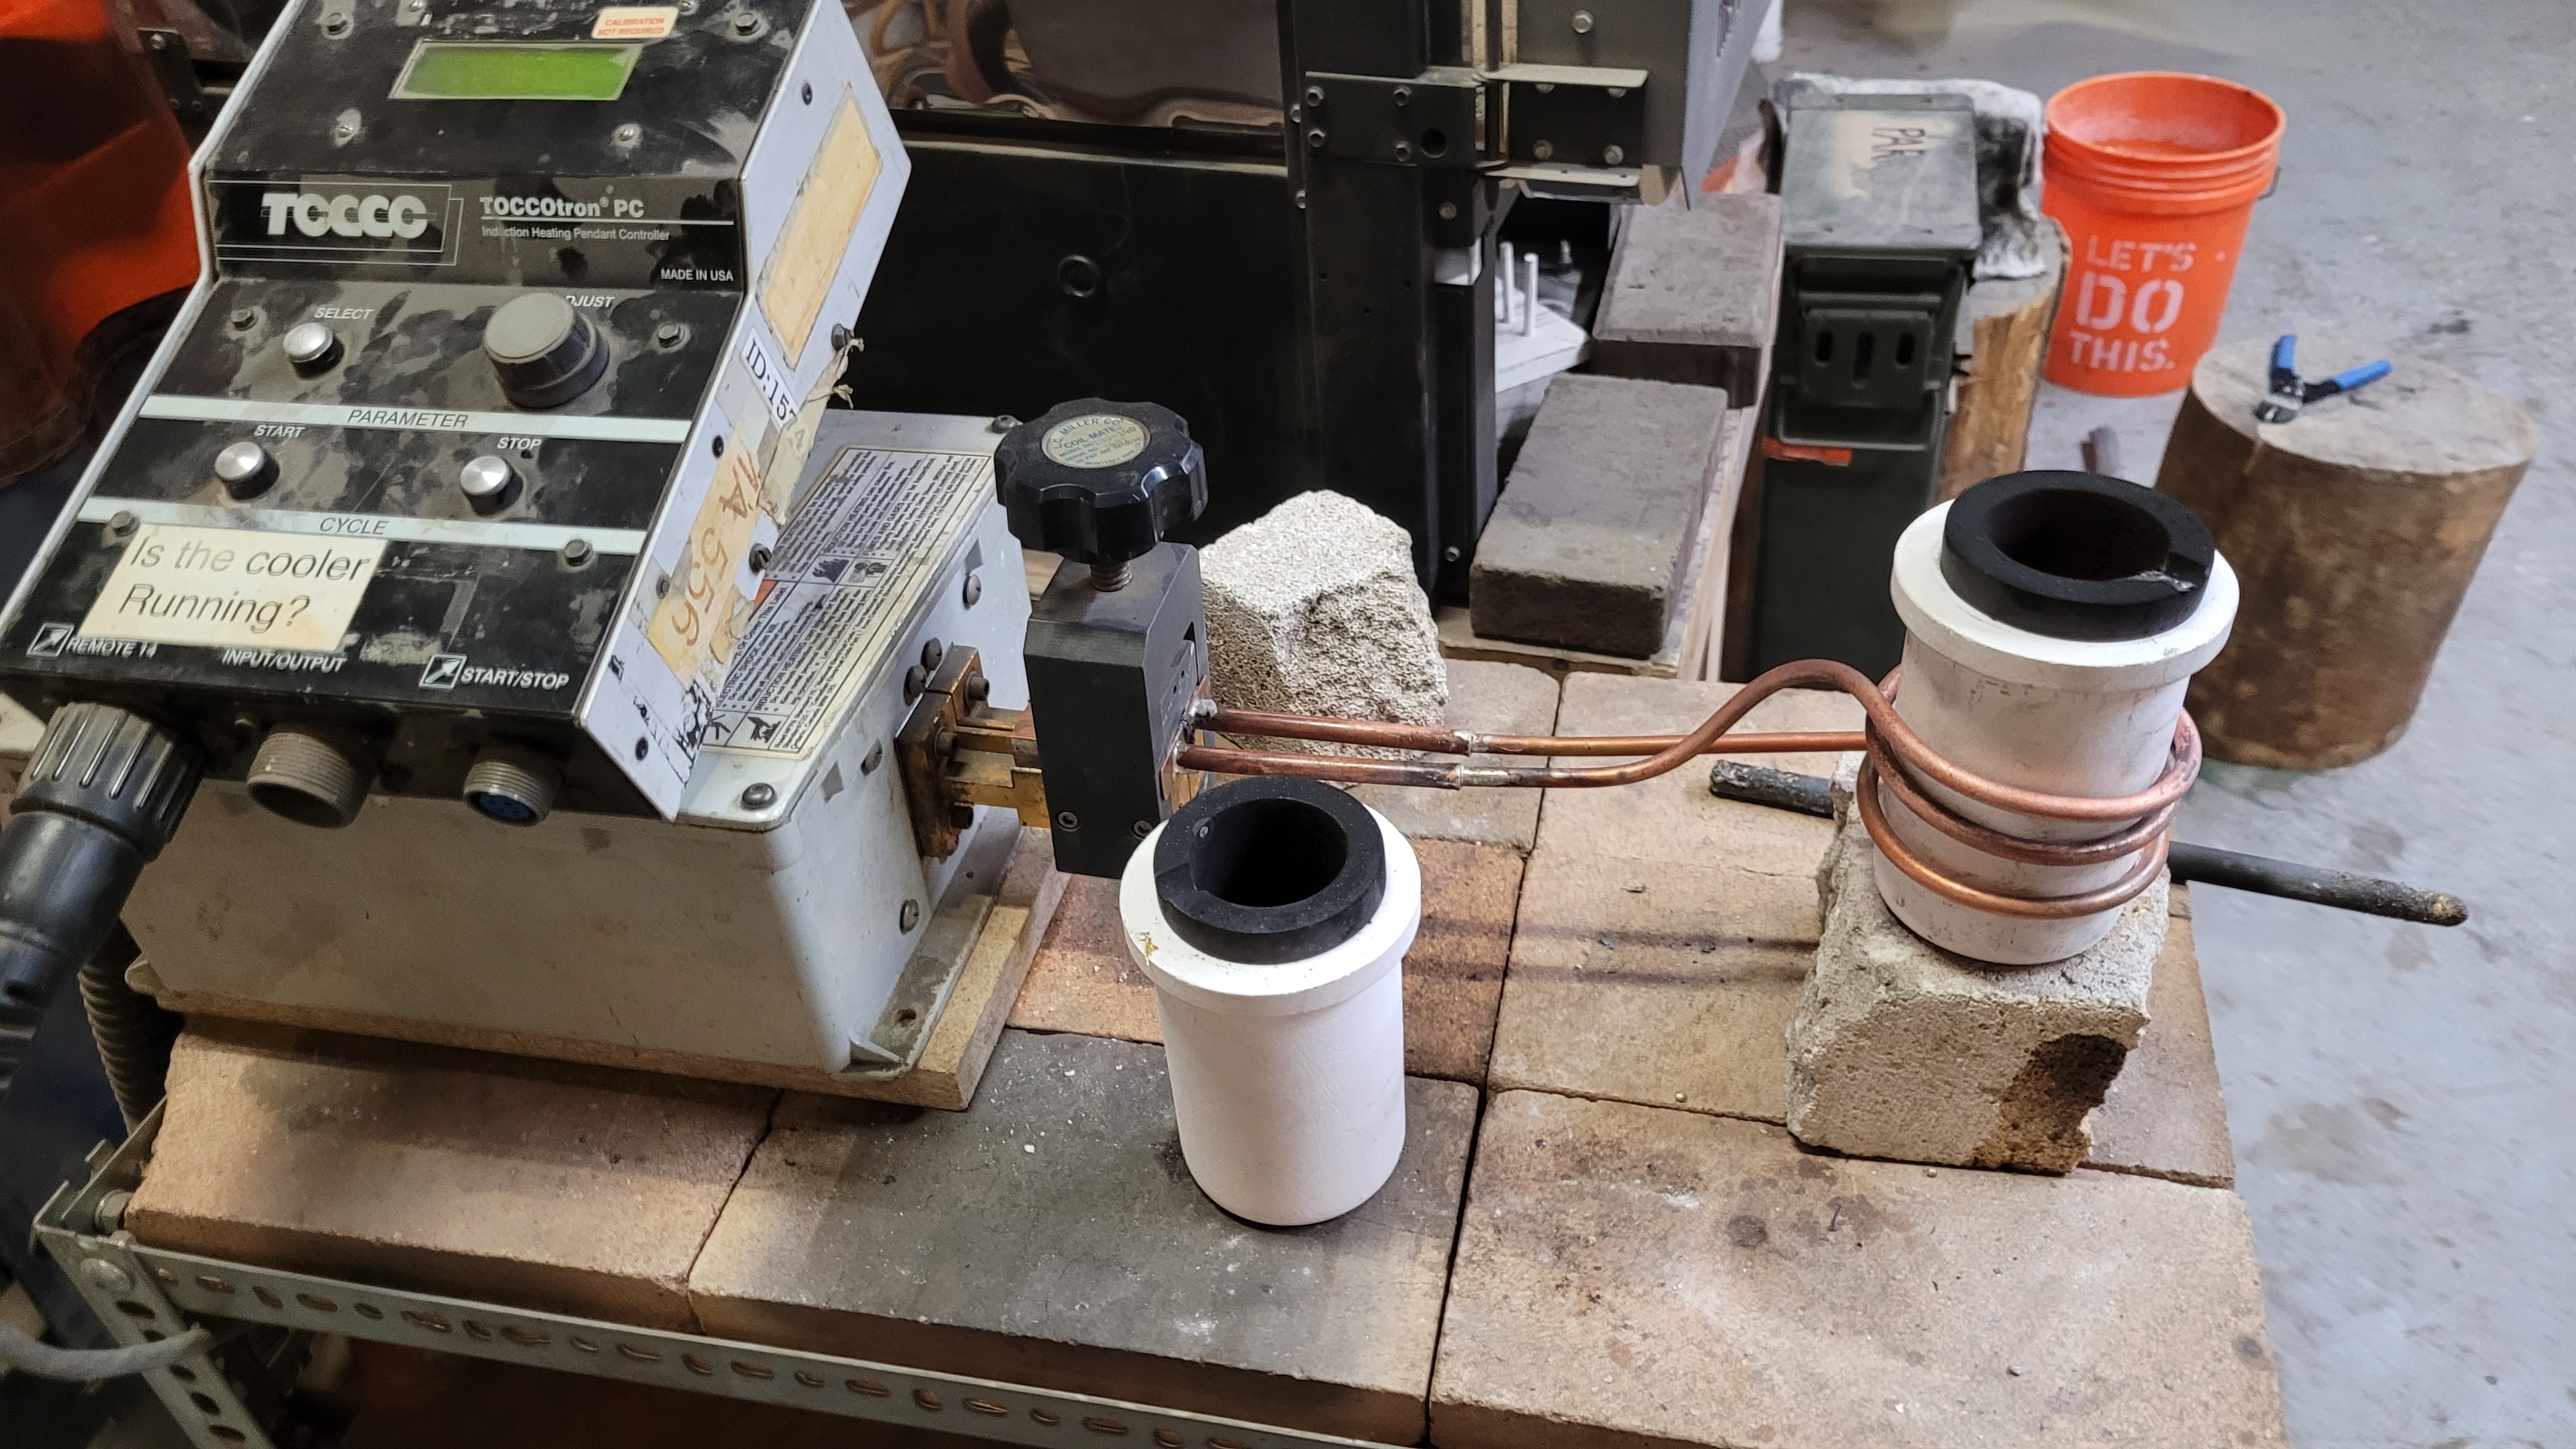
The sand that I utilized to cast with was Petro-bond. It works by utilizing fine grain sand (140mesh) with an oil based binder that gives it a strong green strength. I utilized some 4.75x2x3 inch cast iron molds to contain the sand and part. Sourced most of my supplies from PMC.
- Petro-bond sand
- 2x Cast iron molds.
- Fine Fan brush
- 100% corn starch
- Metal ruler
- Hammer
- Wax/Dental pick
Sand Casting Process
The sand casting process is great because it is fast and cheap. Compared to lost-wax casting (15hrs) this process is 10x faster (1.5hrs). The one thing that lost wax has on sand casting is that it is much better with intricate details as well as overhangs. This is because the investment powder/slurry is much much finer than 140 mesh and because the mold remains whole during the casting process.
What this means for sand casting is that it is important to consider the mold line that splits the pieces because you need to take the object that you’re replicating out to form the cavity the metal pours into. This is particularly difficult when working with round pieces aka wood chess pieces. The wooden parts were definitely made on some sort of wood lathe given the rotational symmetry, so I had to do my best to find the centerline and make it work.
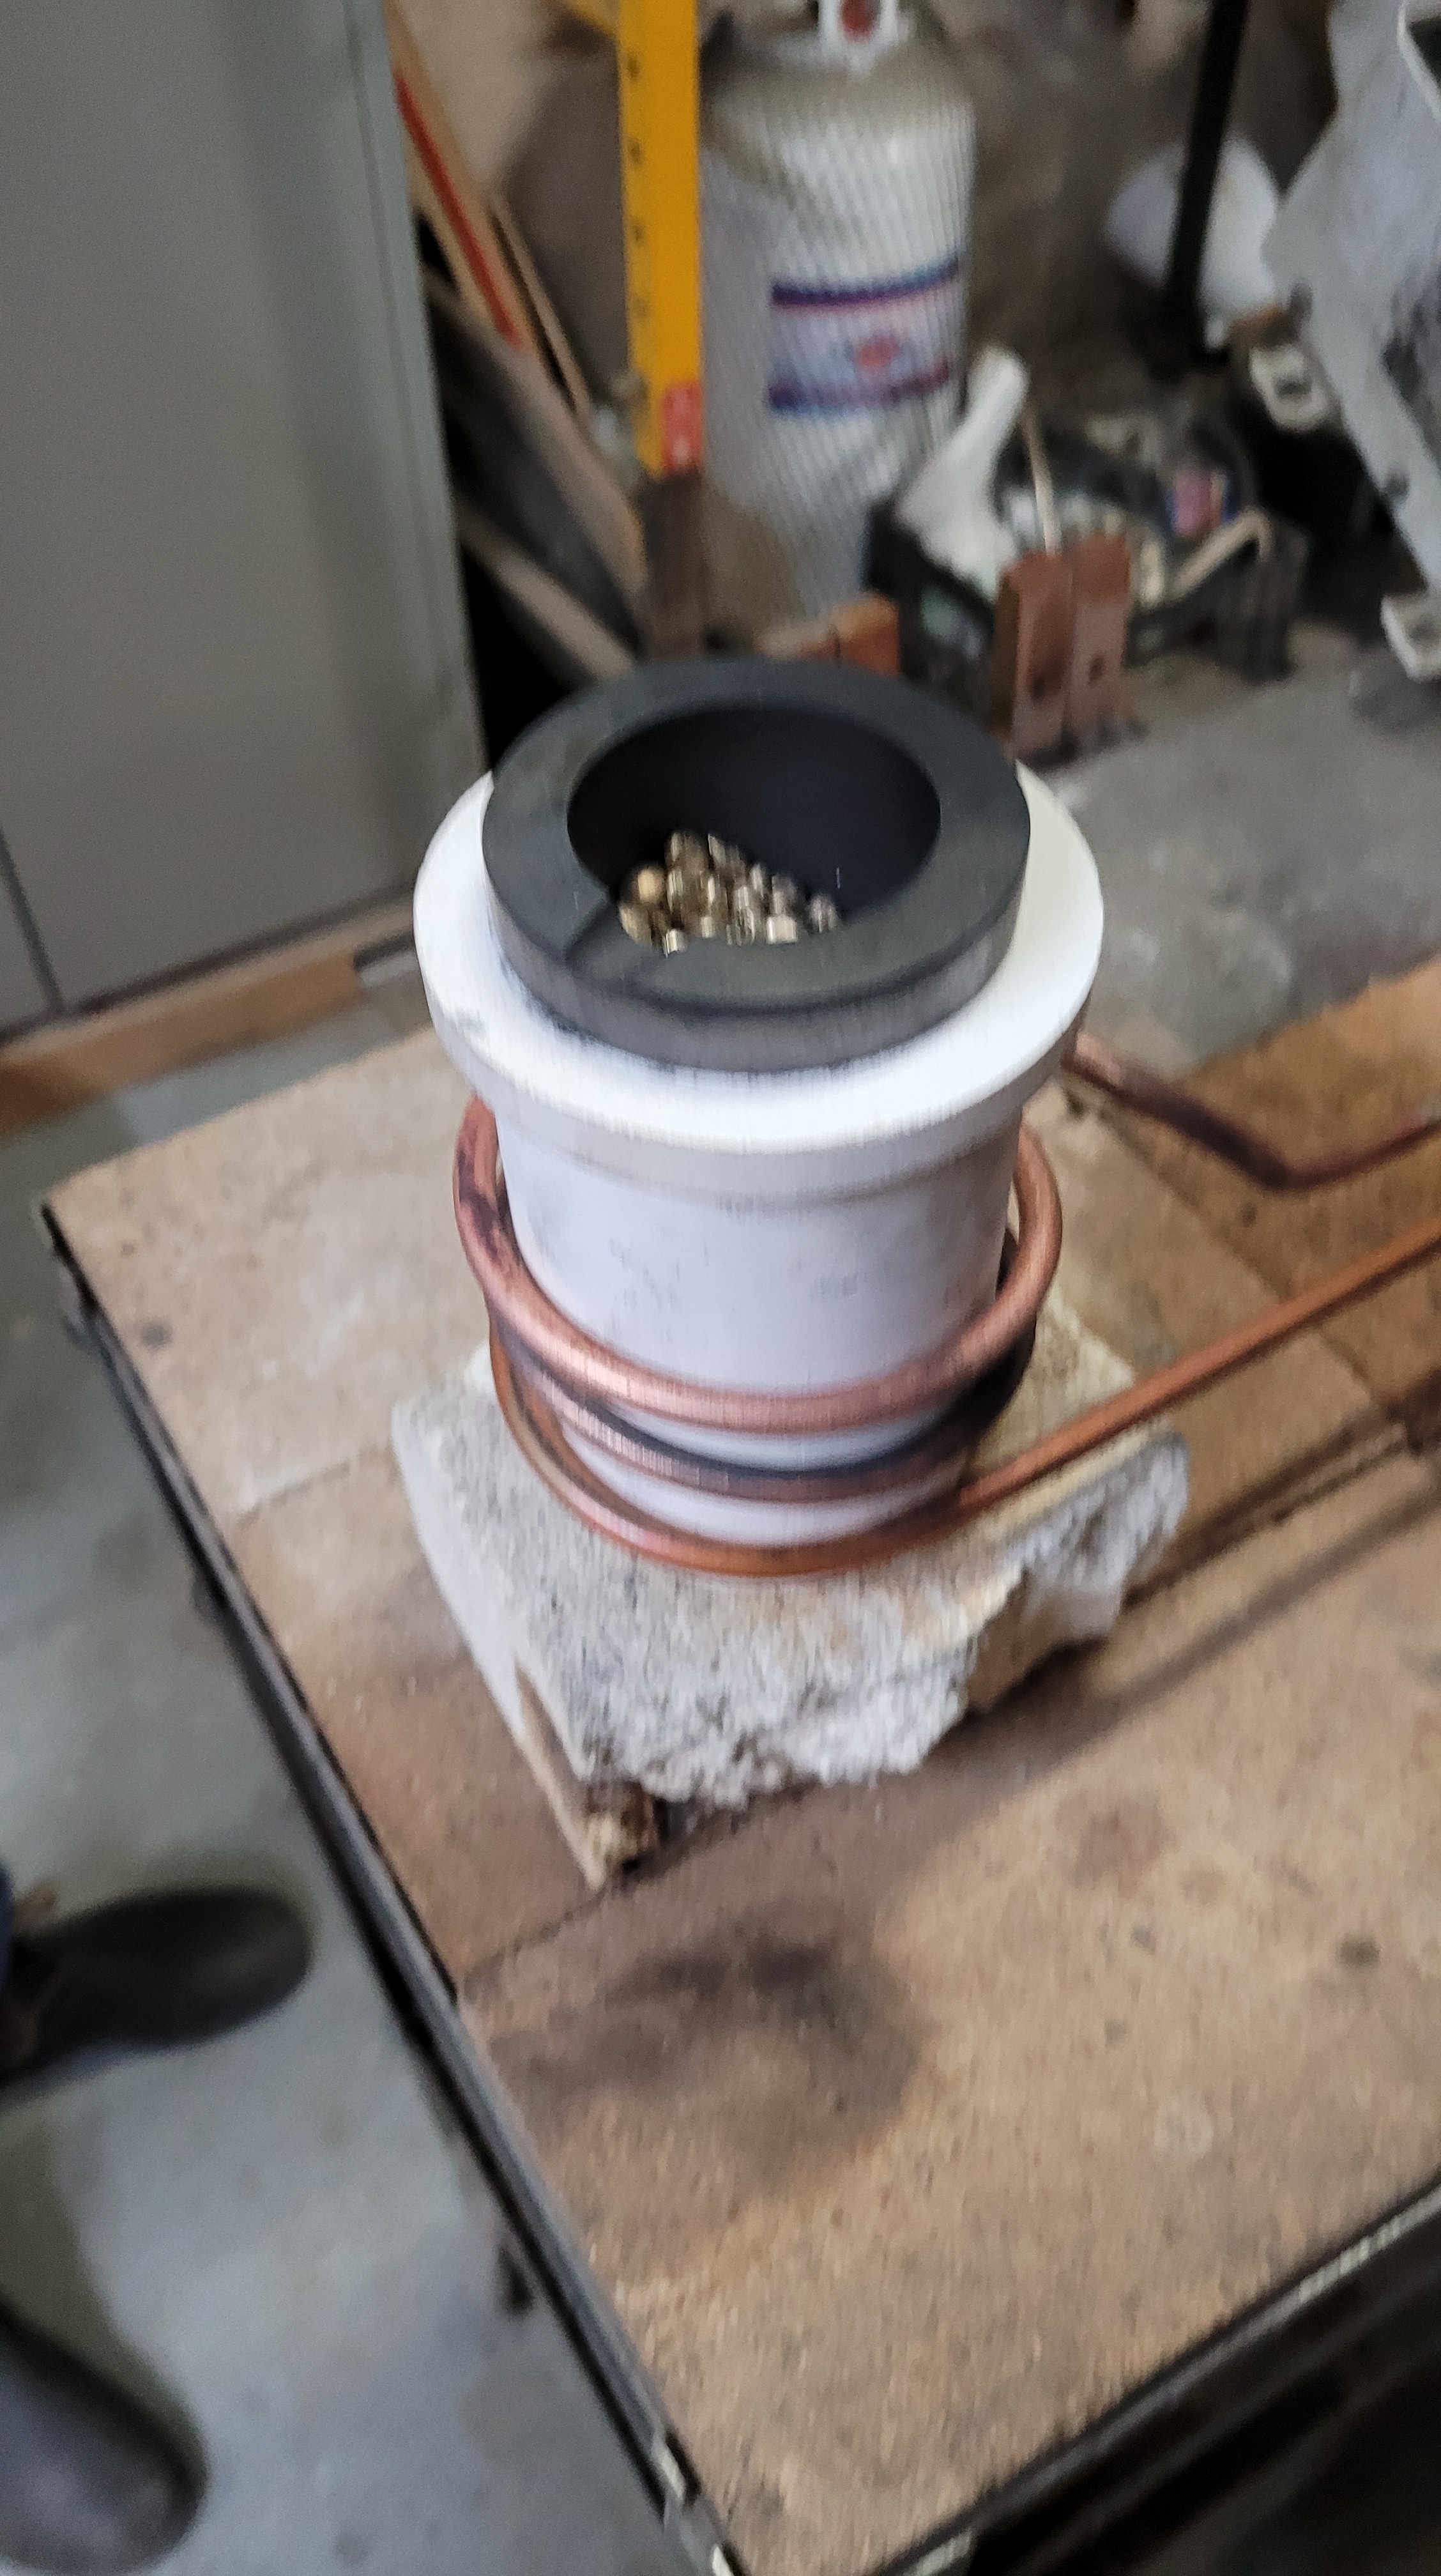
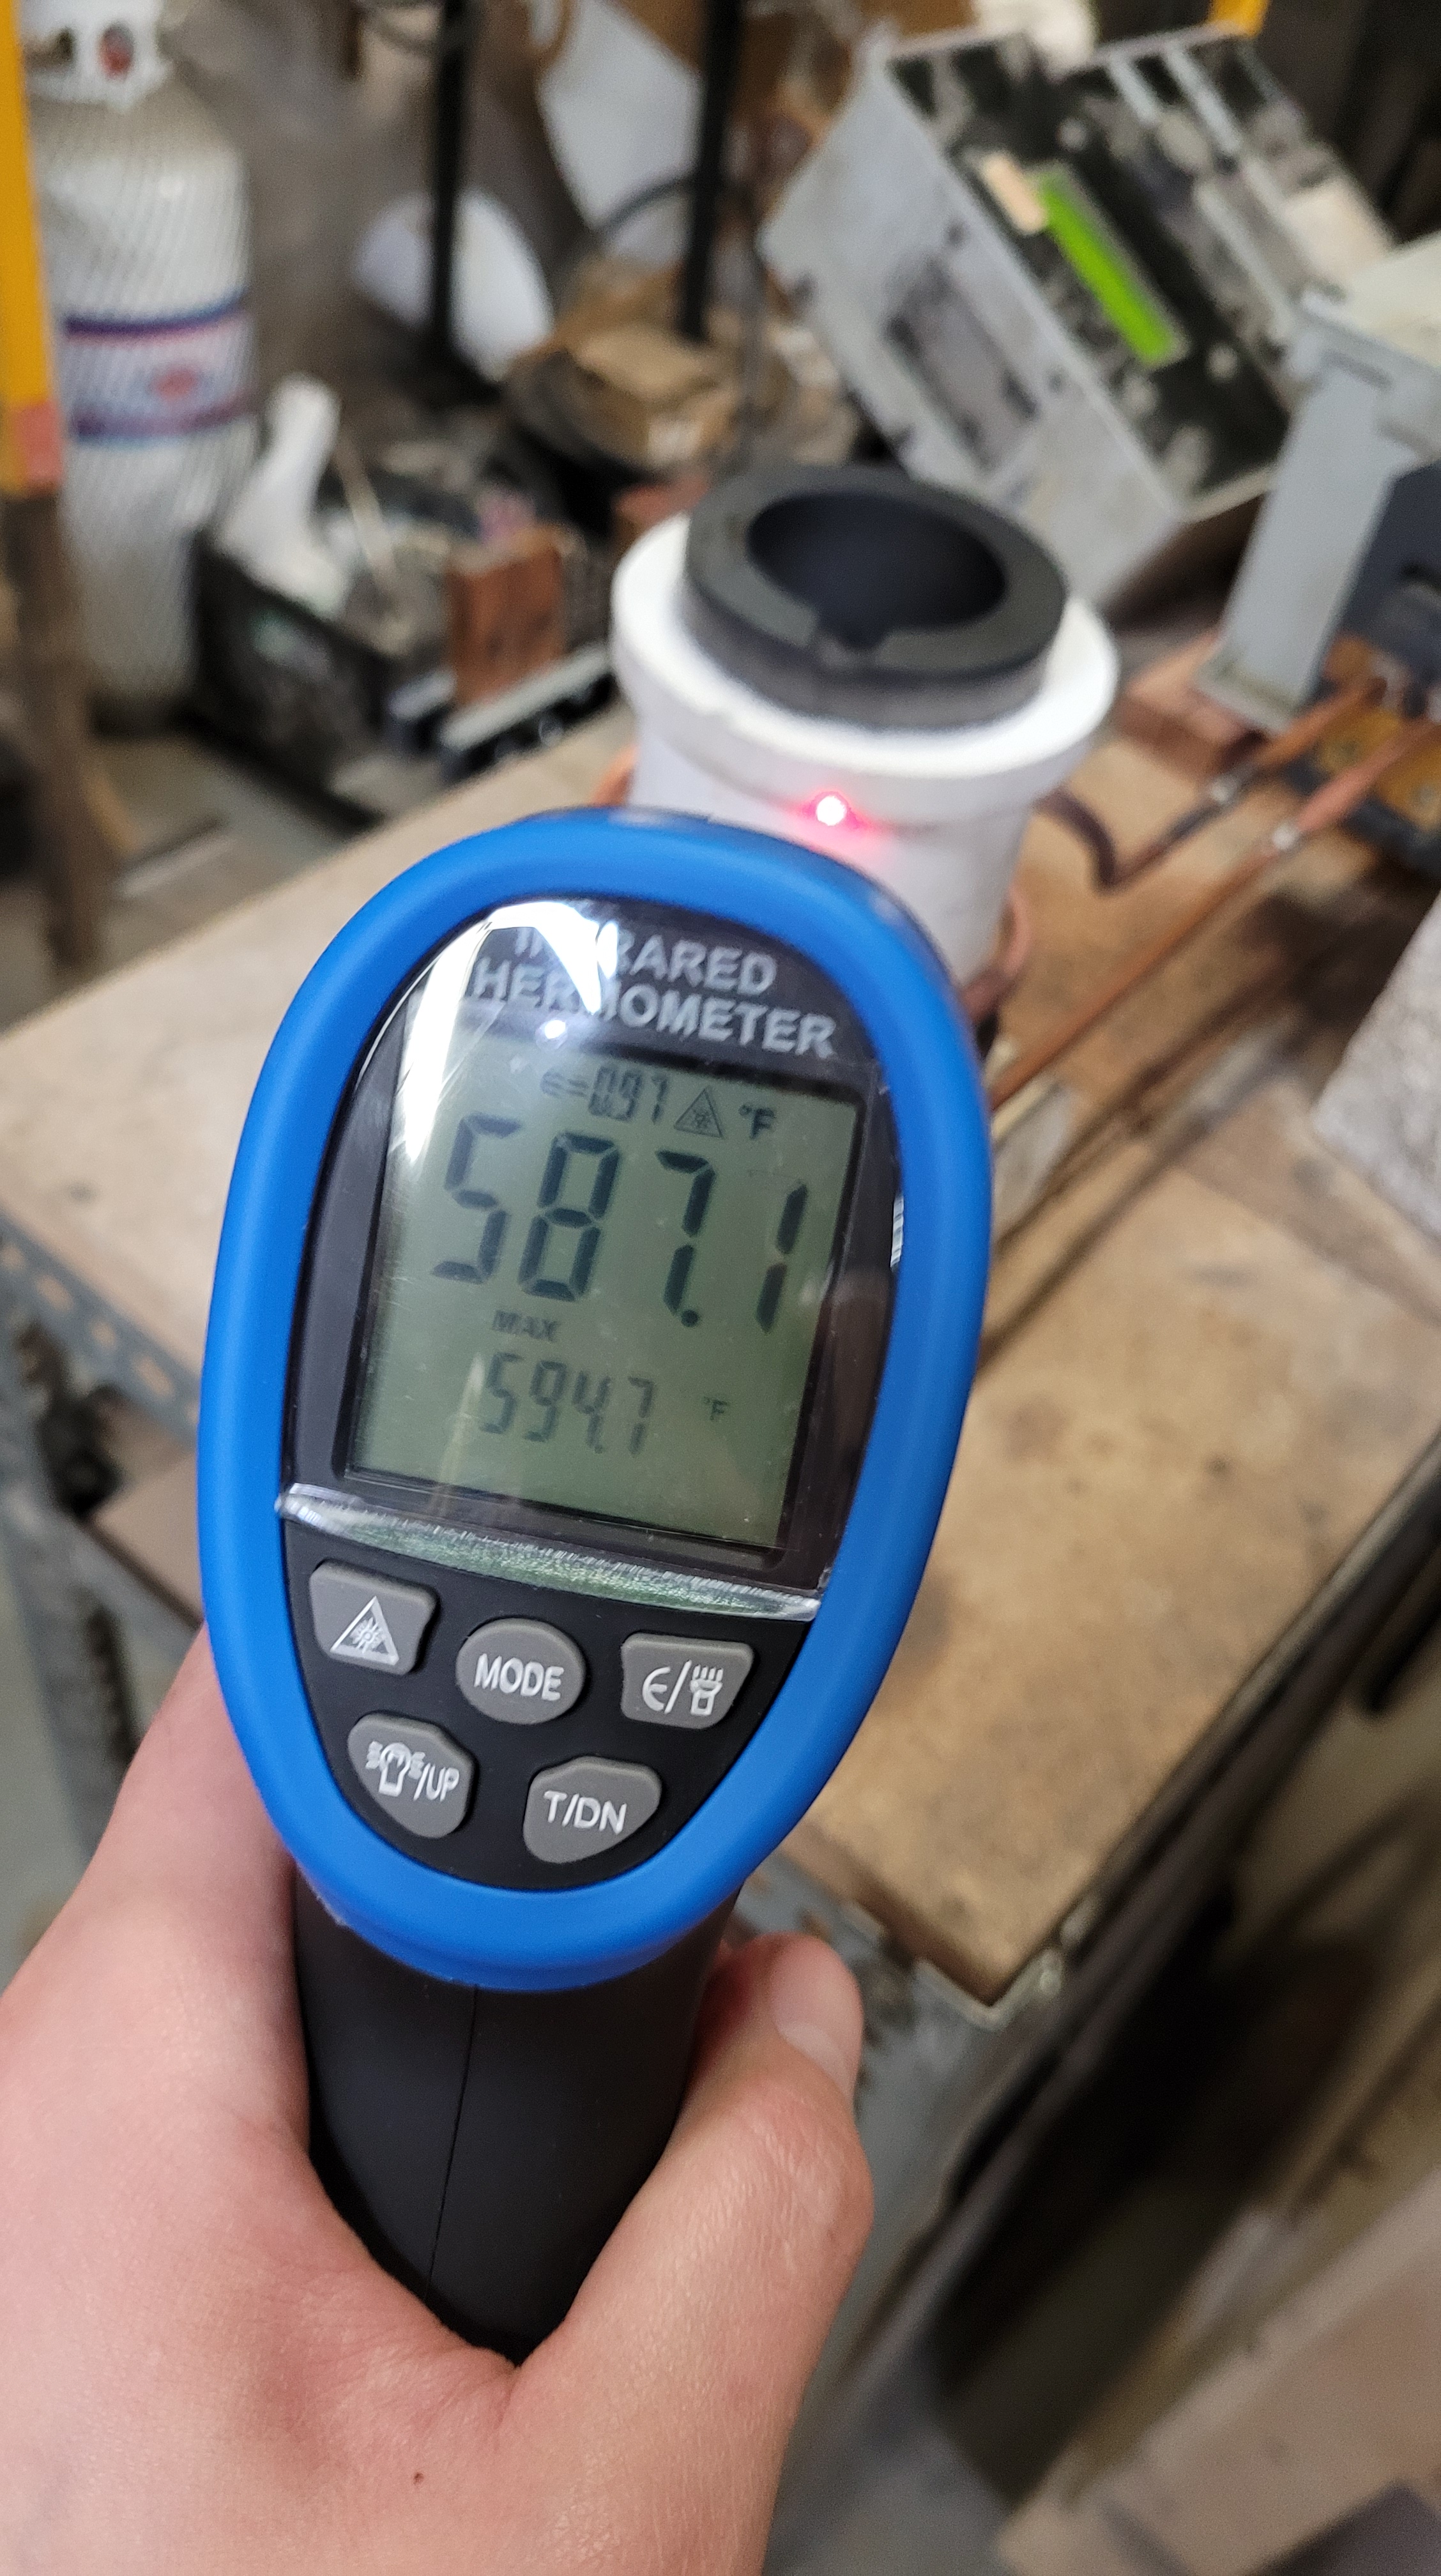
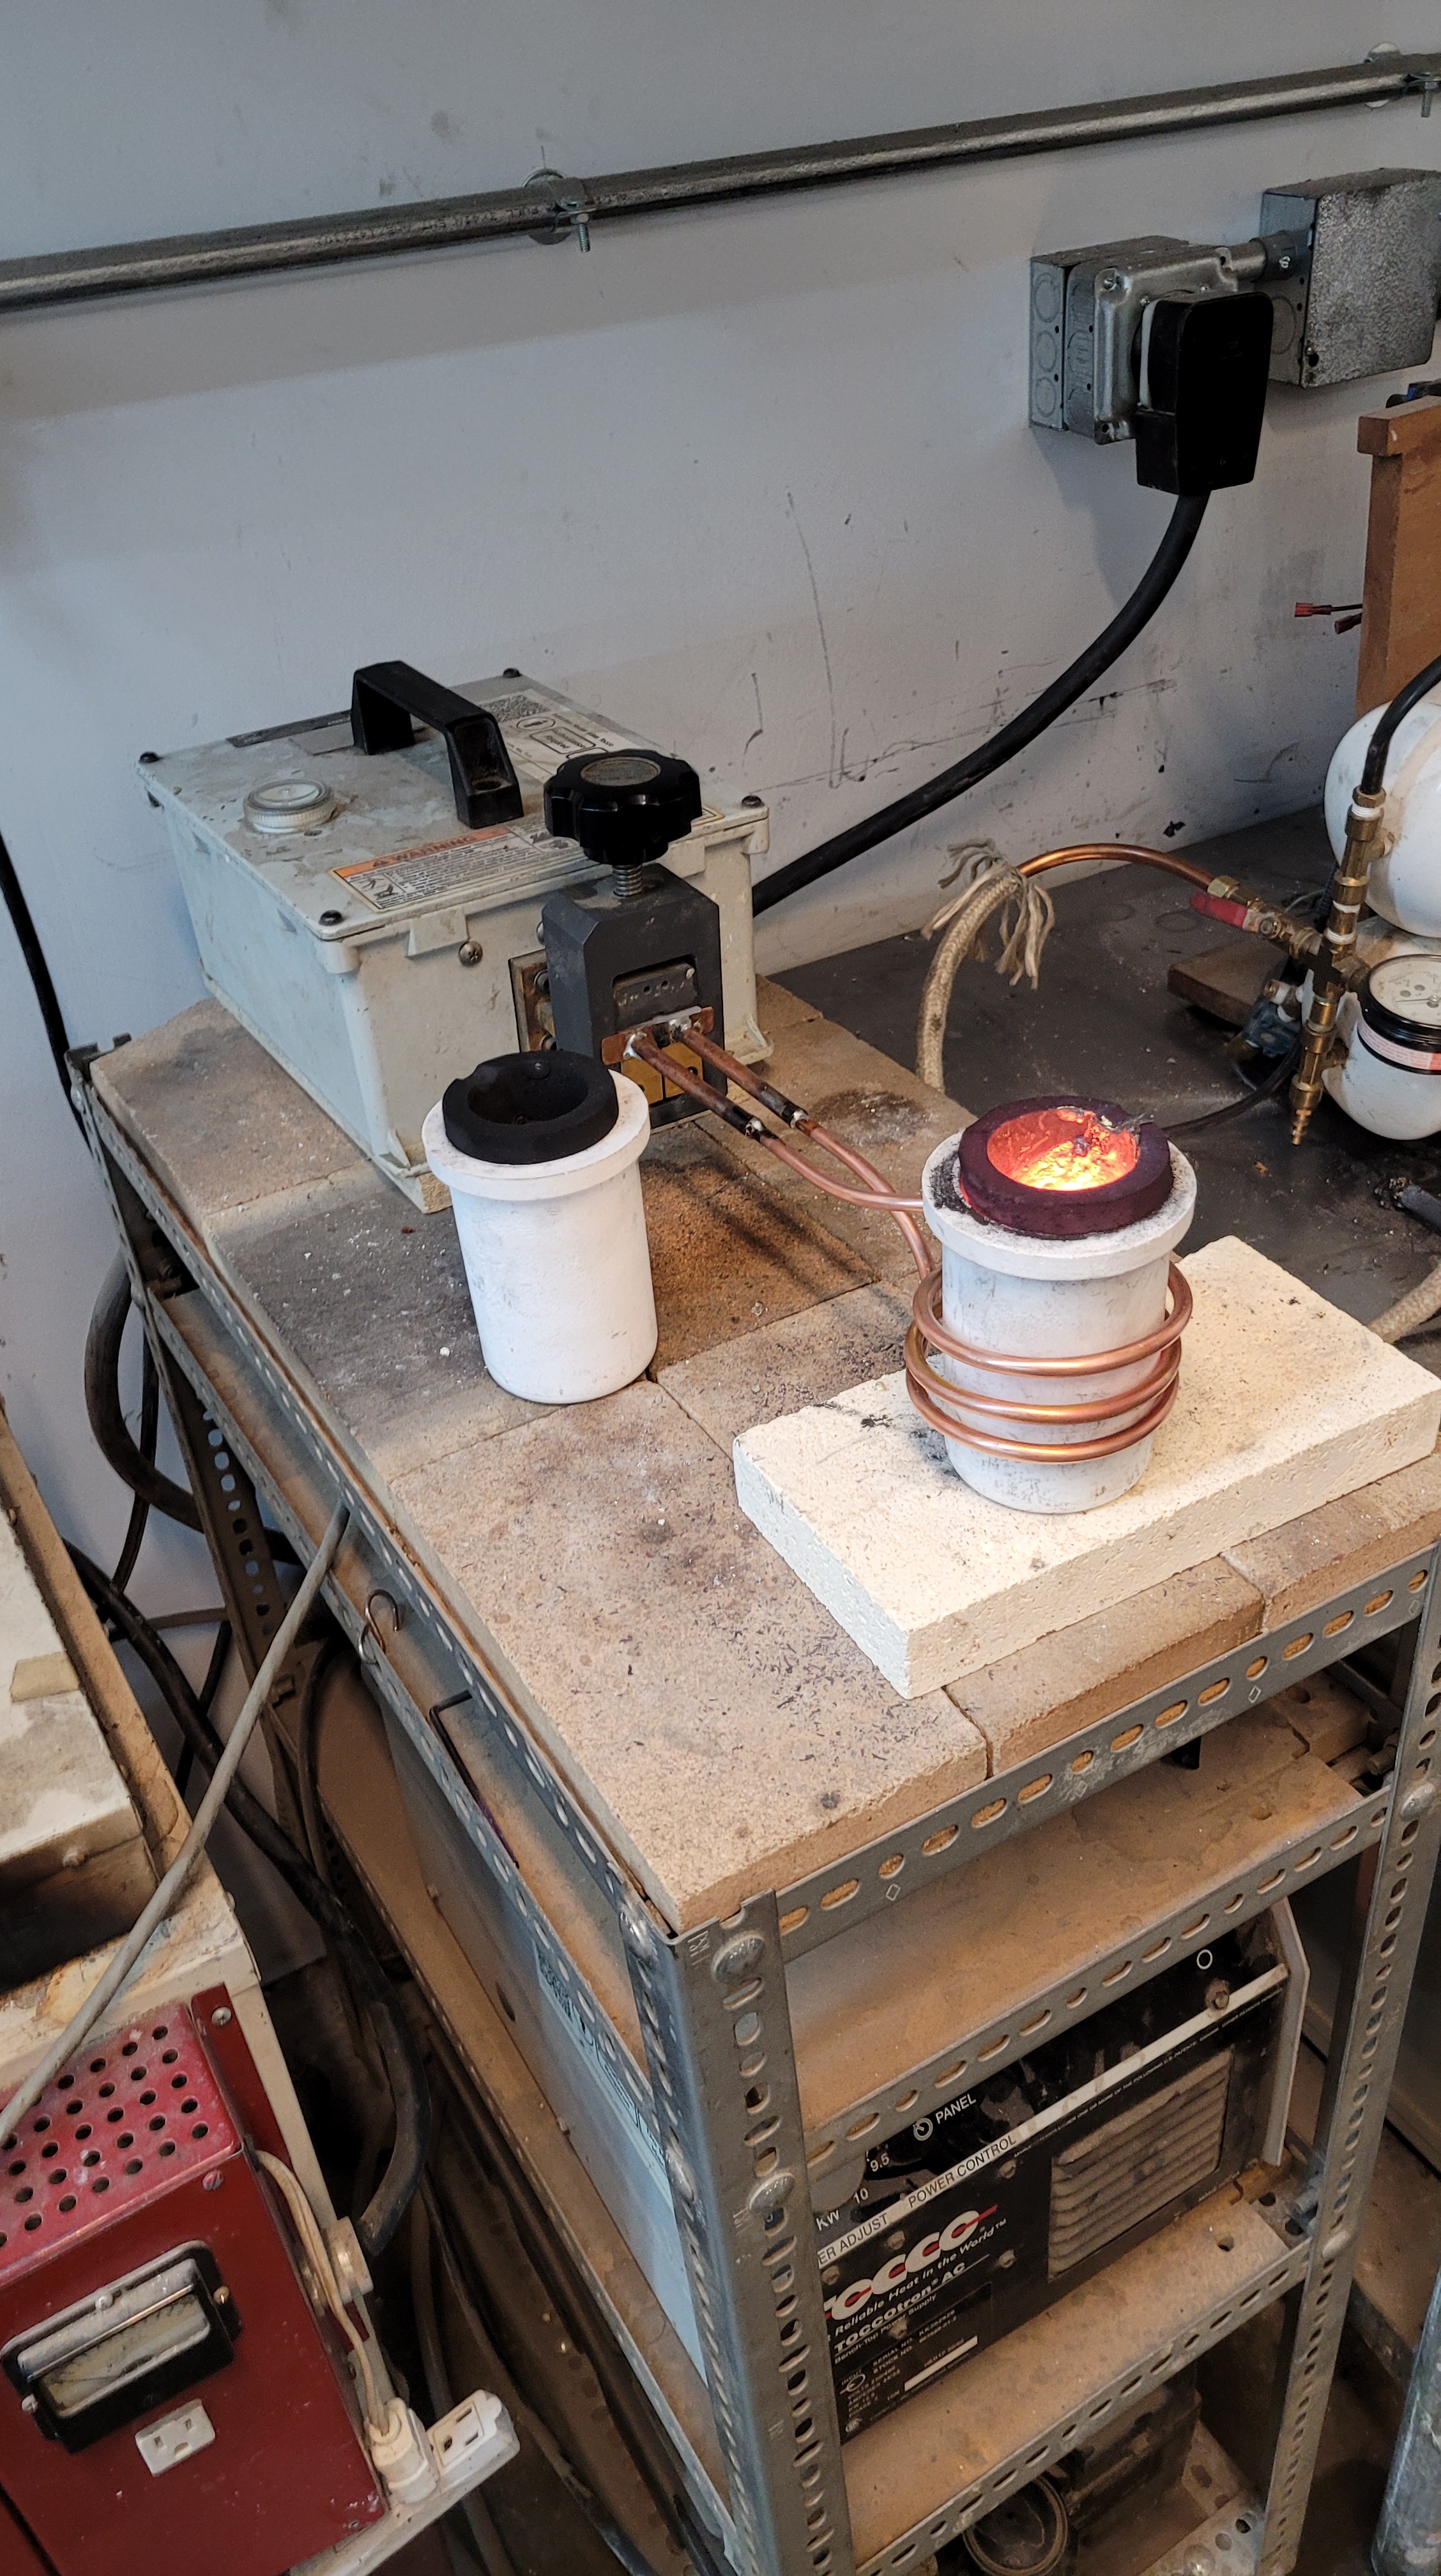
Another amazing tool that I got to work with was the makerspace’s induction heater. This device had been on a bit of a hiatus but we got the 5kw continuous machine working again! Using this furnace was 100x faster than my old electric kiln method as the energy transfer efficiency is so much better. I was able to melt 100gs of bronze in 3 minutes where as the electric furnace would take 2-3 hours!
The following list describes the procedure I utilized for my sand cast parts
- Hand pack one half of the cast iron mold with petrobond sand.
- Place the chess pieces ~half way into the packed mold. I biased a little less deep so ~45% of the way to the center line.
- Sprinkle corn starch around the part. Use a brush to make sure an even coating is well distributed.
- This acts to prevent the two halves from sticking!
- Line the other half of the cast iron mold.
- Fill the other half of the mold with petrobond sand.
- Use a hammer to compact well.
- Slowly shimmy mold apart.
- Utilize a pick to gently pry the wood part out of the packed sand.
- Re-align the two molds back together.
- Utilize a clamp to pinch the molds together.
- Heat metal in the induction furnace.
- Pour metal into mold.
- Allow ~1 minute for the mold to cool.
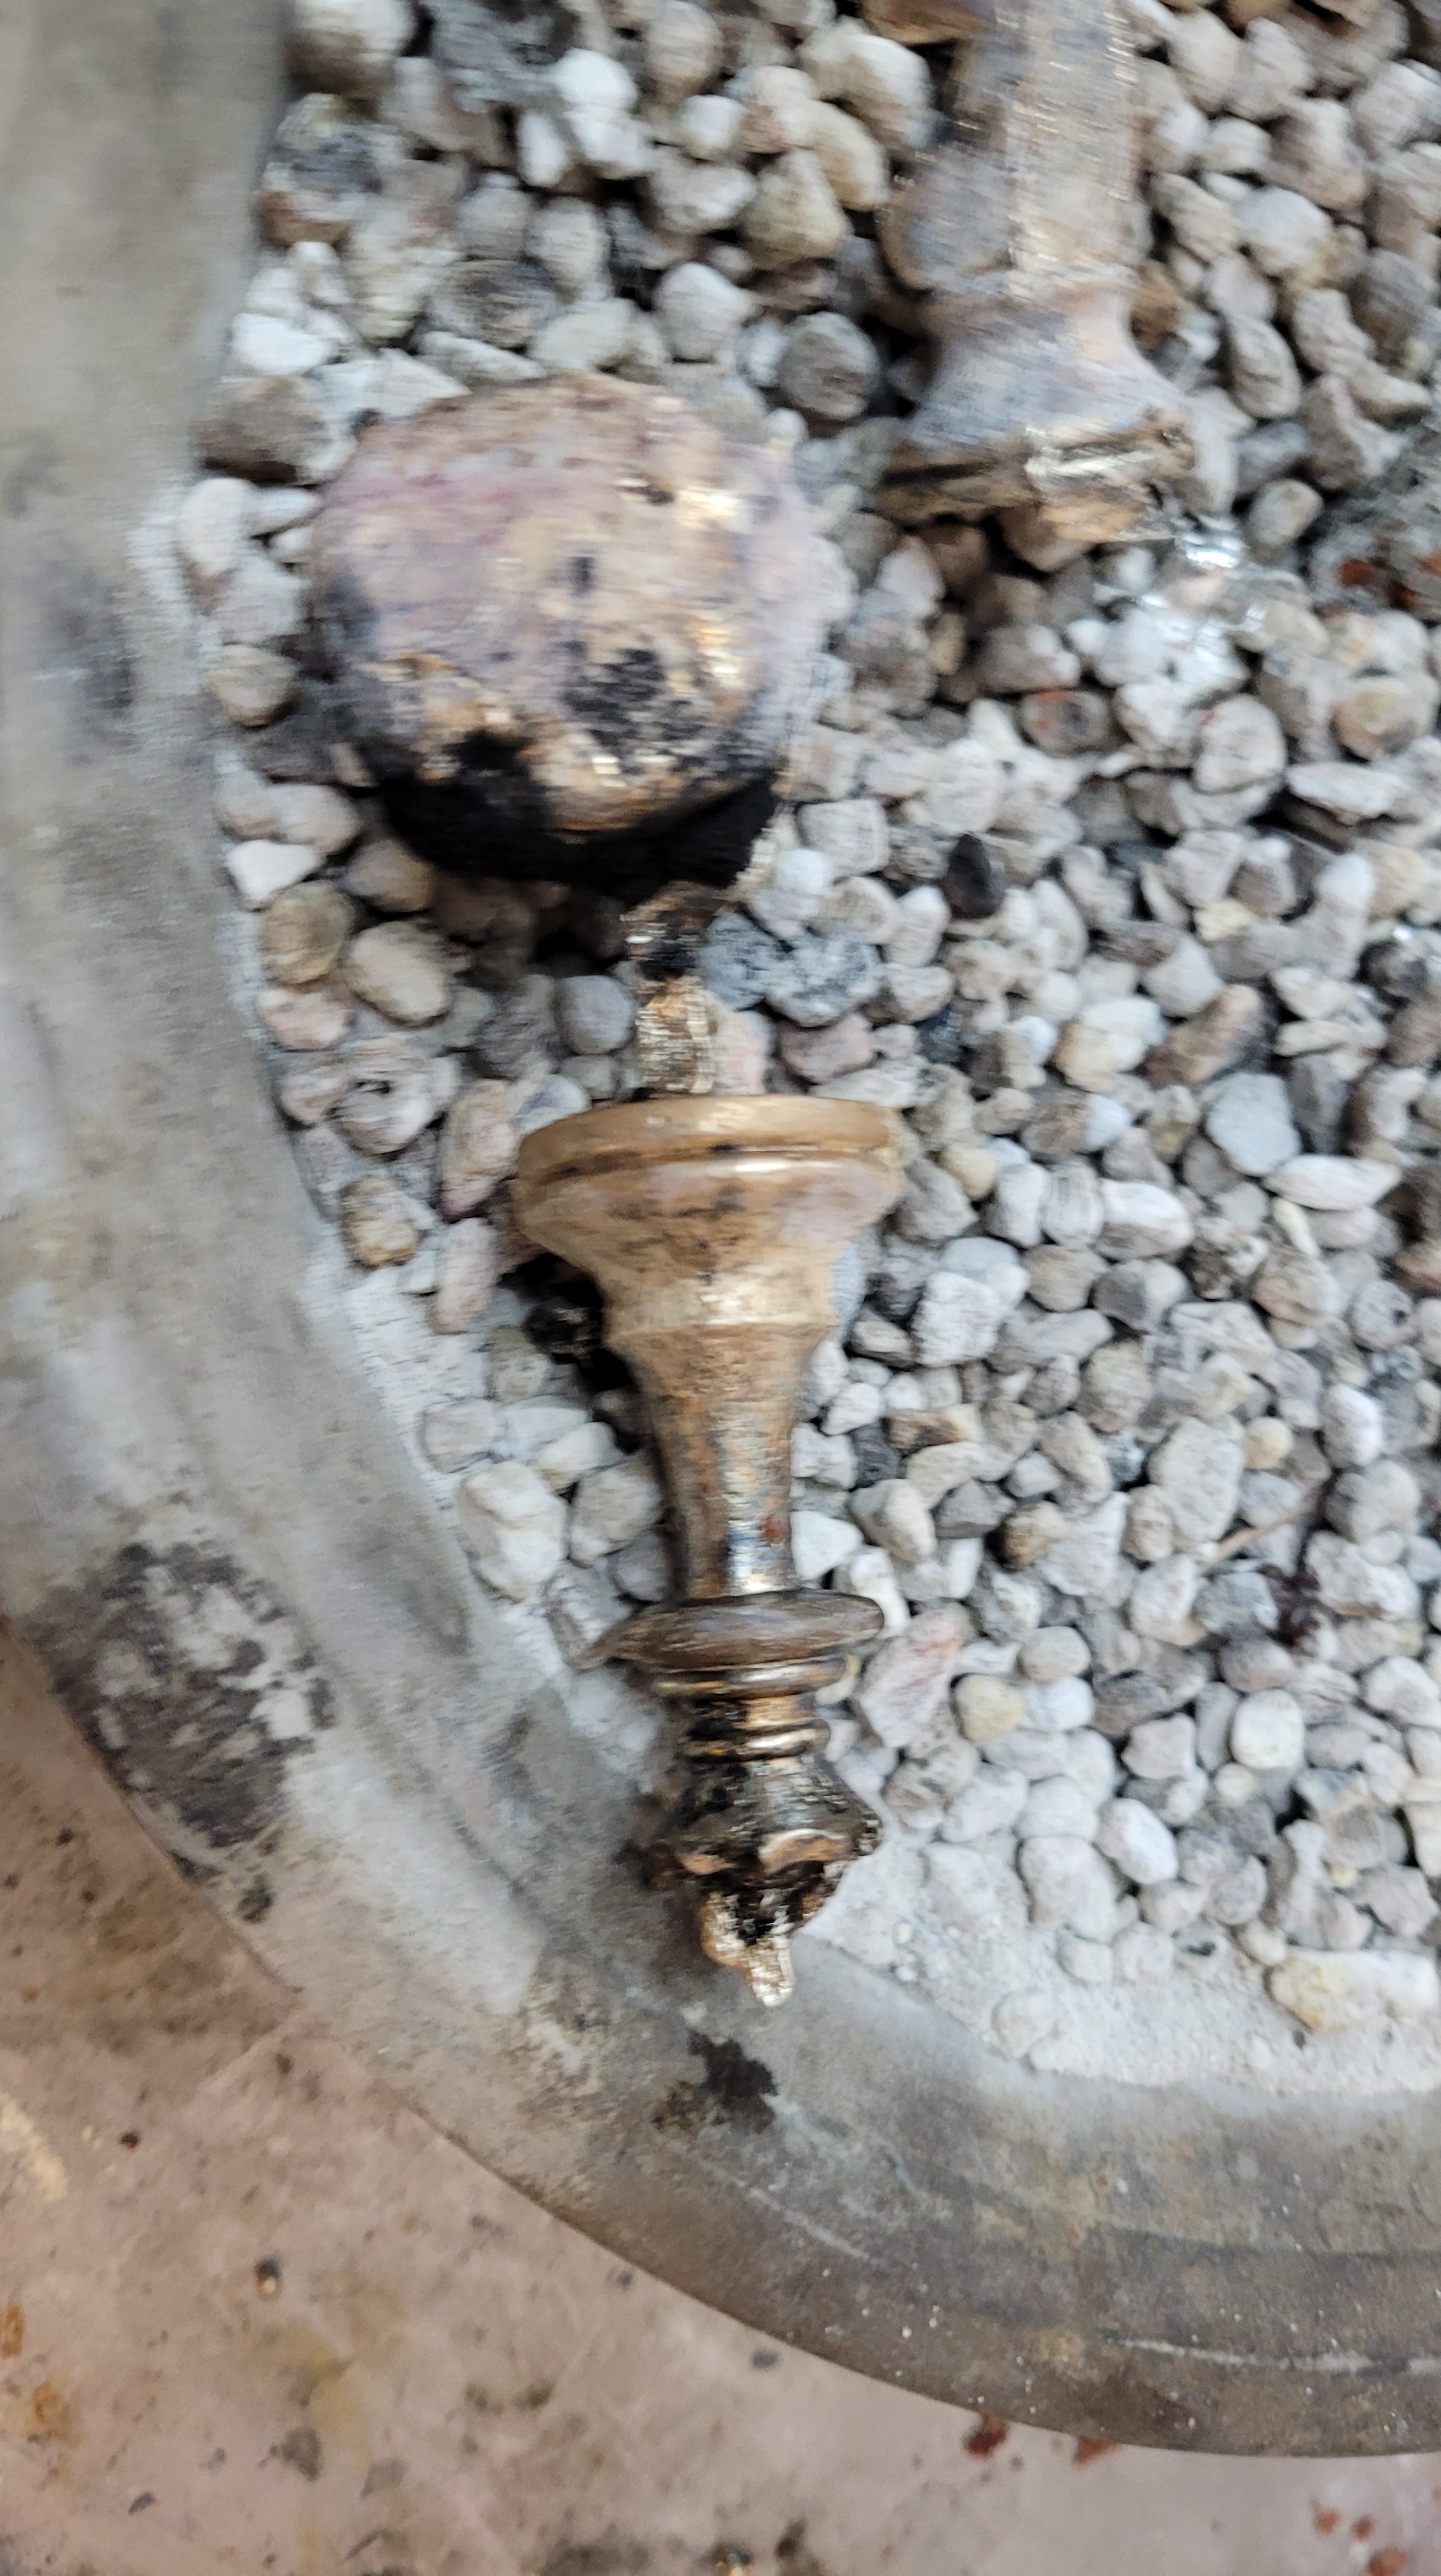
- Break mold apart and quickly separate the burning sand from the green sand.
- Dunk metal part into water or let air cool.
- Use bolt cutters to separate metal part from button.
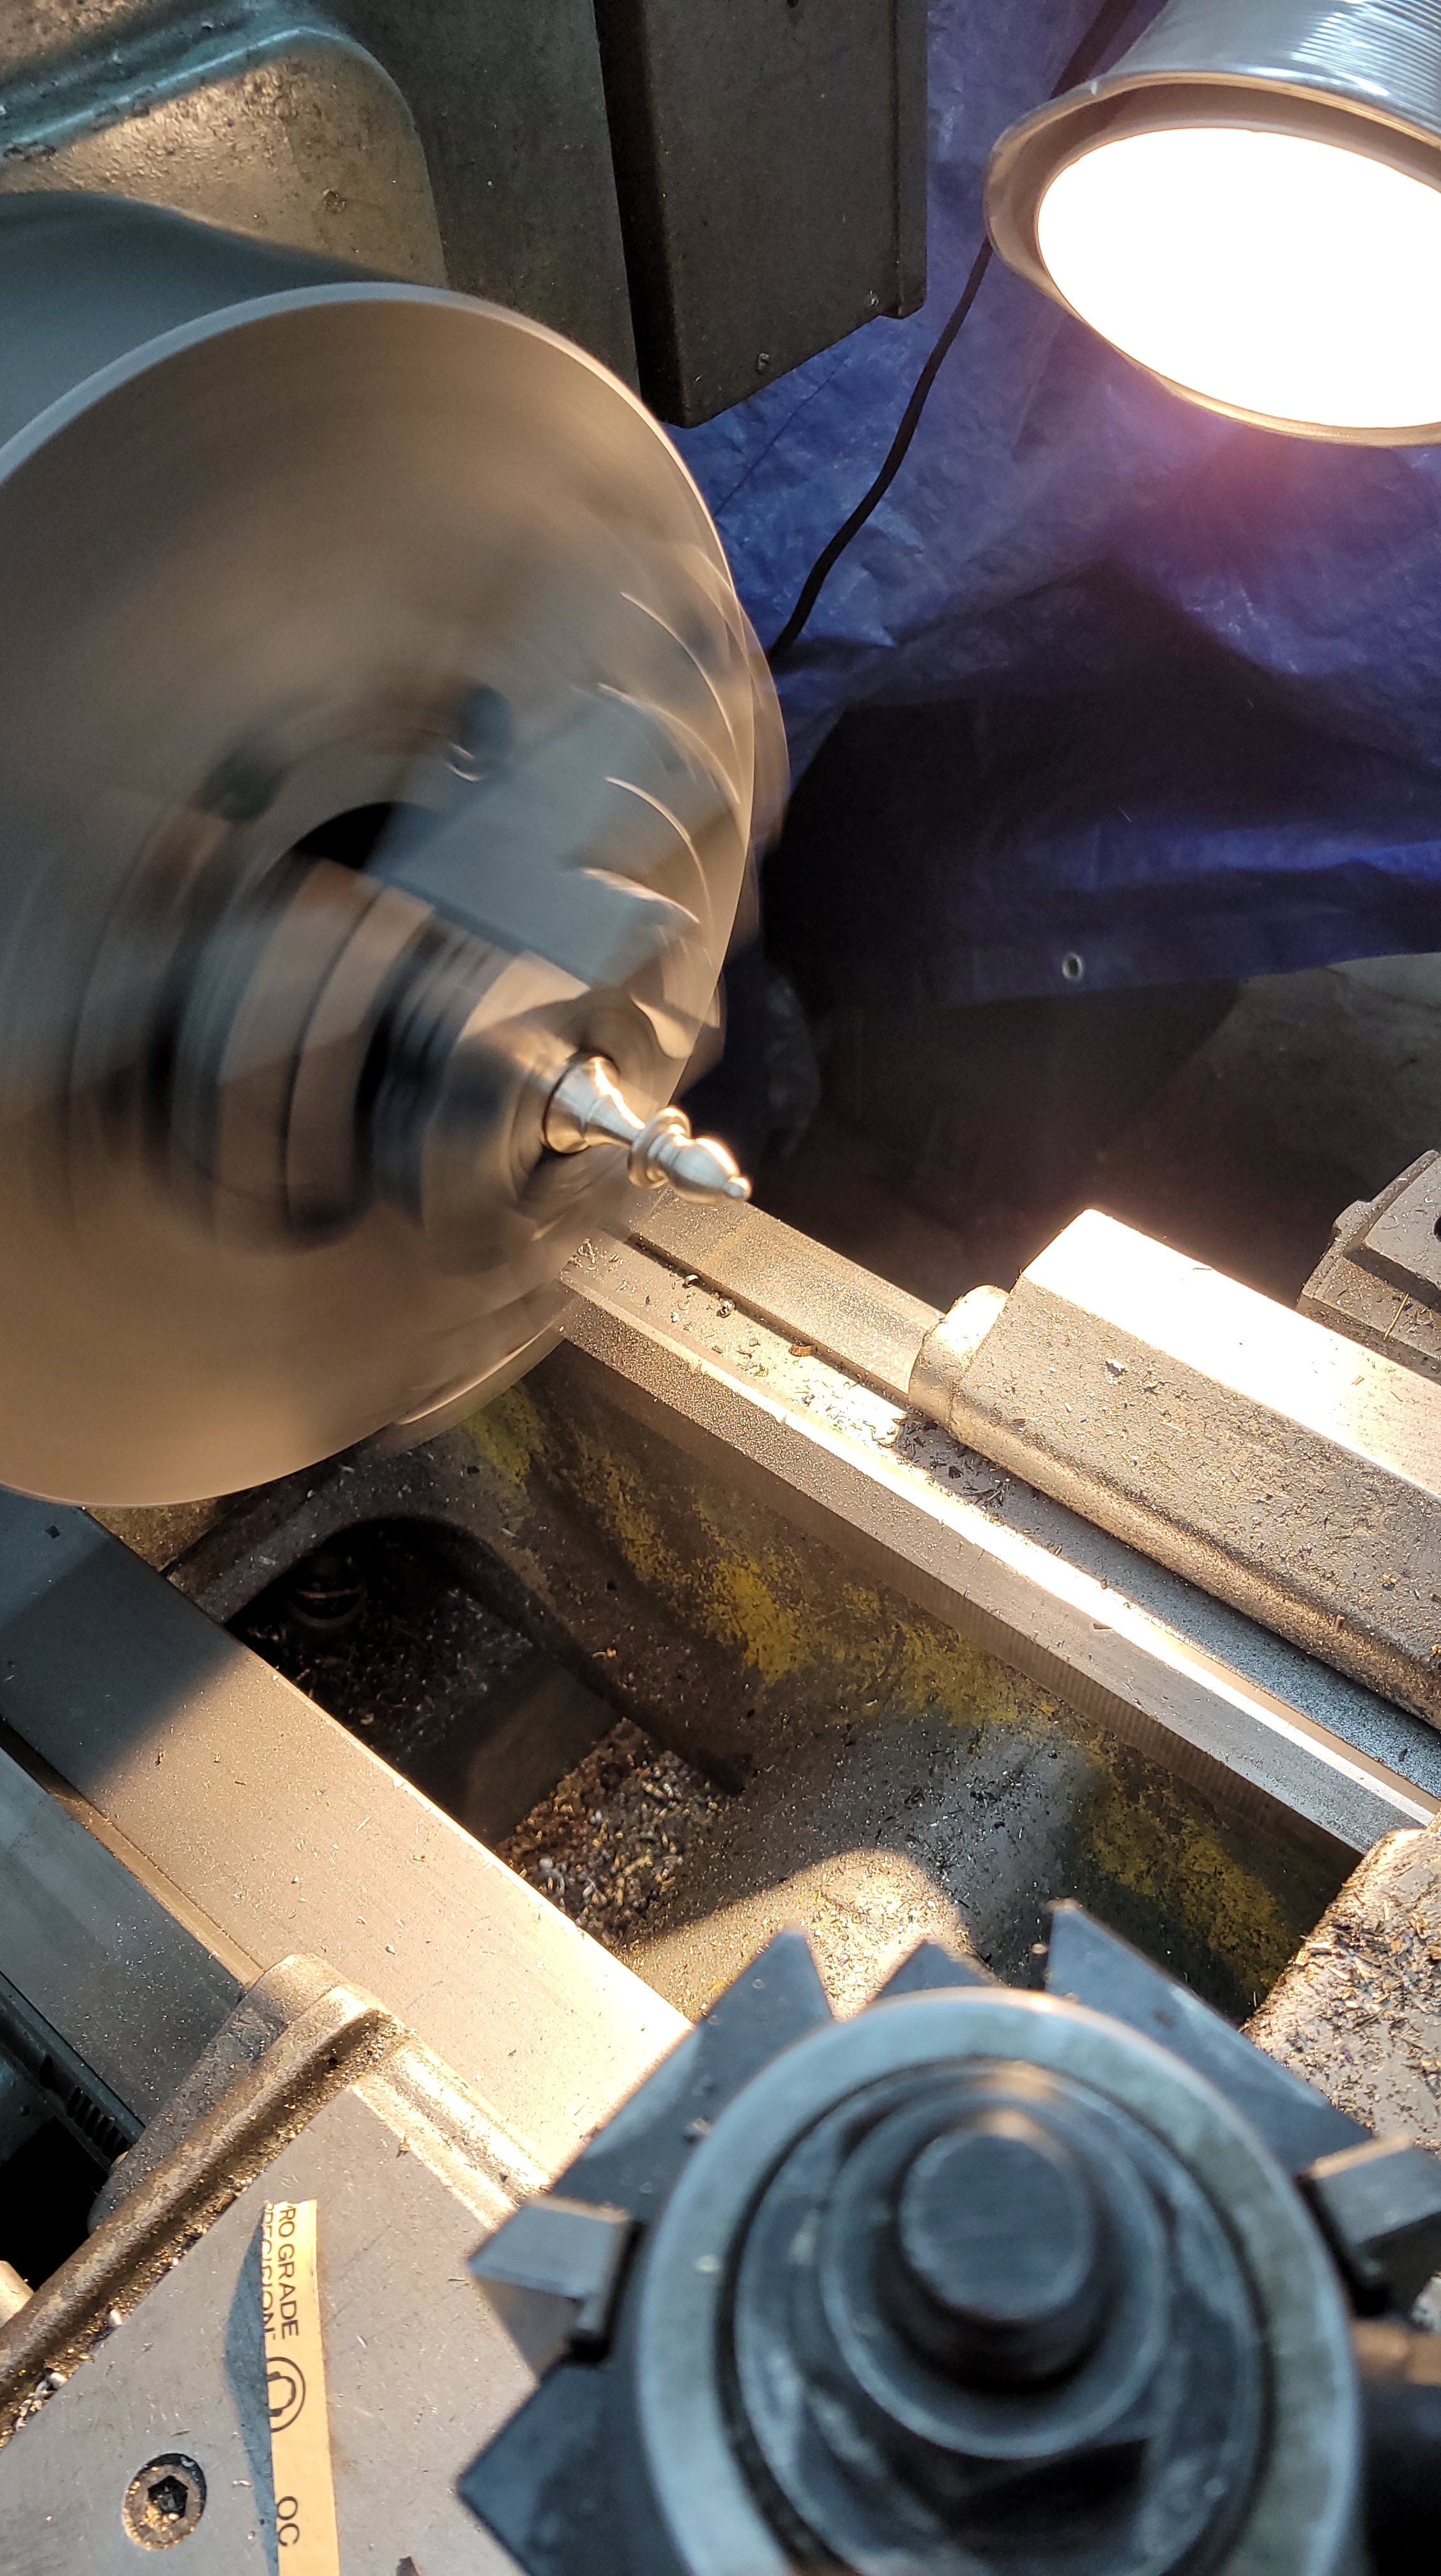
- Use lathe and/or belt sander to remove metal nub from base.
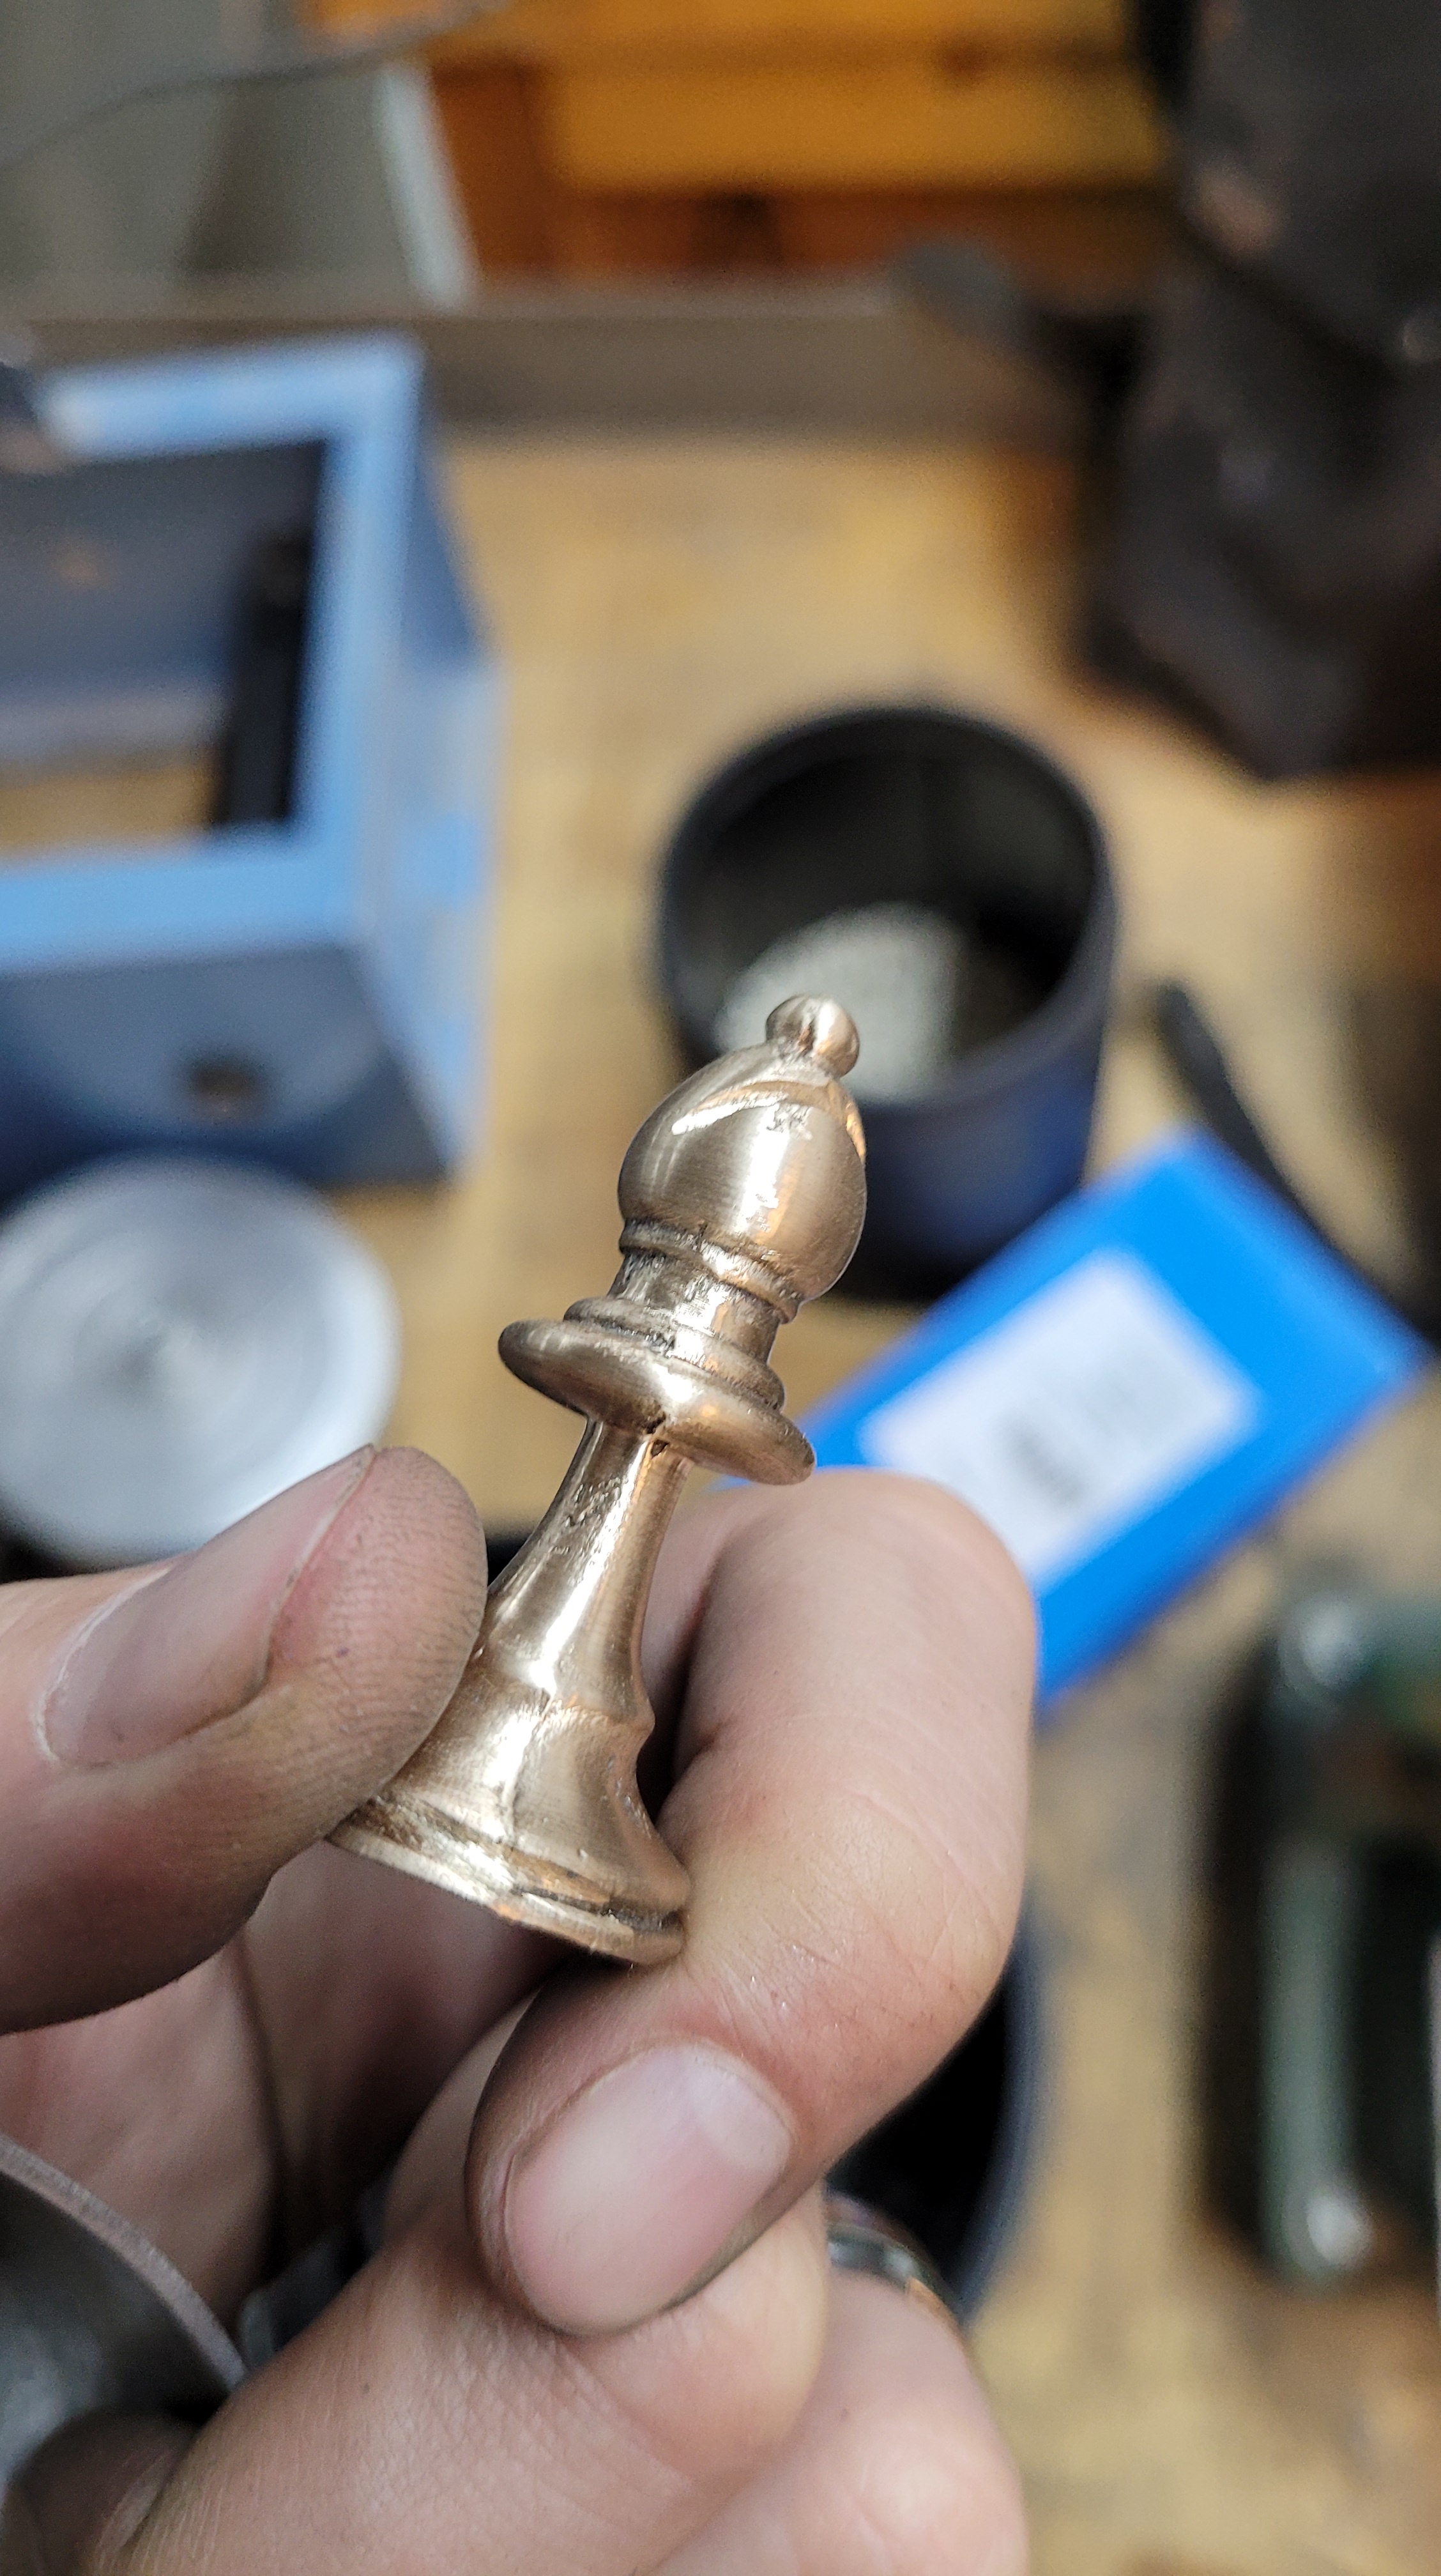
- Use wire wheel or brush to clean metal part.
- Use polishing wheel to cleanr parts.
- Cold patina application for black chess pieces.
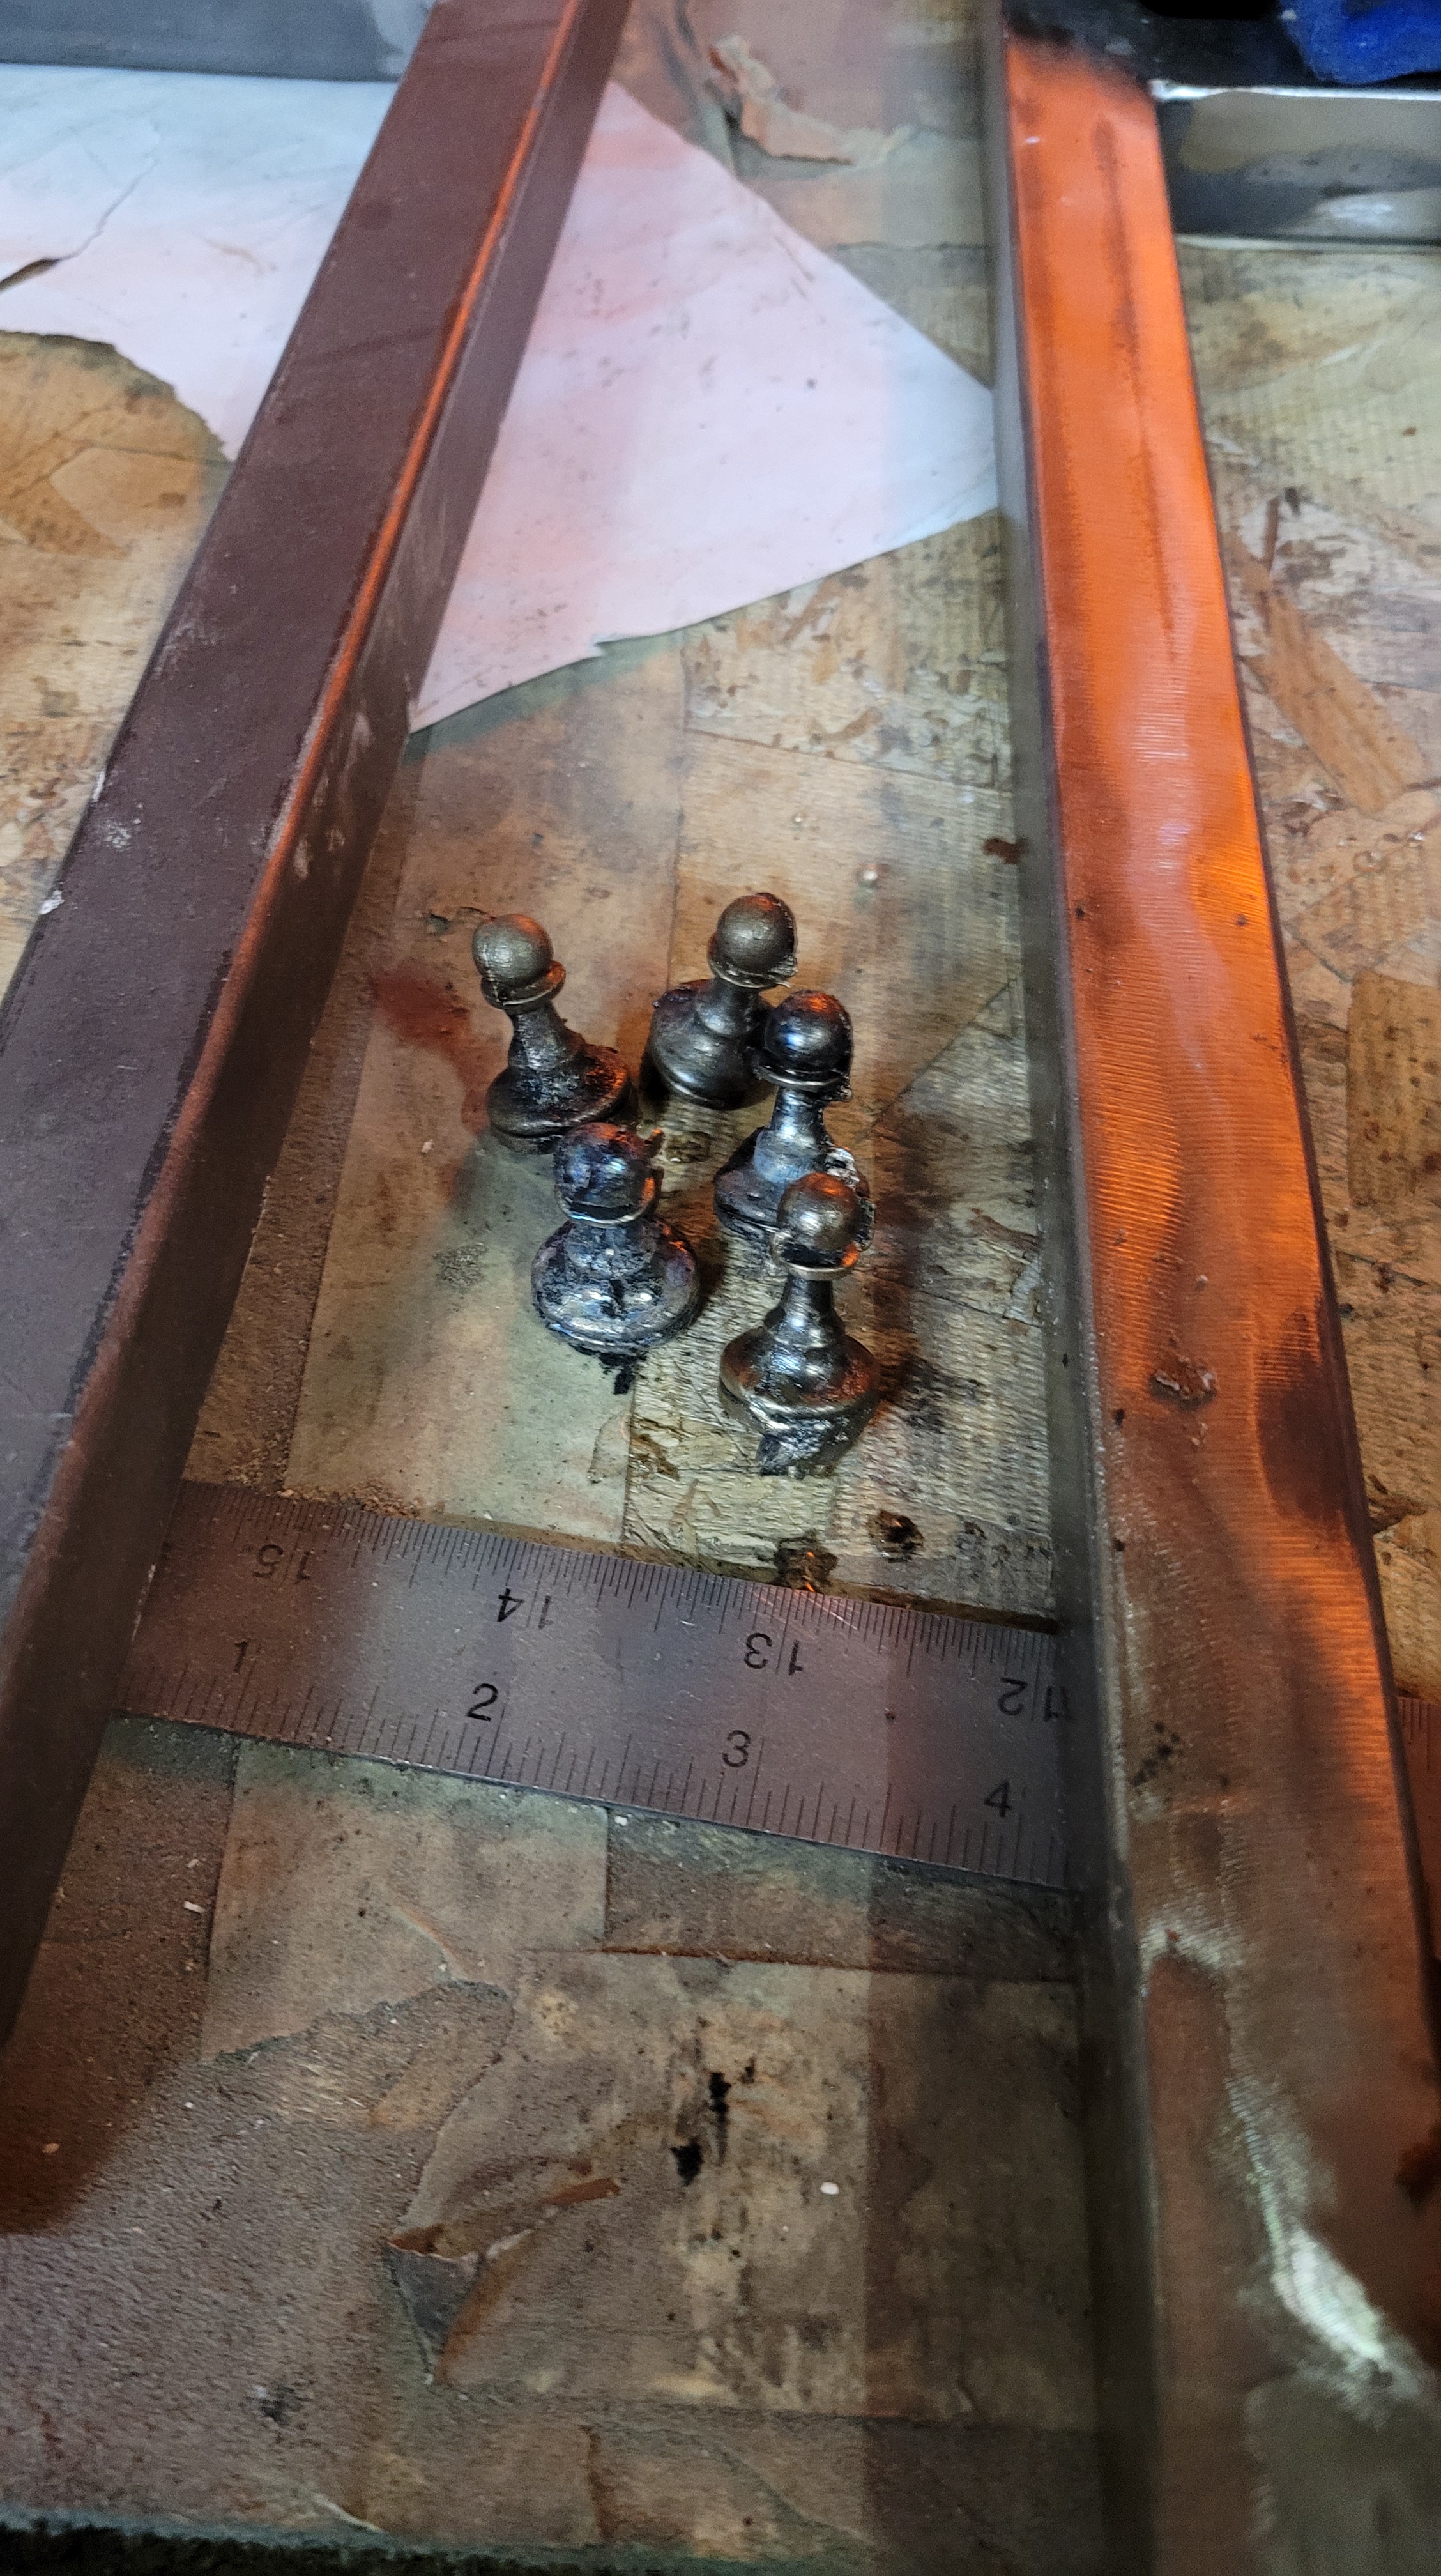
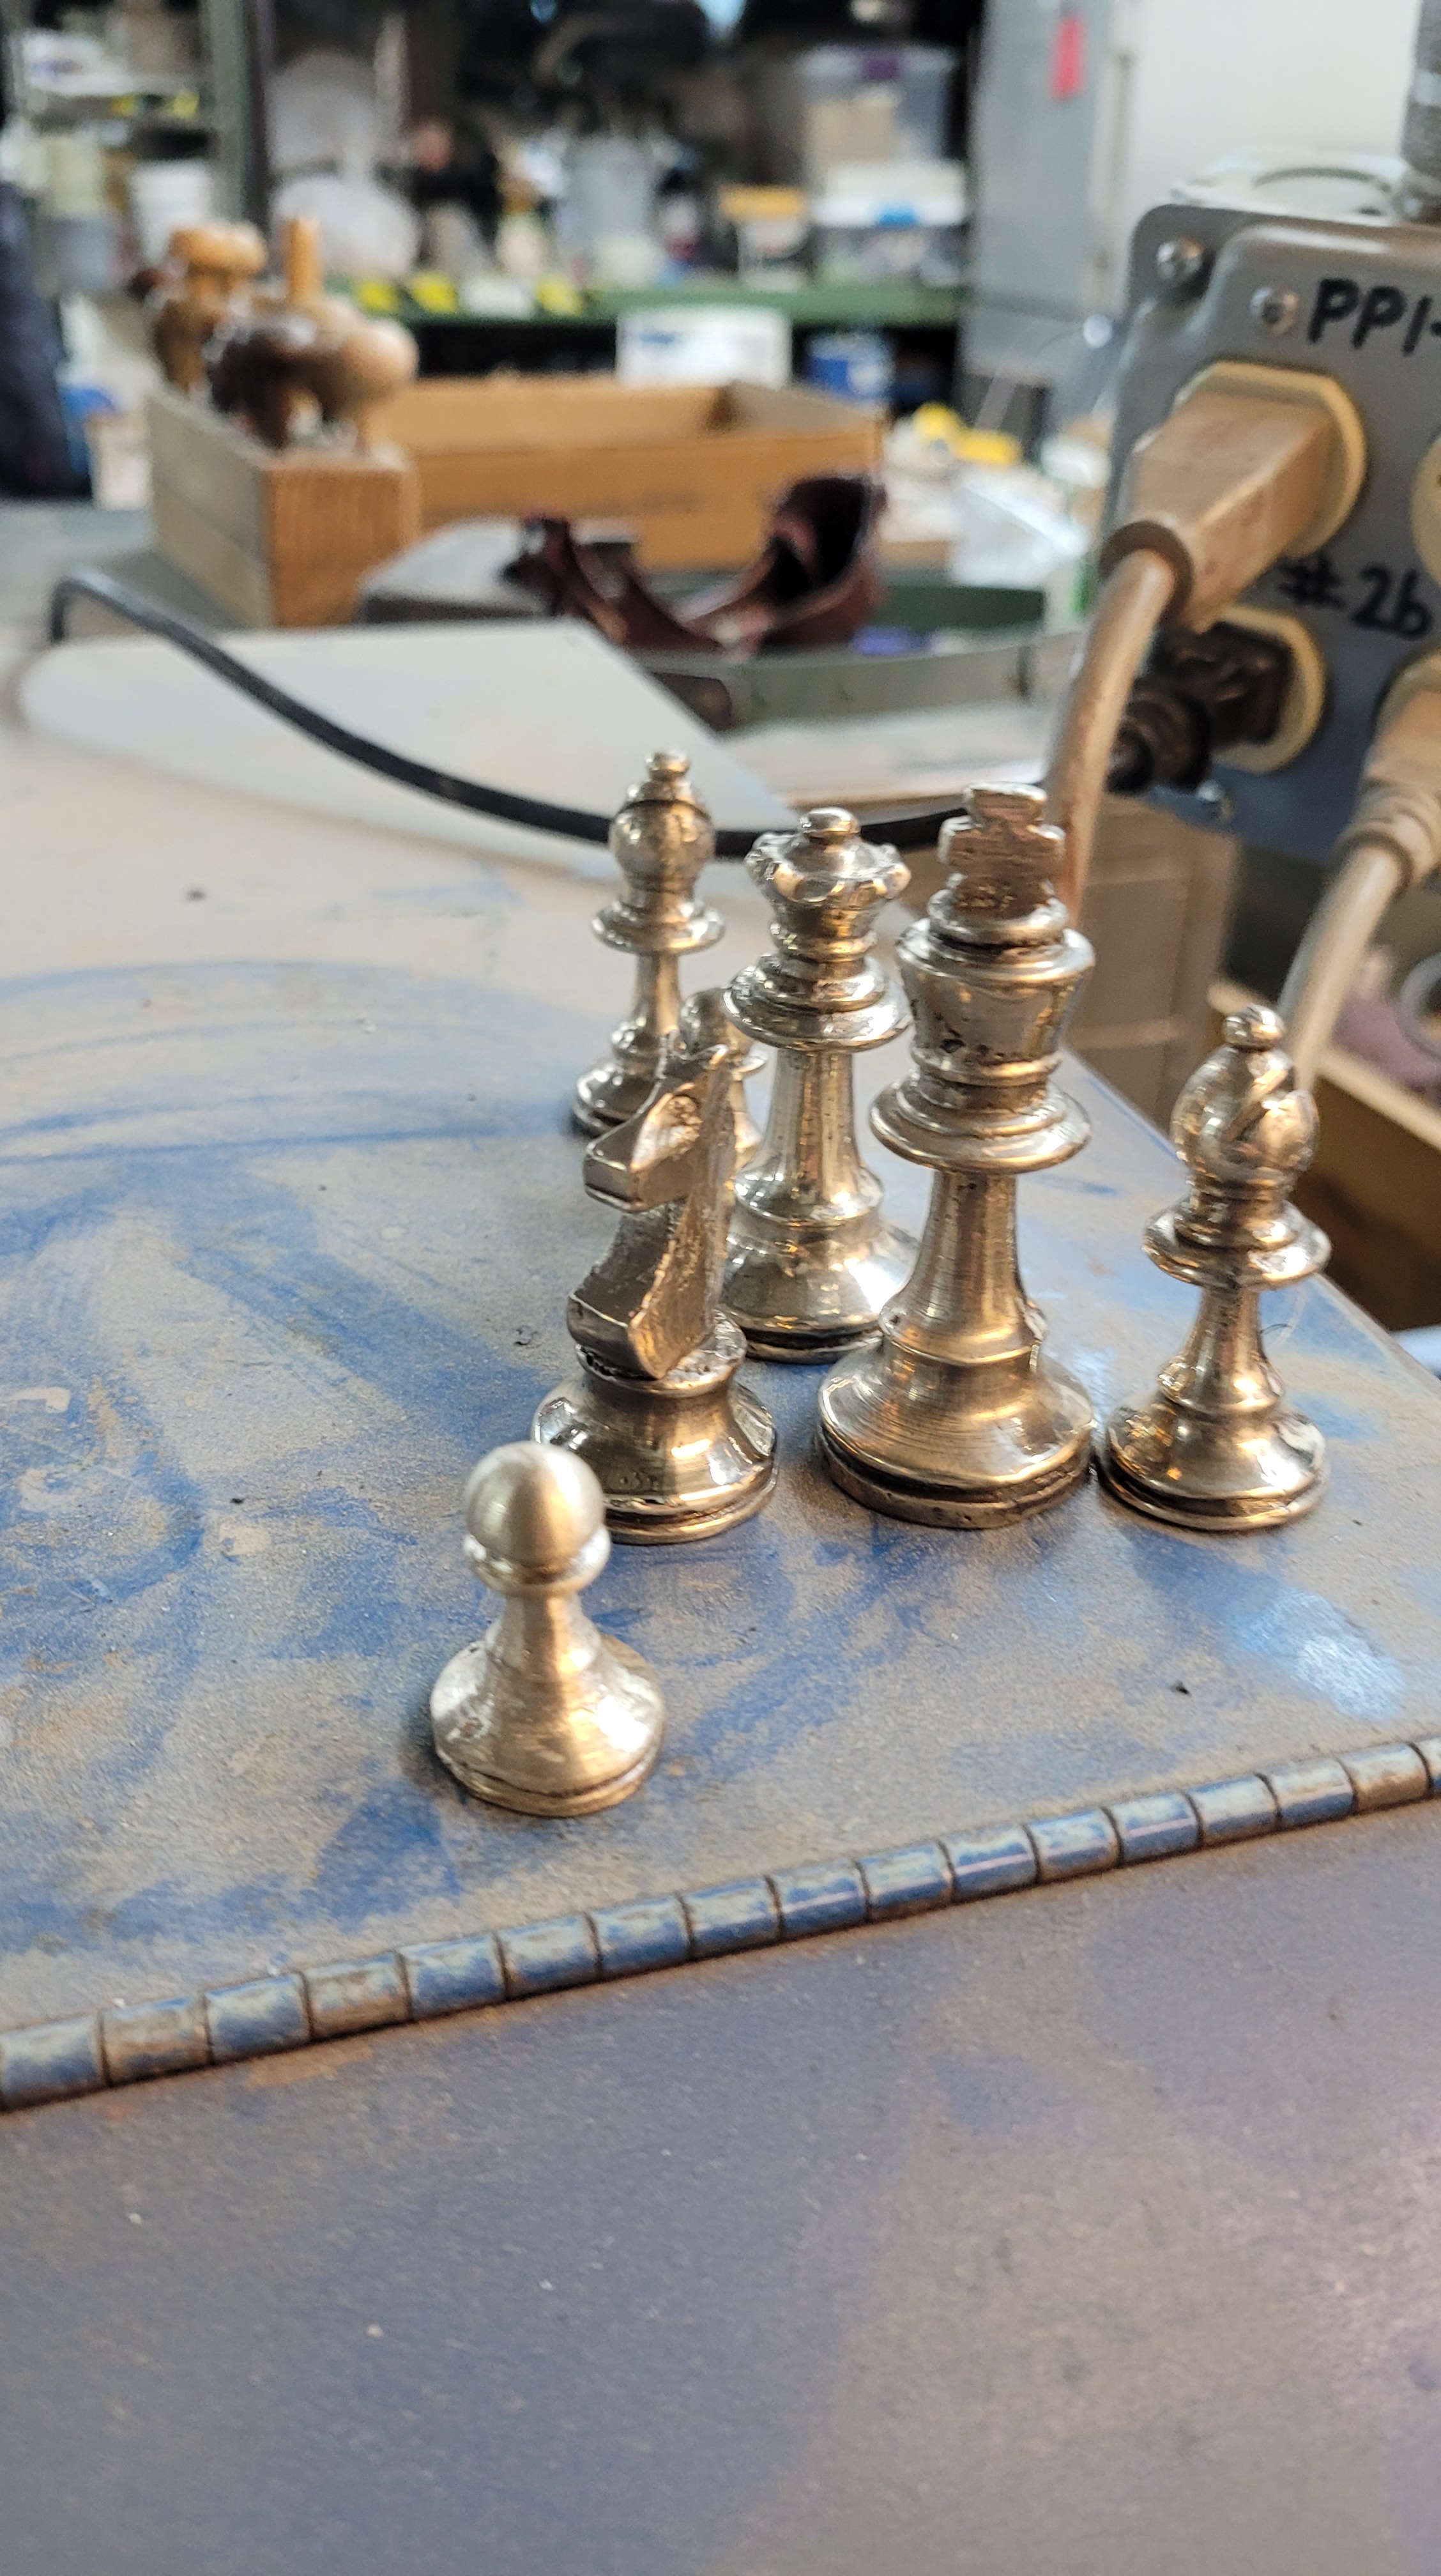
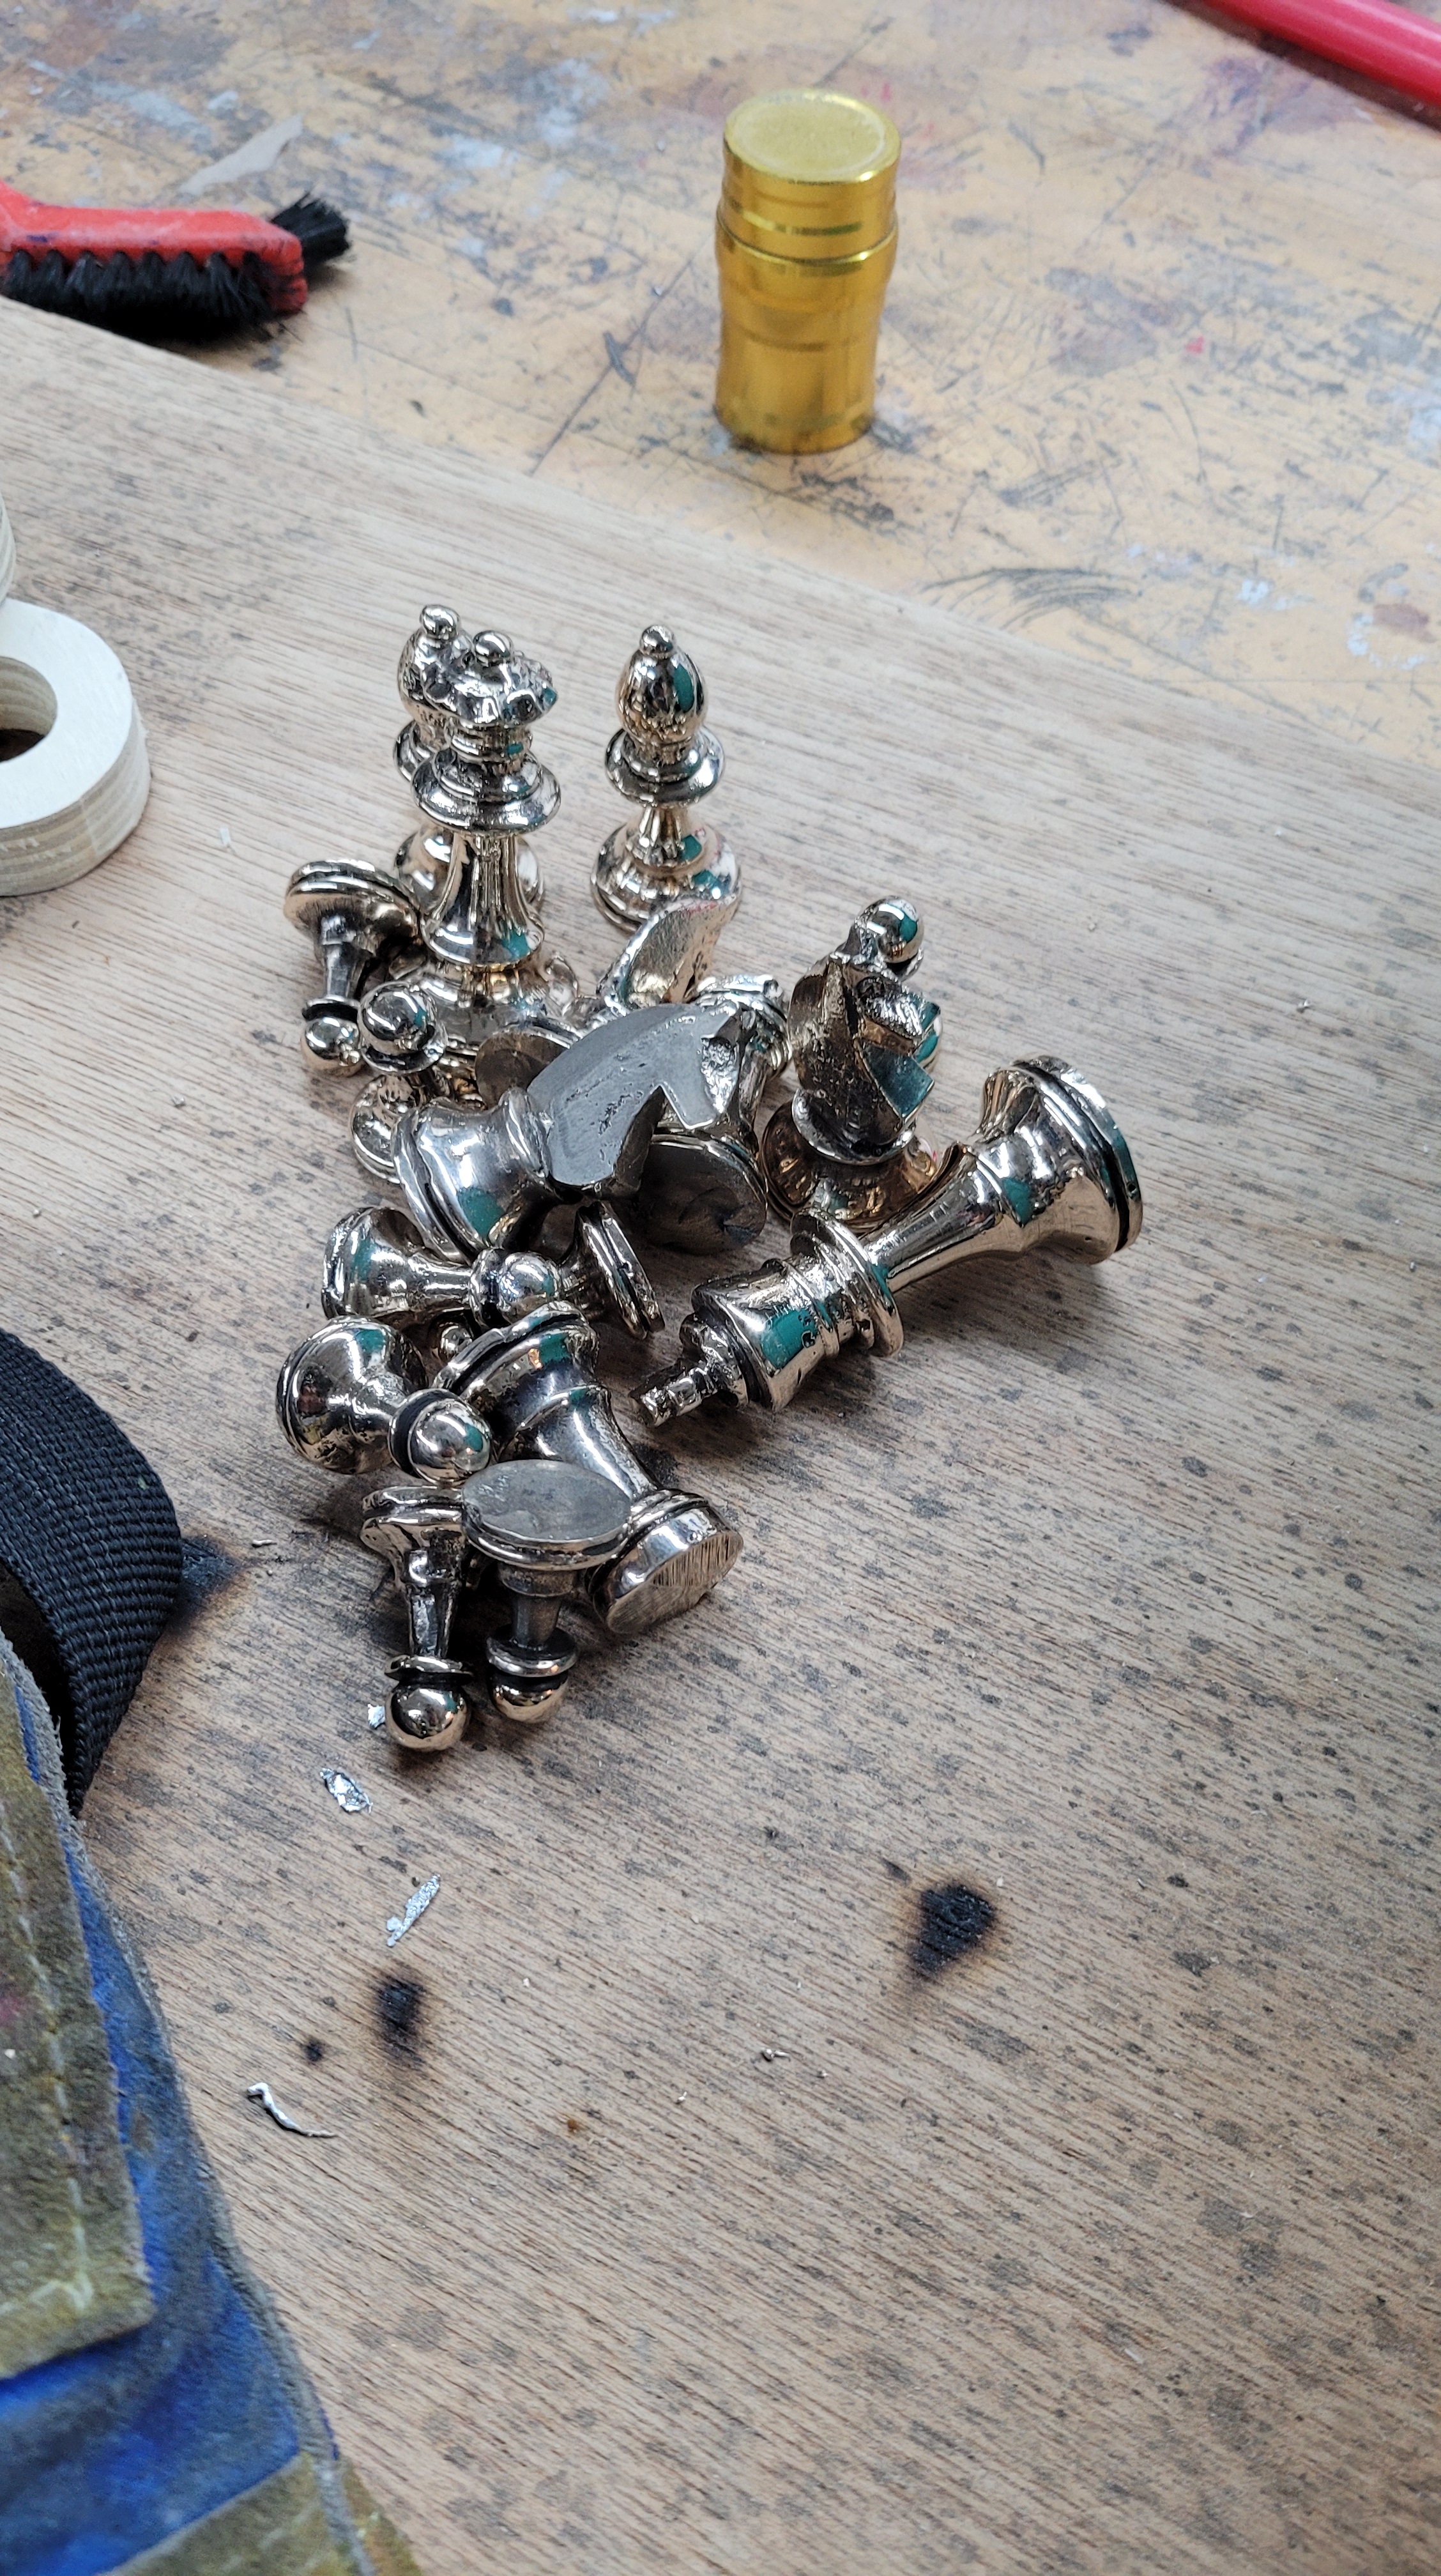
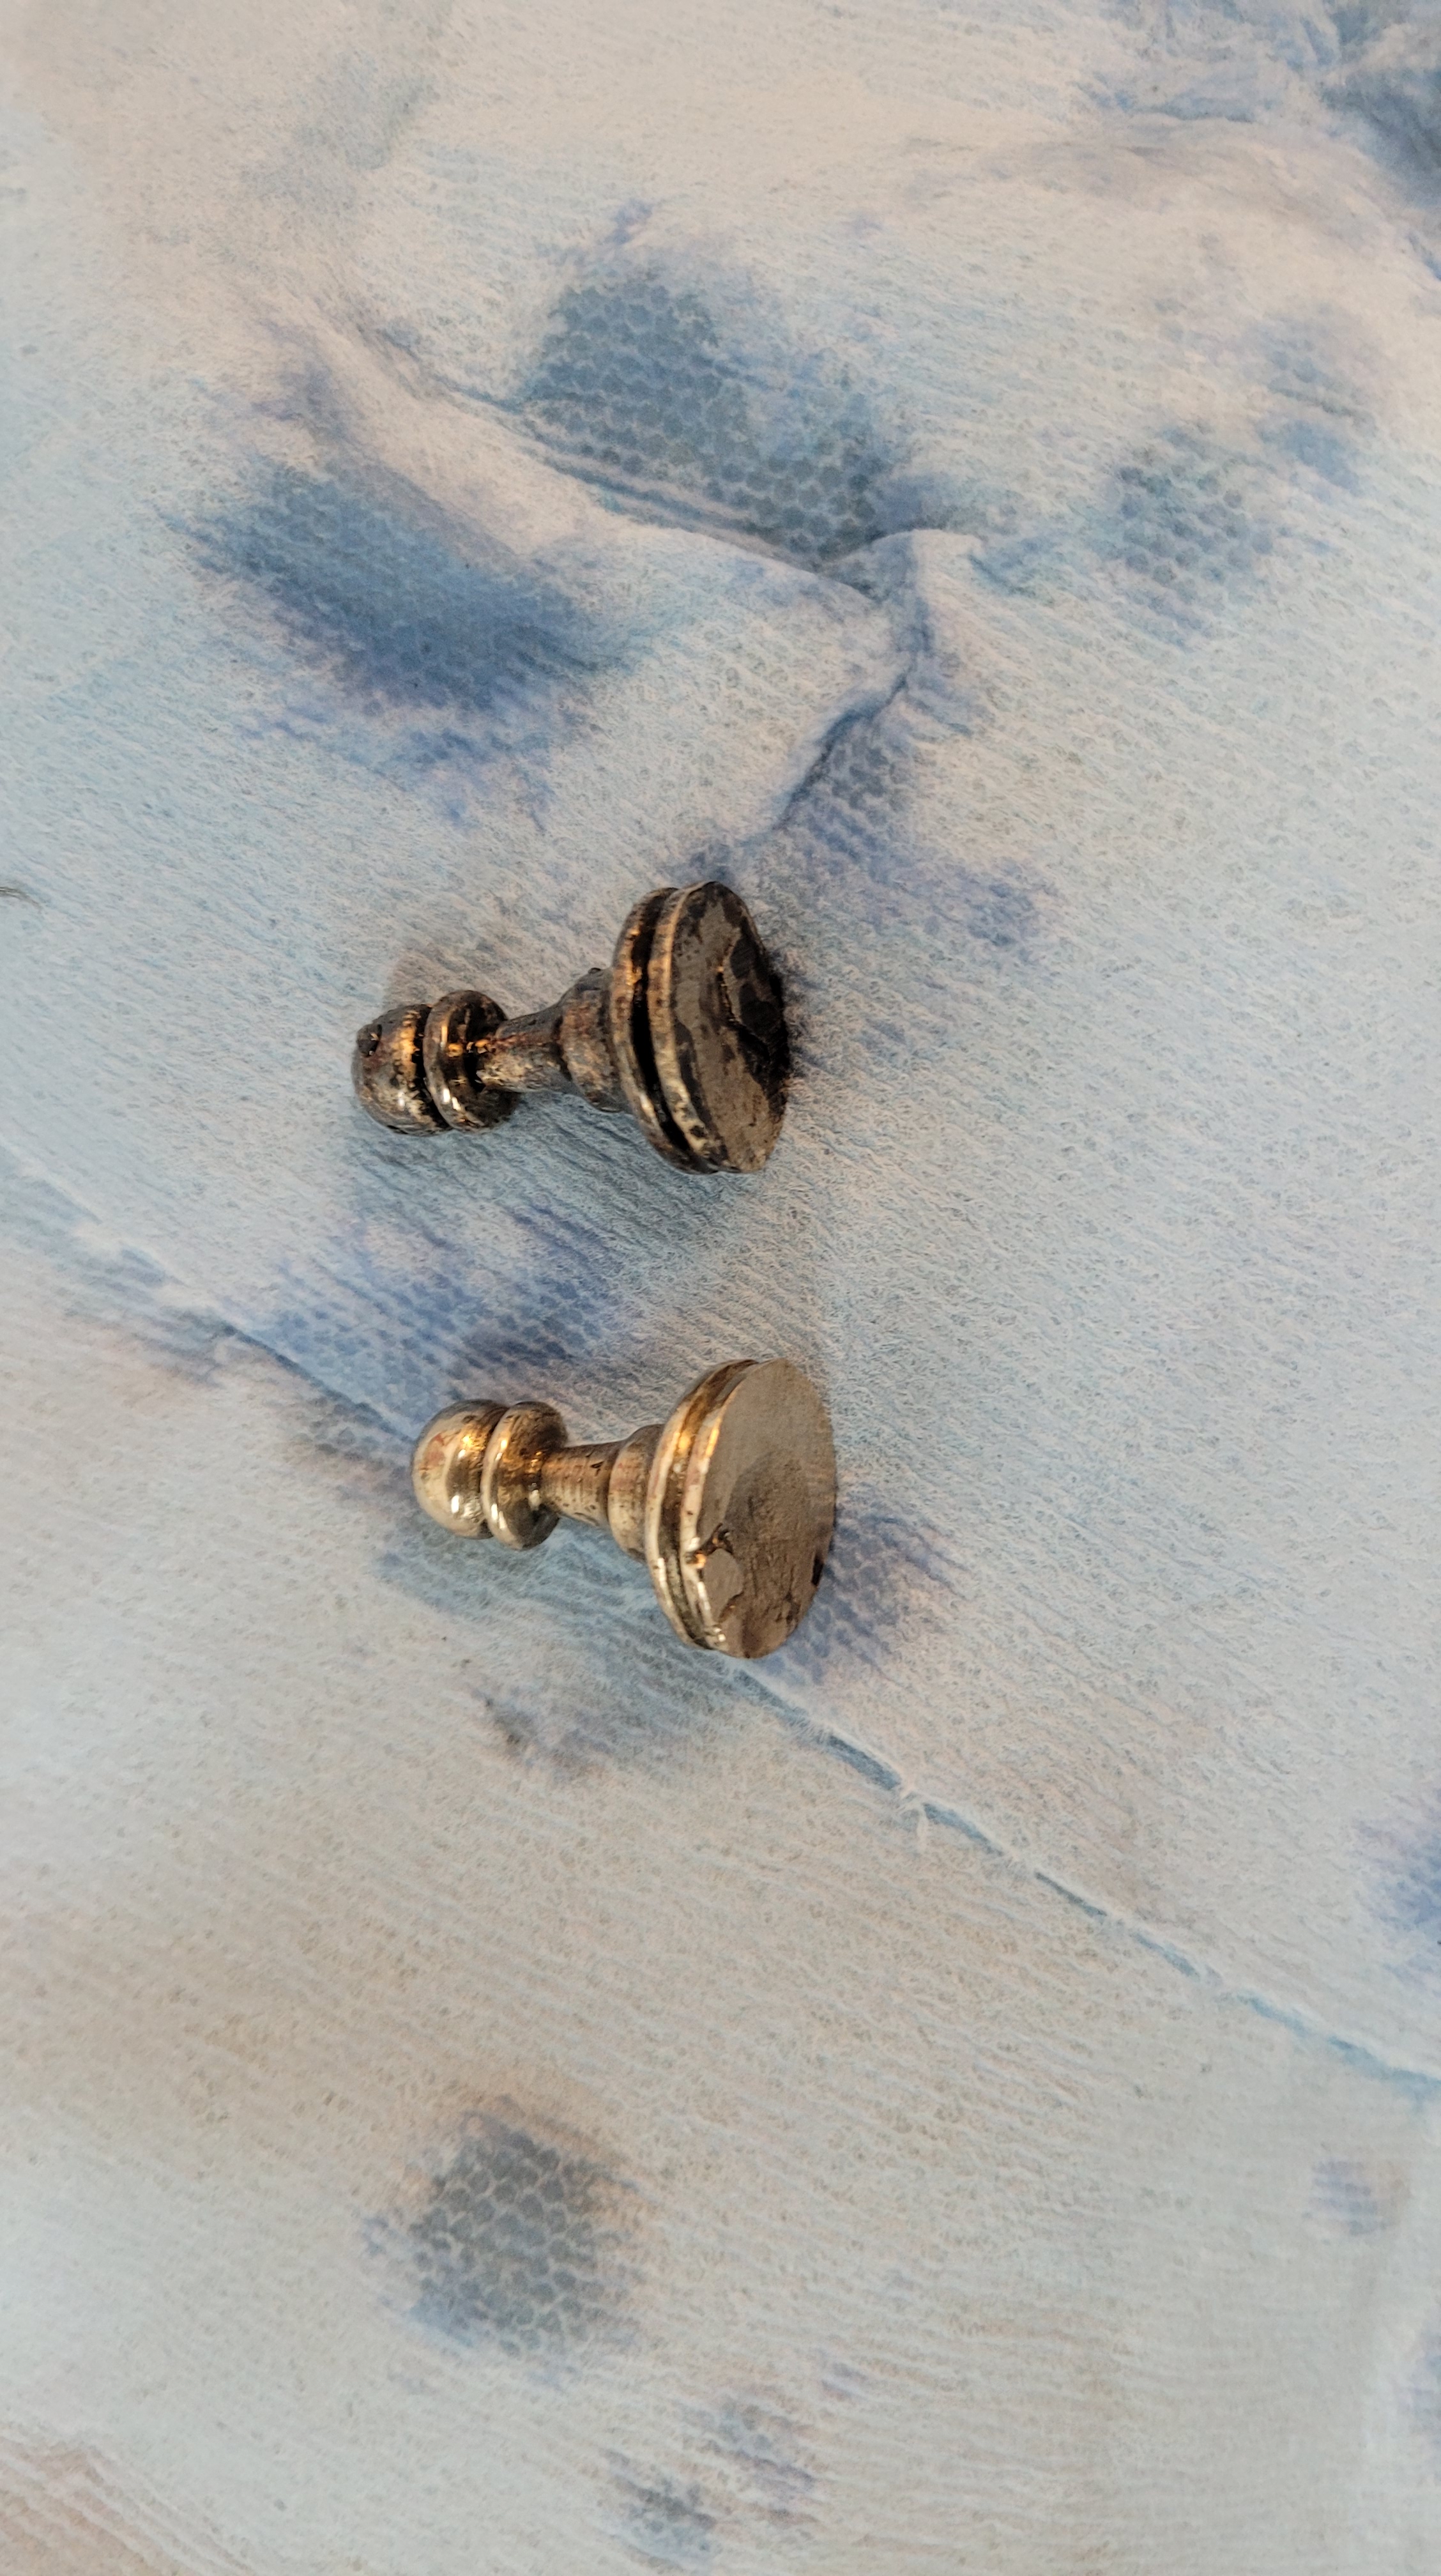
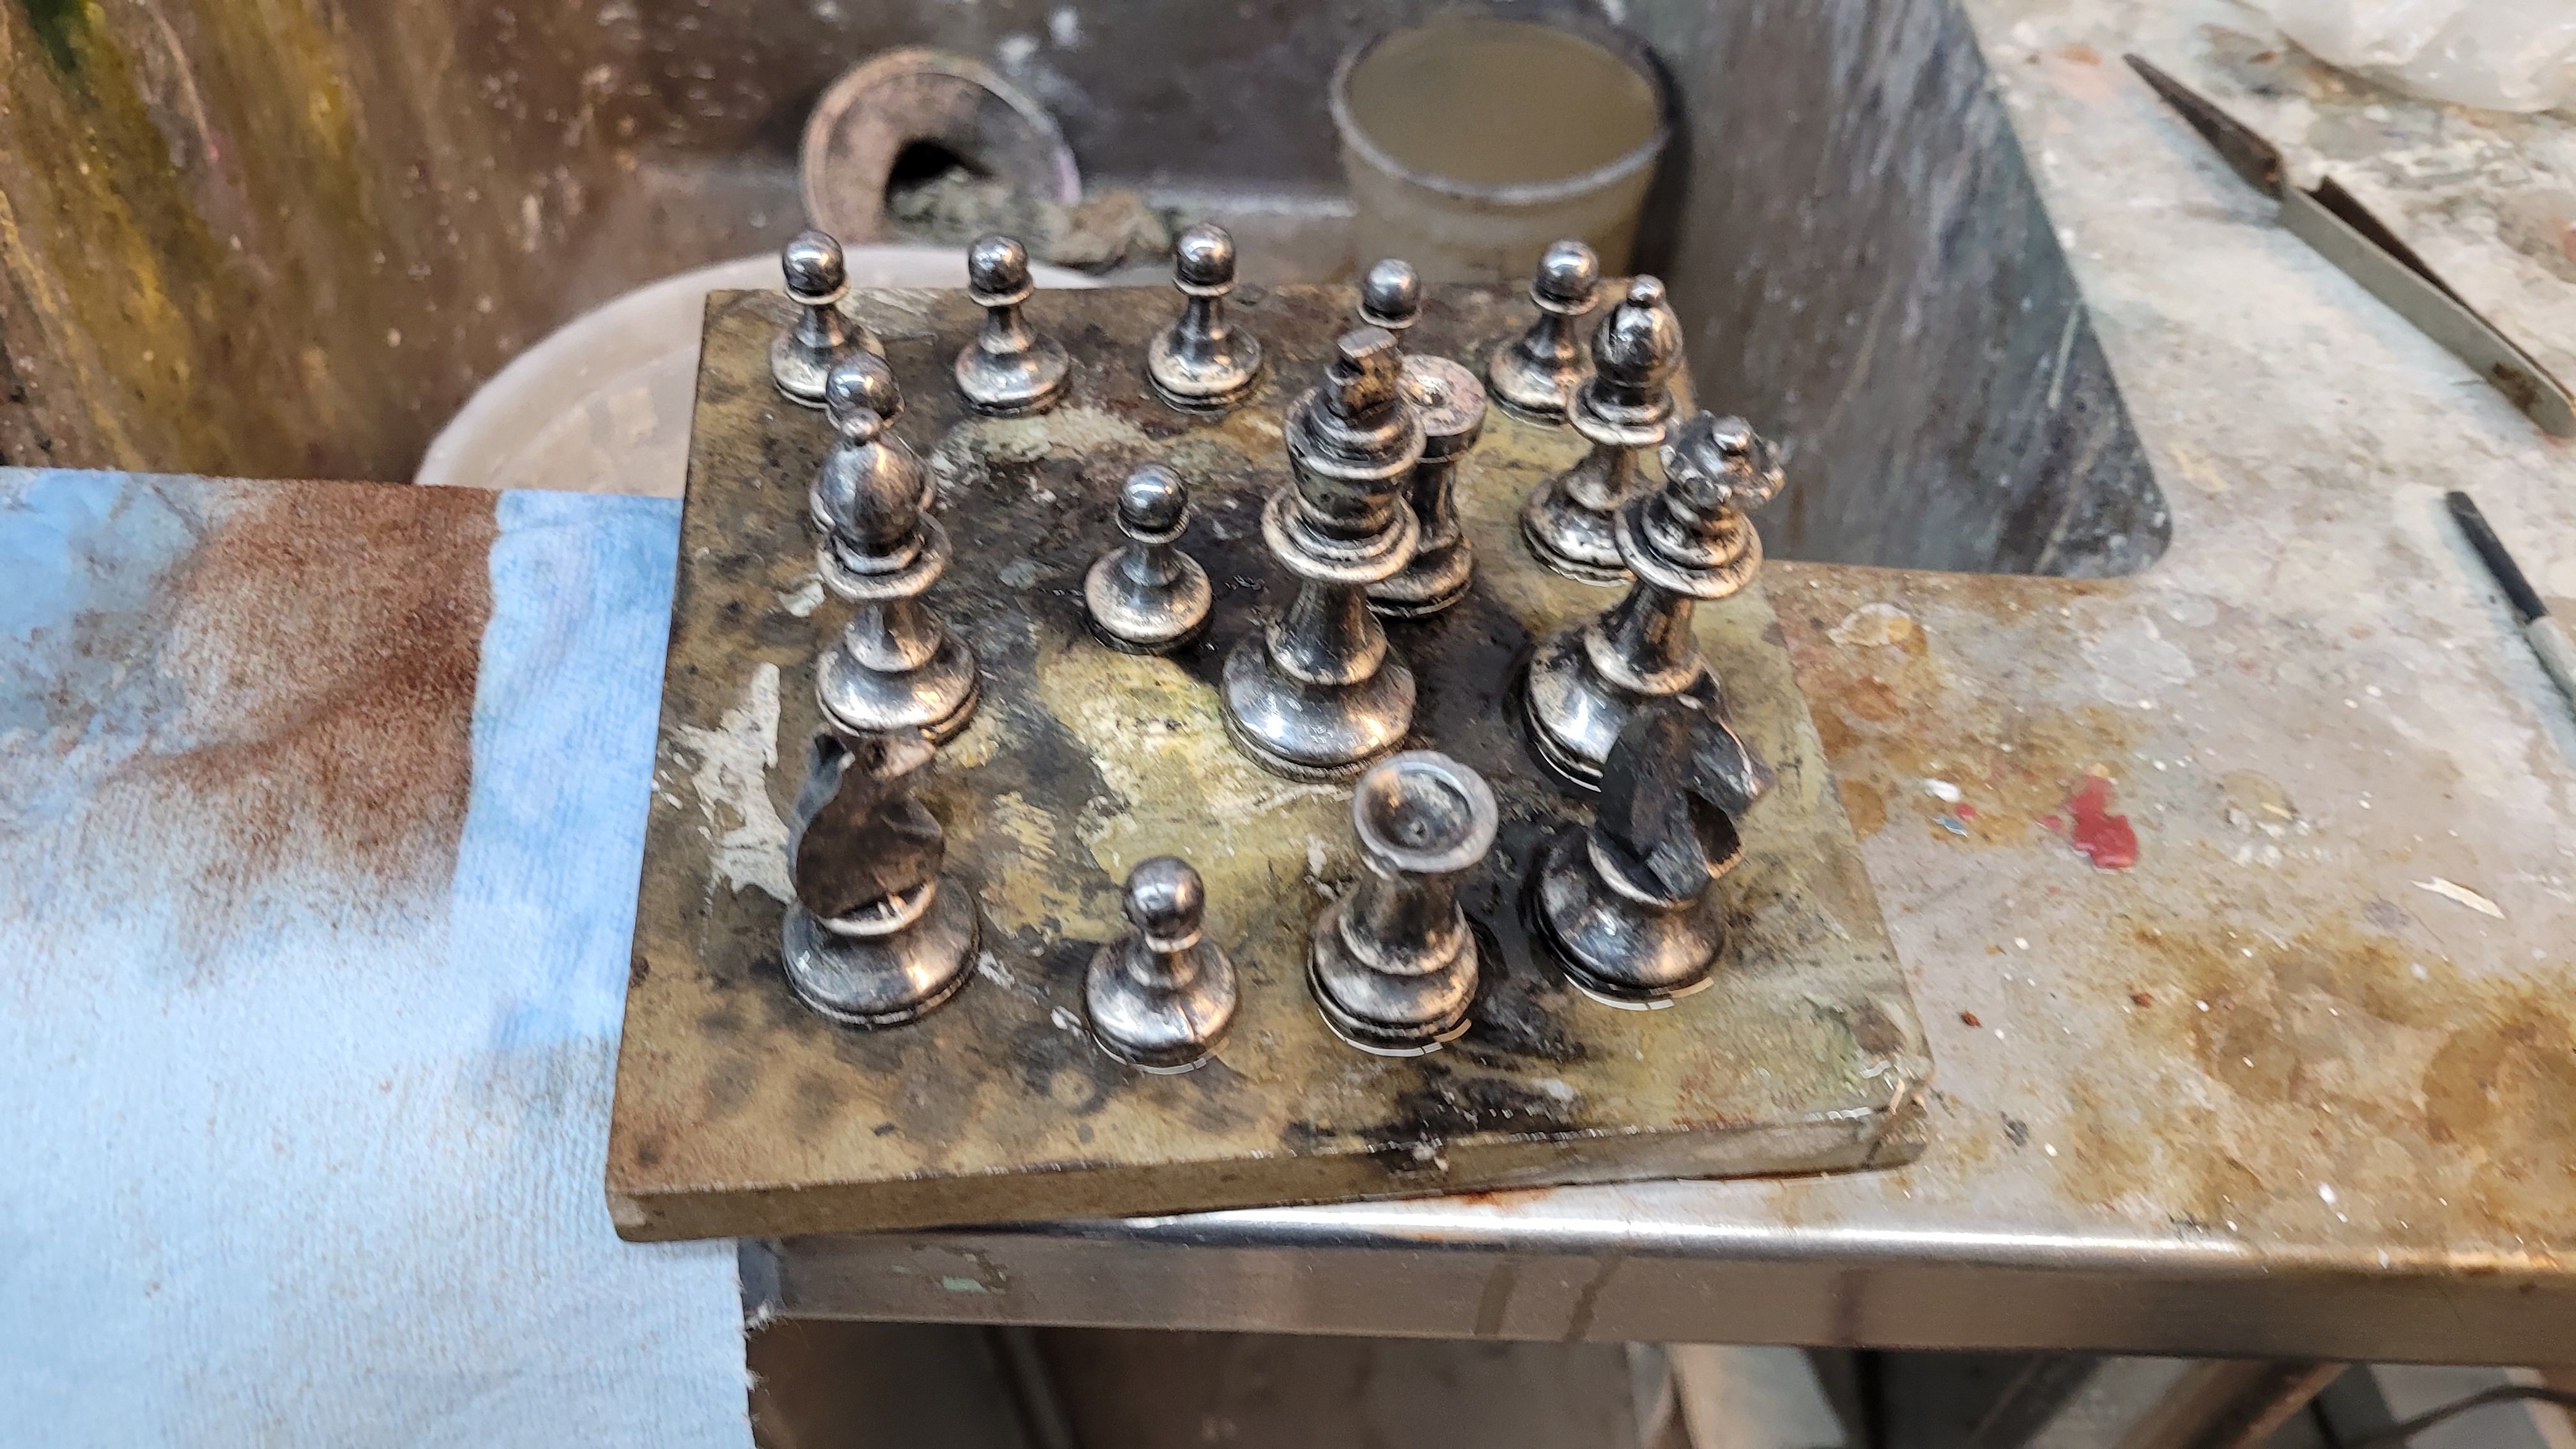
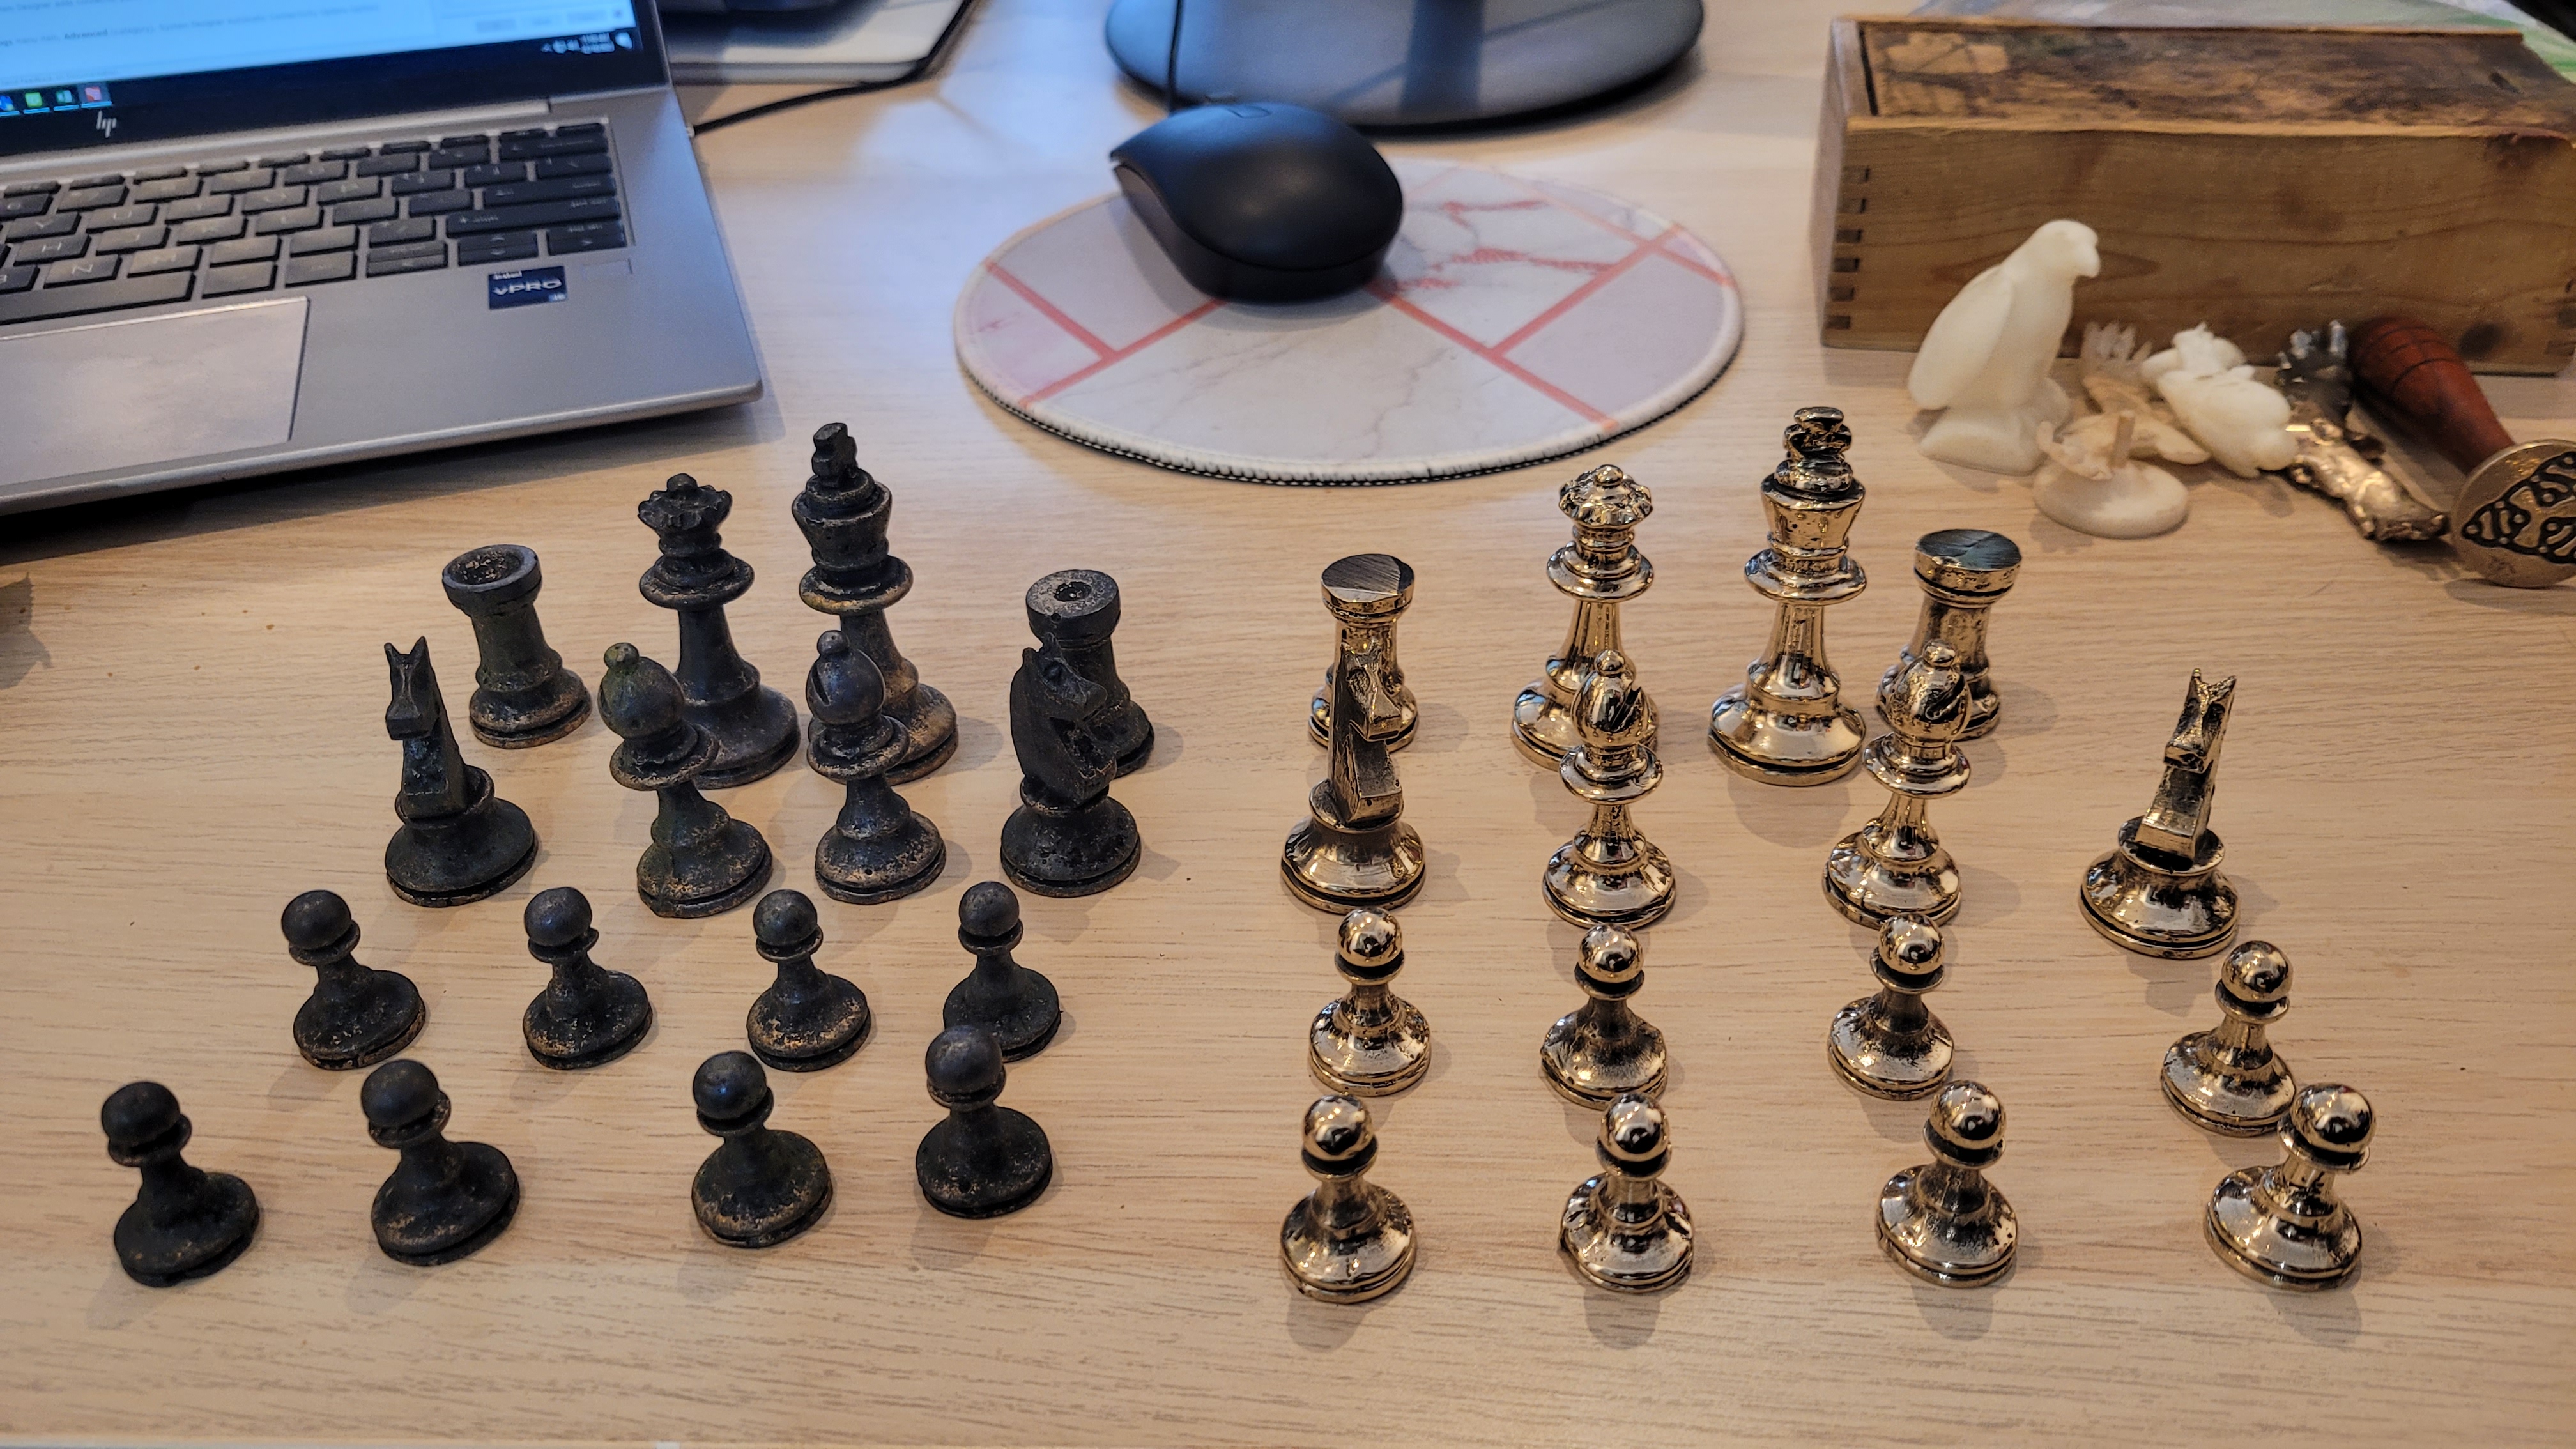
Photos
And some pictures!


Lessons learned
The sand casting process was a great method for making these parts, learned a lot but there would be a few things I’d do differently.
- Sand casting can’t do overhangs which proved problematic for the rooks as they had a castellated edge. My attempt to use a drill in the lathe was thwarted by the fact that the drill was no-where near center aligned to the spindle and I didn’t have time to figure out how to shim it appropriately.
- Sometimes the bronze pieces would come out of the sand casting process slightly darker than normal. I’m attributing this to the carbonization of the oil in the petrobond sand causing soot build up on the outside. Didn’t really effect the overall design, but did require more time sanding/finishing. Next time I’ll time the de-sand process better to avoid such a build up.
- The patination of the dark pieces (fancy way of saying acid treatment) wasn’t 100% uniform. My hunch is that I didn’t clean the parts as completely as I could have. Also there are clear areas where the acid had a hard time staying in contact with the metal so I think a more immersive solution is the way to go.
- I really liked the rugged not-completely polished look of the pieces (hey its a game of war!) but if I were going to go for more finesse I’d need to figure out how to better deal with some of the metal cast voiding I experienced.
- Sanding these pieces were tough, might try using a sandblaster the next go around.
