EFNMR stands for Earth Field Nuclear Magnetic Resonance and is a fancy way of saying proton magnetometer. I undertook this project because I was fascinated by the prospect of measuring the movement of an atom.

Idea
Magnetic nuclear resonance is a fascinating topic and relies on the principle that particles with non-zero nuclear spin align themselves within a magnetic field. This physical phenomena is utilized for a large variety of machines and sensing technology. In many cases it requires a very strong and uniform magnetic field in order to make the different particle perturbation frequencies sufficiently far apart for identification.
For this project I utilize the same principle; however, instead of relying on a strong magnetic field I rely on the earth’s magnetic field. This field in very small areas is incredible uniform and we can use this to measure a proton’s precession. Overall I designed this machine so that you could create a crude 2D cross-section image of an object that has been immersed in water or oil. The proton precession amplitude is what will be measured.

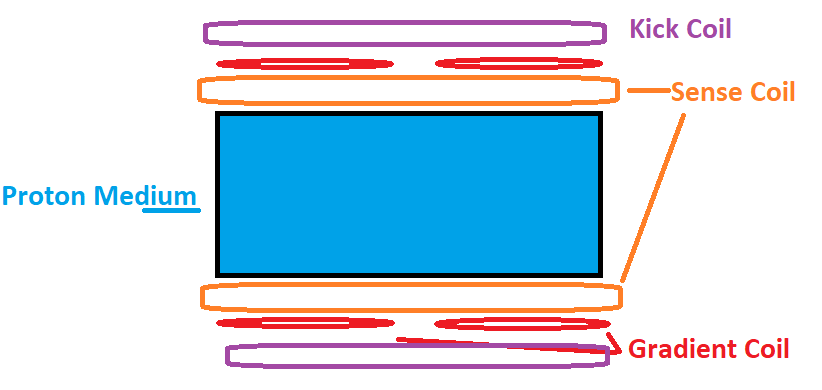
The pixel selection is accomplished with gradient coils that forces only a subset of the medium to align in the correct orientation.
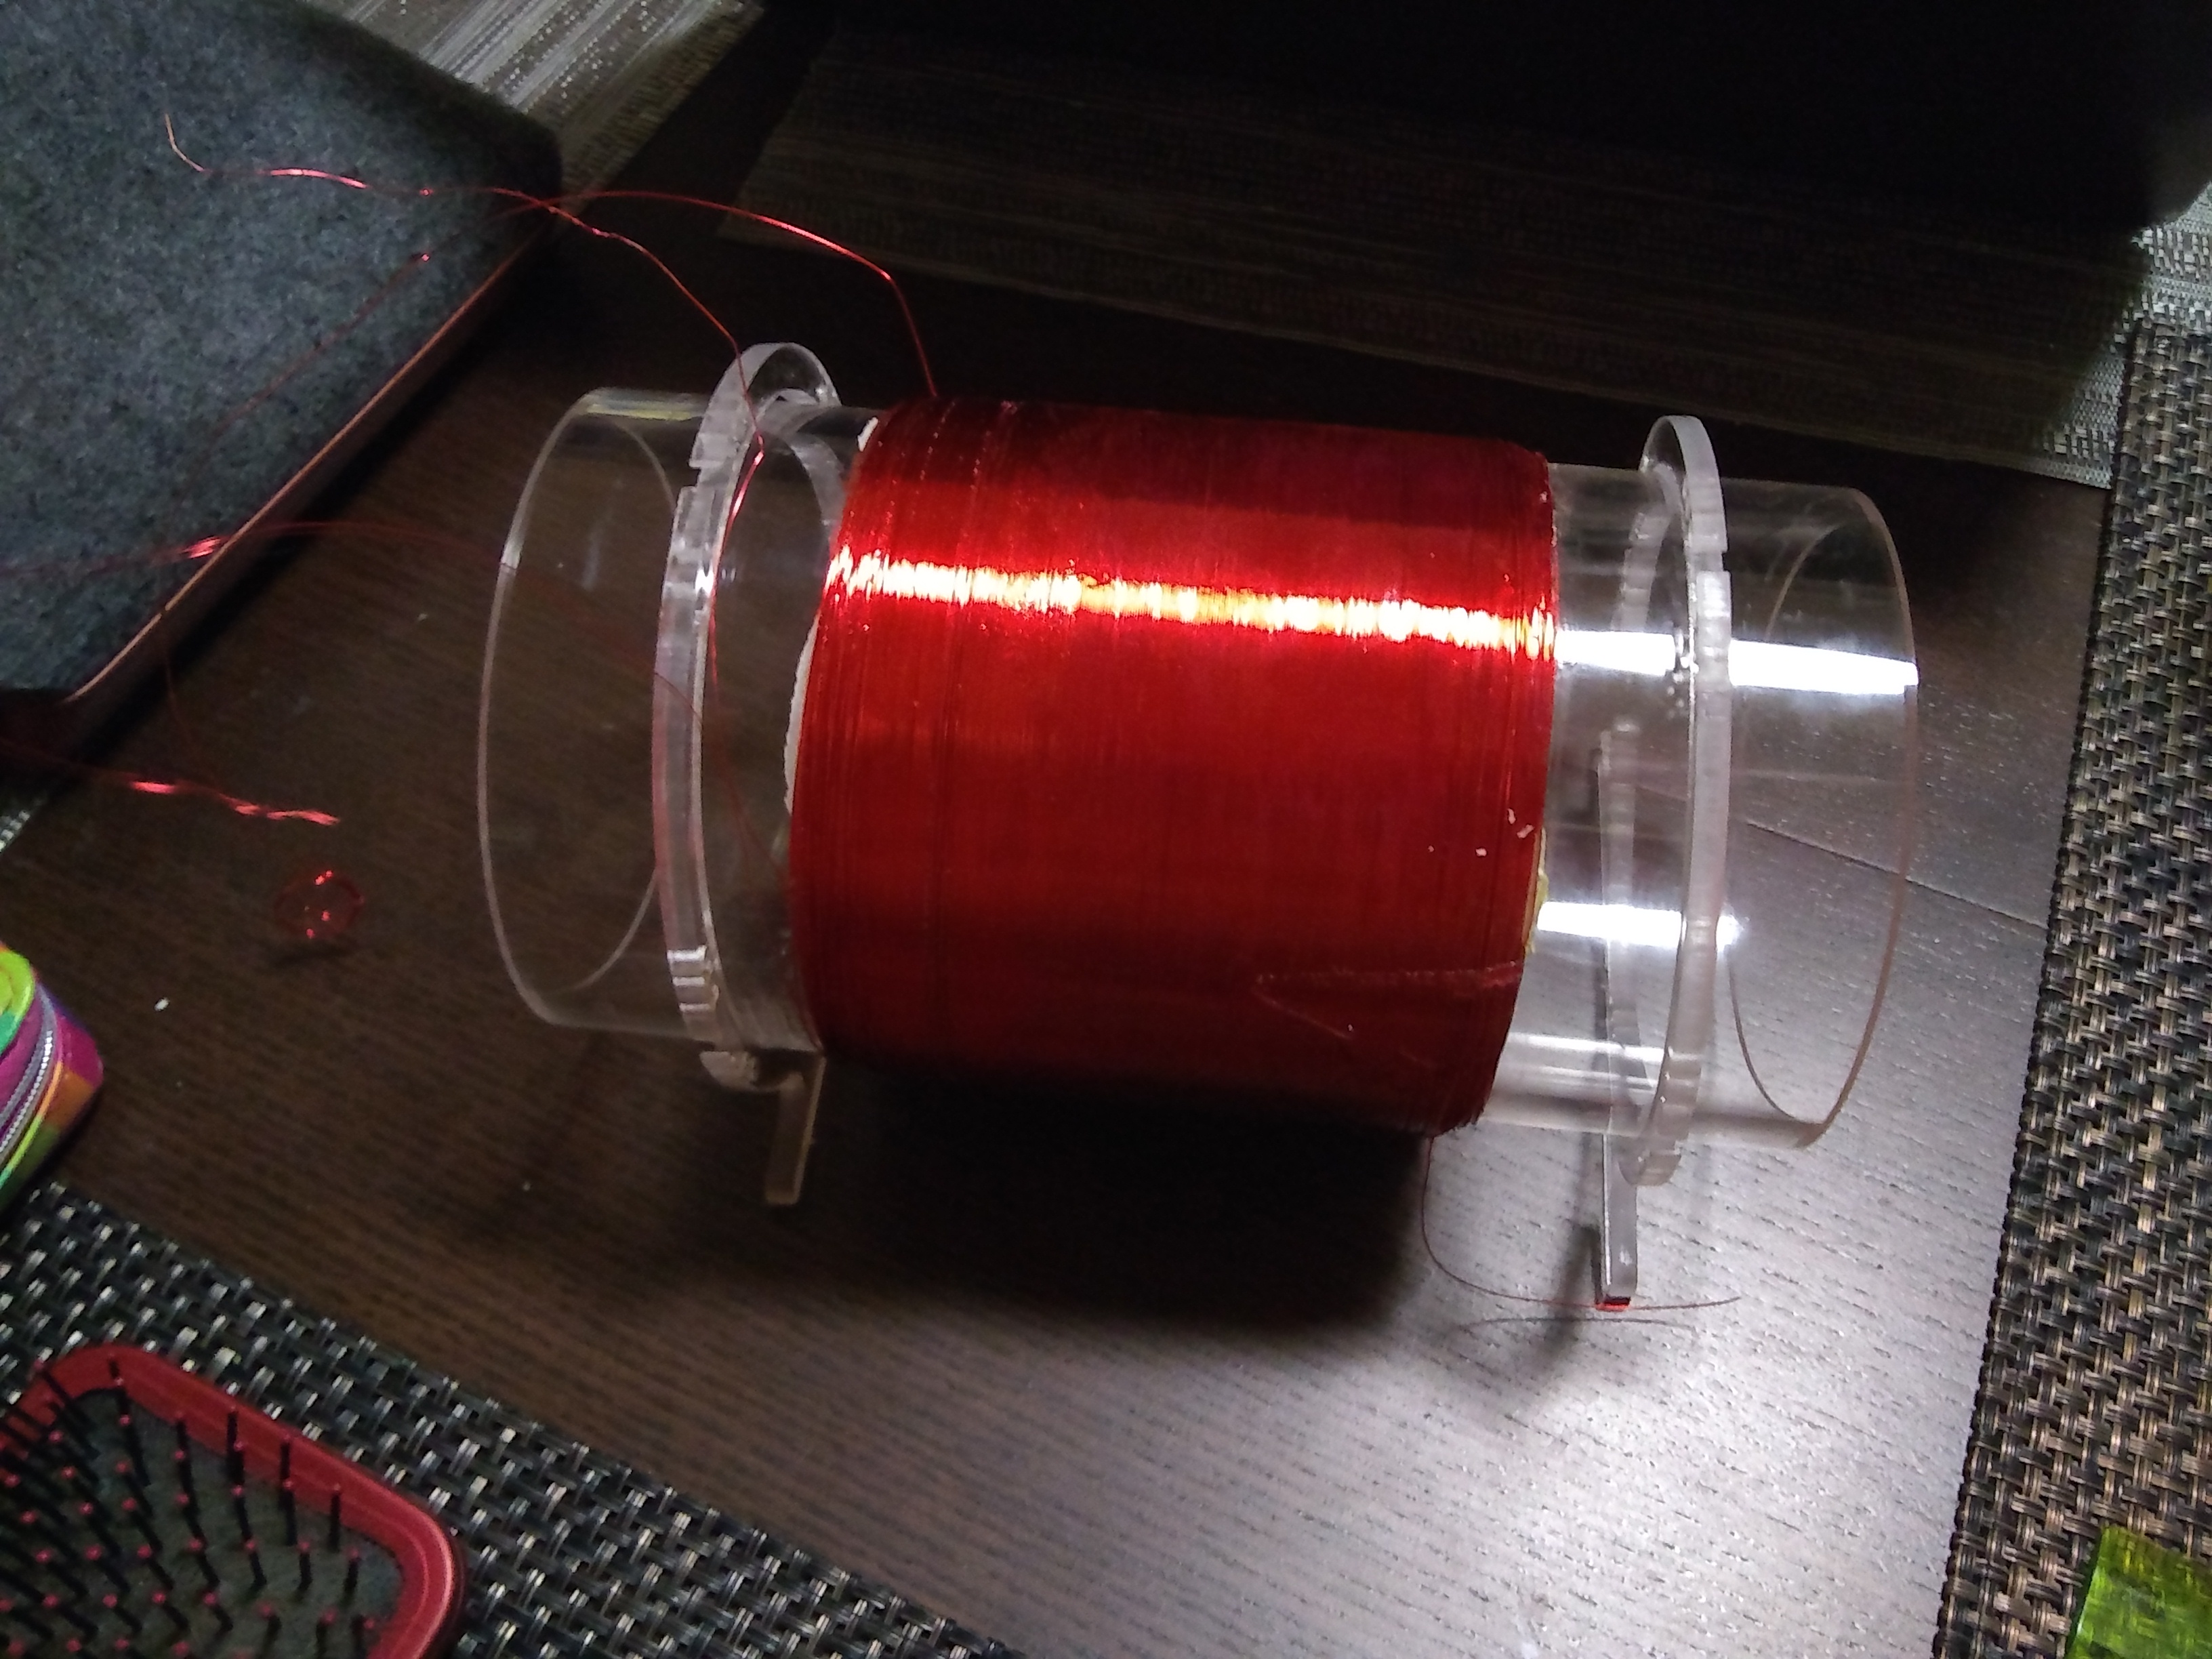
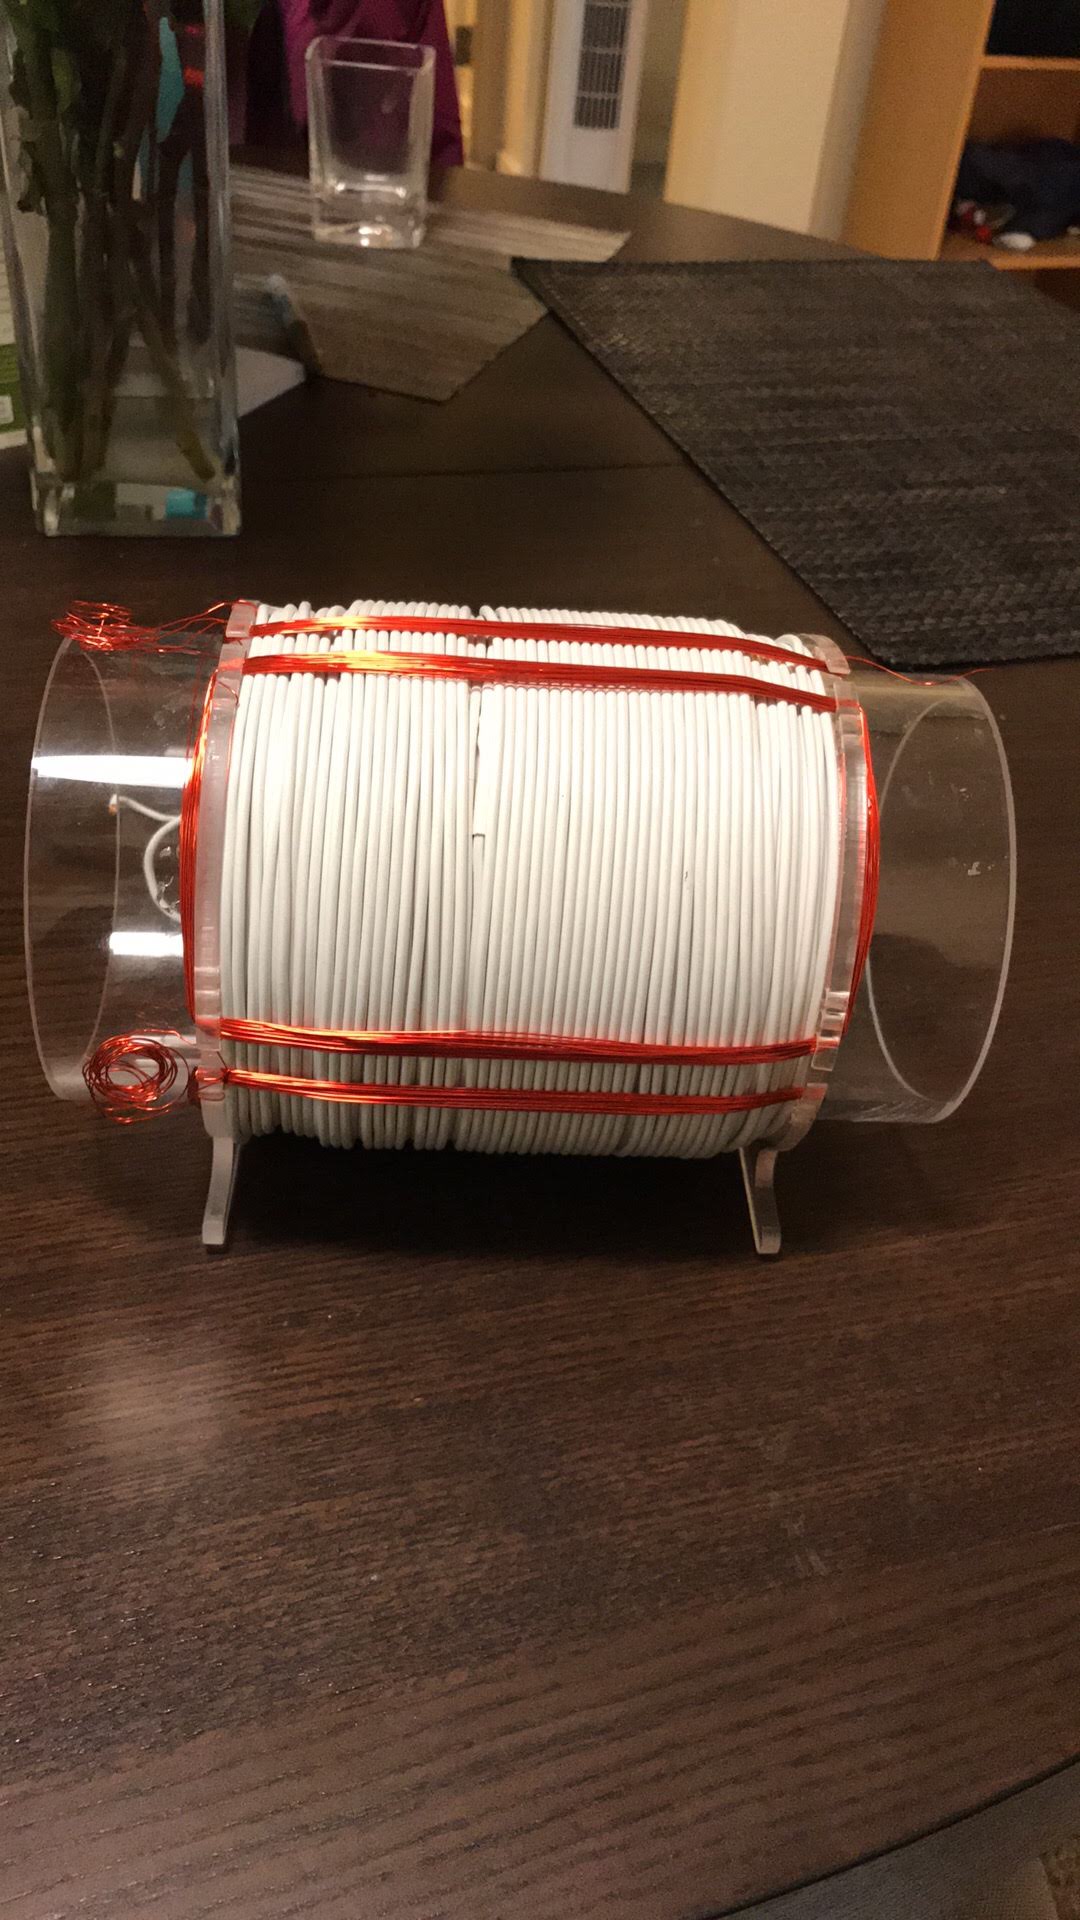
The kick is accomplished with a polarizing coil that quickly energizes and then dissipates to disorient the protons within the medium.
The measurement process is accomplished by using a coil to inductively couple with the reverberating protons. In Earth’s magnetic field the proton precession frequency is ~ 1.5-2 kHz (latitude dependent).
Schematic
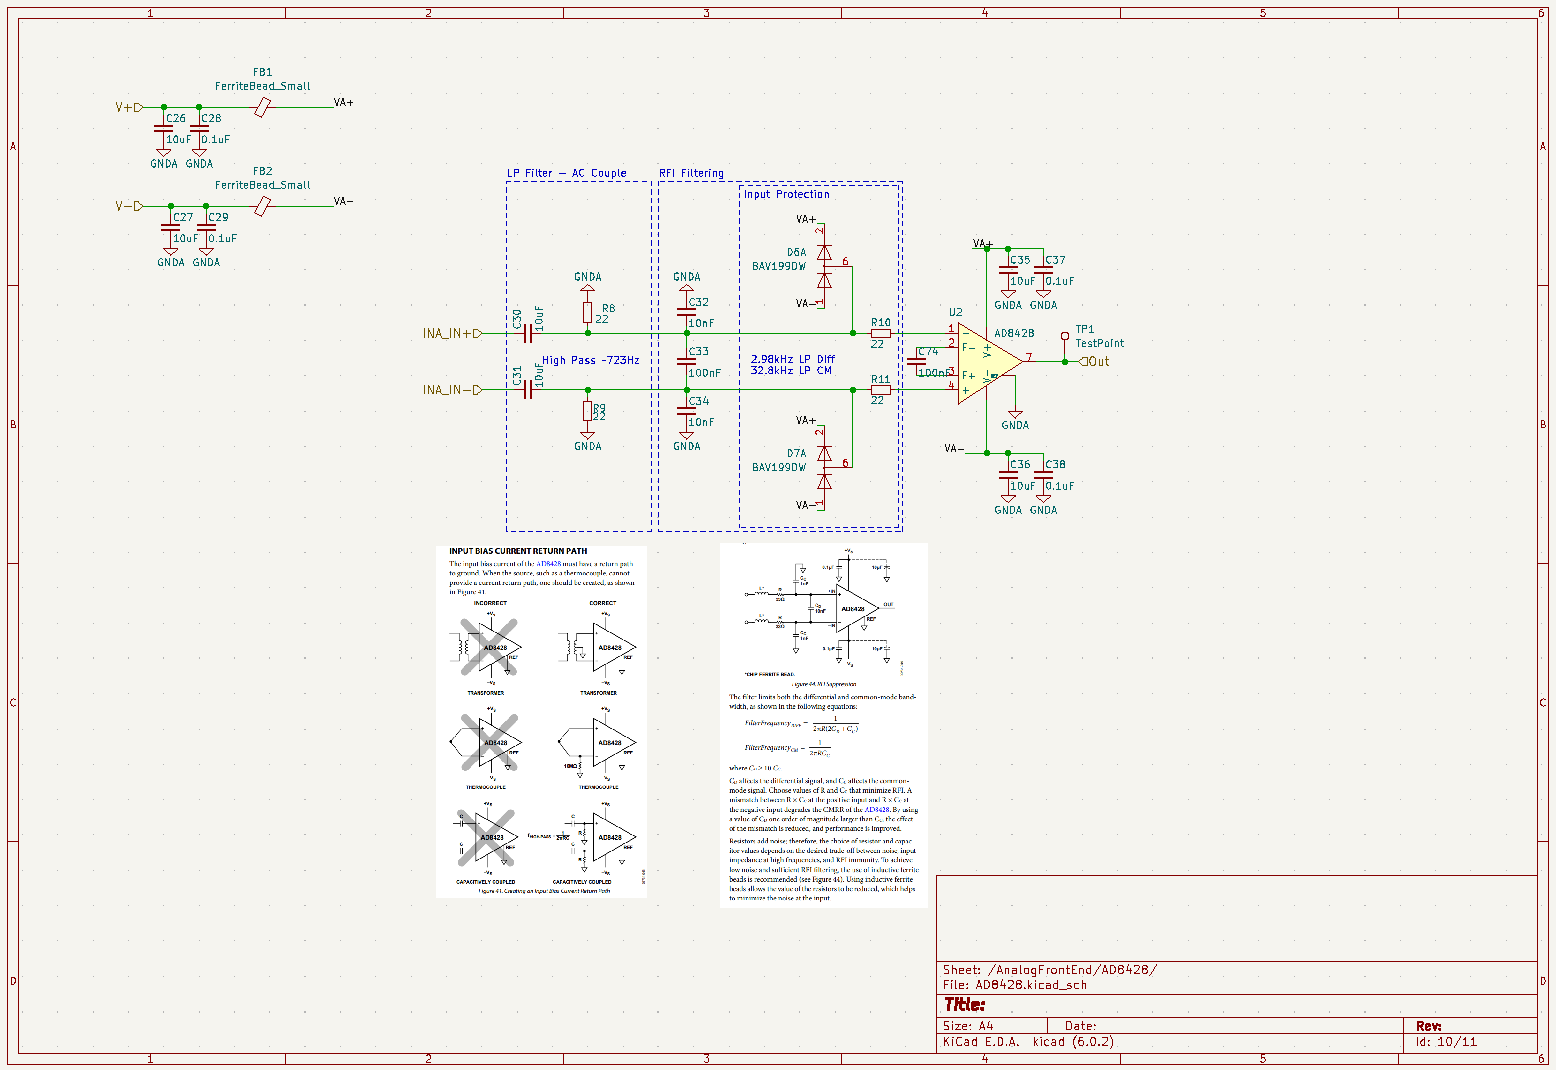
Analog Front End
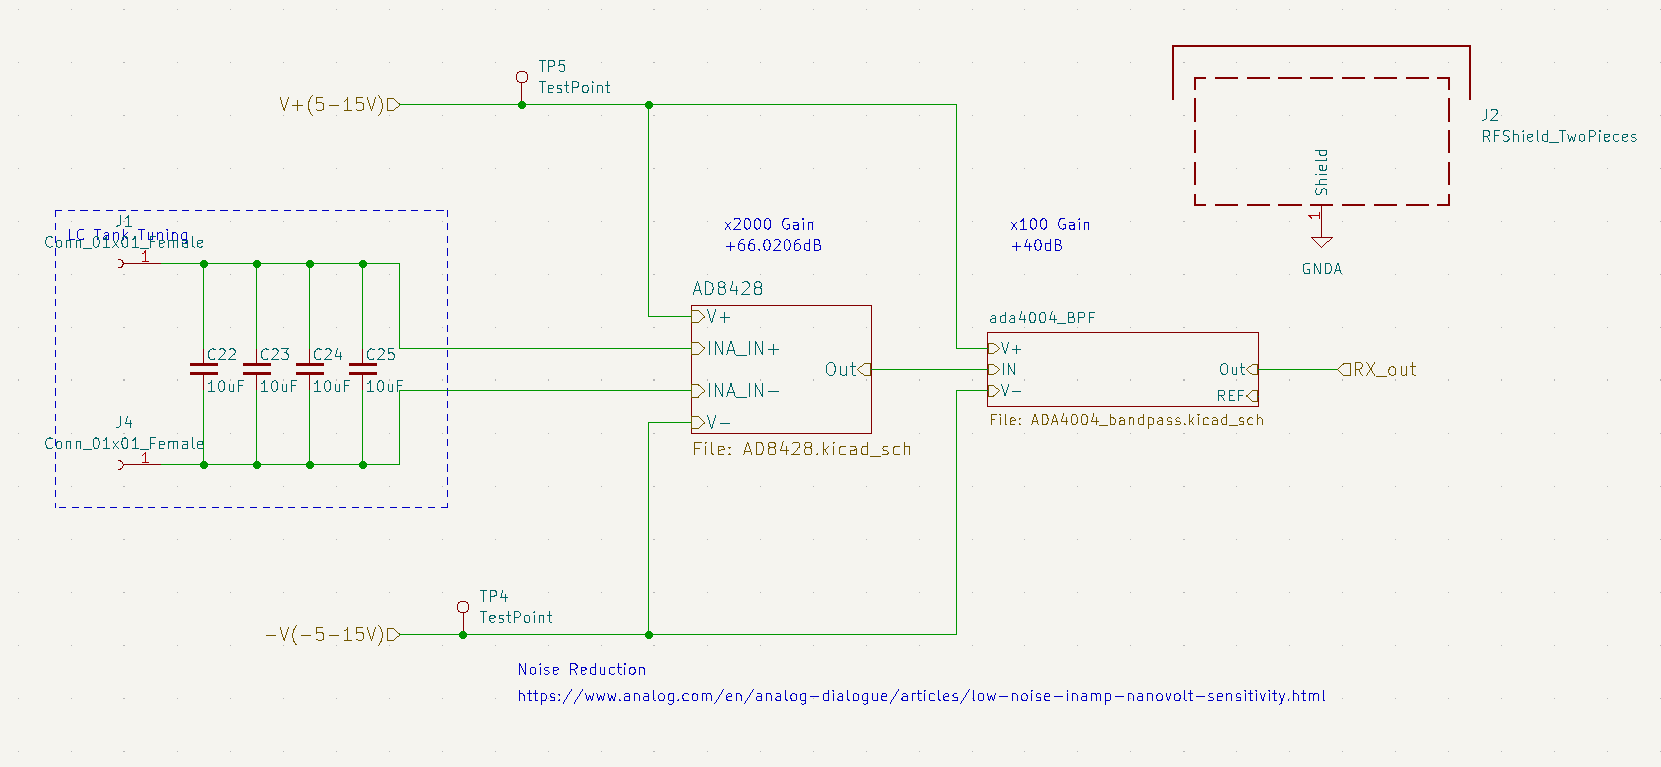
Because the signal that we’re measuring is incredible weak there are a few things I’m doing to make sure we can detect the proton precession. In order of importance:
- Tuned LC tank. In order to selectively hear the 1.5-2kHz signal we tune our coil using an LC tank circuit. This automatically helps create a high Q narrow band pass filter of the region of interest.
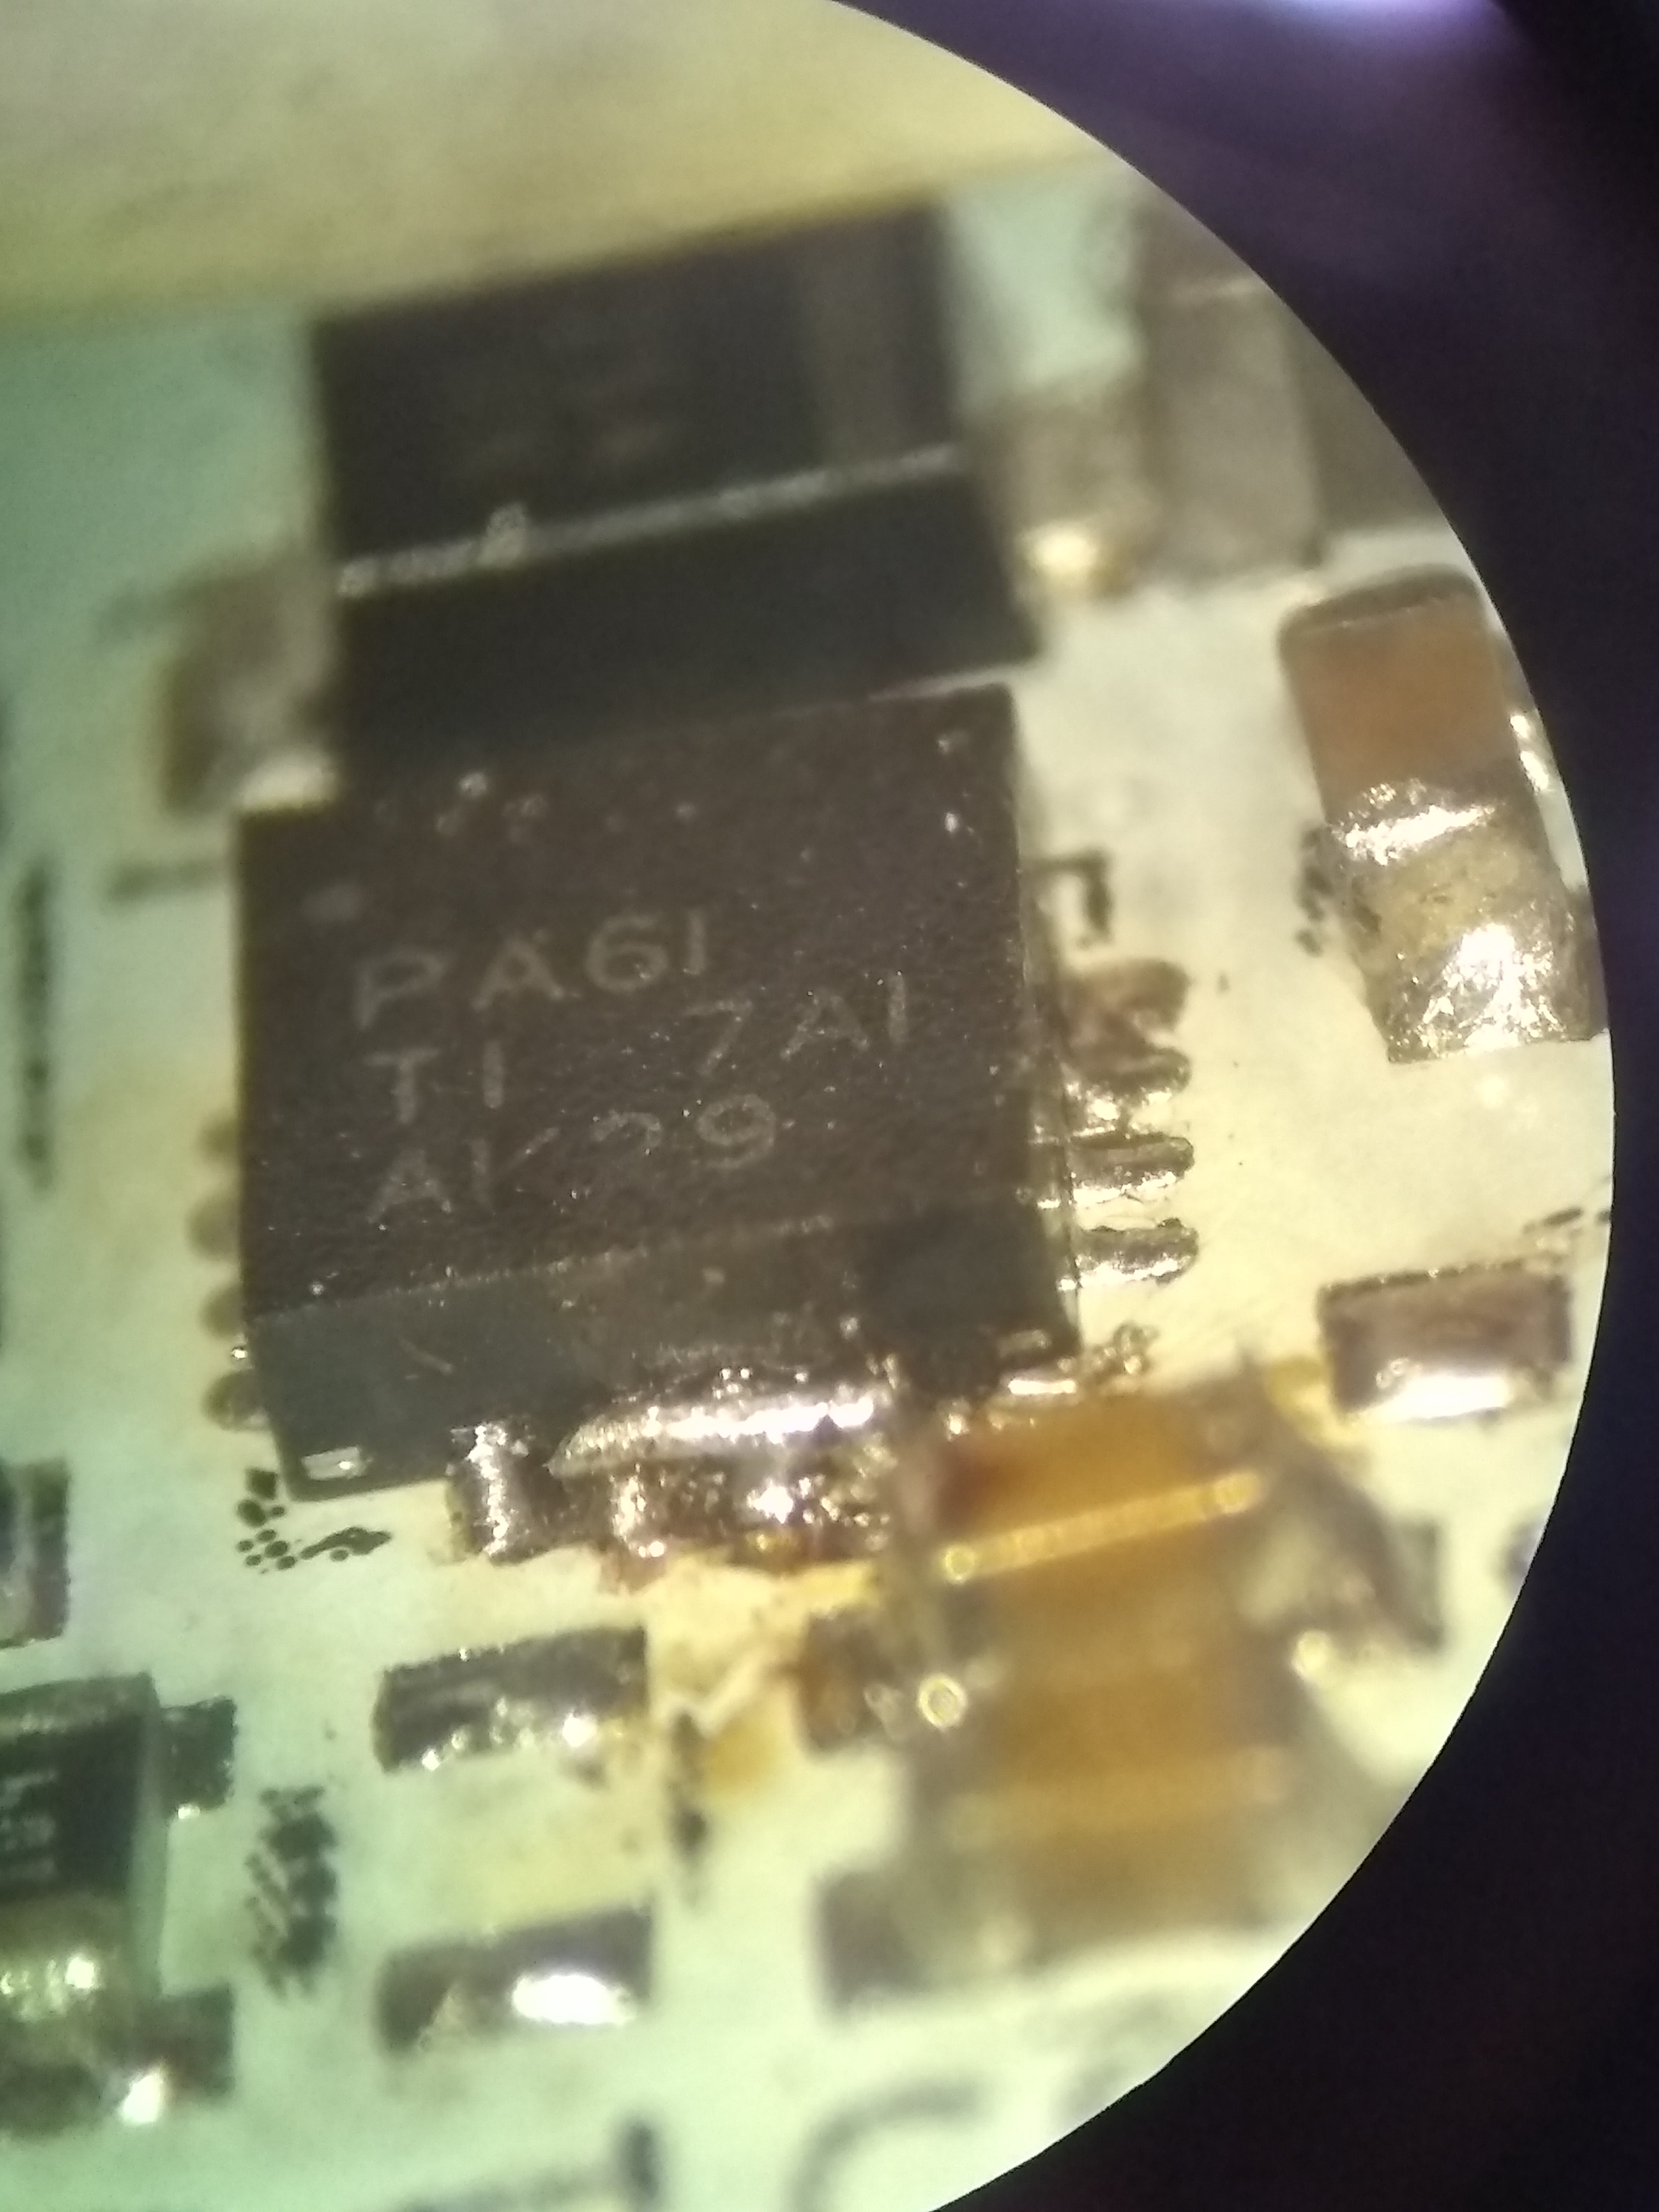
- High Gain amplification. For this I’m using an AD8428 fixed 66dB gain low noise instrumentation amplifier. In addition to its low noise characteristics its not exorbitantly expensive like jfets. You can dead-bug these amplifiers to improve the noise characteristics as outlined in this application note. Awesome paper in general is this one.
- 4th order Chebyshev bandpass filter. After the first amplification stage we go through another stage configured as a fourth order filter. This helps again narrow down the frequency region of interest.
- Oversample digitization. Because our signal range is 1.5-2kHz we can easily oversample to reduce the noise a step further. Digitization in this case will utilize an audio I2S 32bit 192kHz digitizer.

Current Situation
This project has been ongoing for a little bit now. My intial PCB bringup showed that the split rail power supply had issues regarding stability. I’m currently redesigning it to take into account a different strategy.
As for the analog chain I’ve breadboarded the circuit and showed that I can detect very small field fluctuations when the sense coil is coupled with a weak electromagnet.
Latest News Blog
EFNMR: I2S troubleshooting
With the board assembled and the filter issues figured out the next step is to figure out the digitization process. For this we’re using a PCM186X family of audio analog converters which relies on utilizing the I2S protocol. In addition to the PCM186X device I’ve also got a SI5351a frequency generator in order to have…

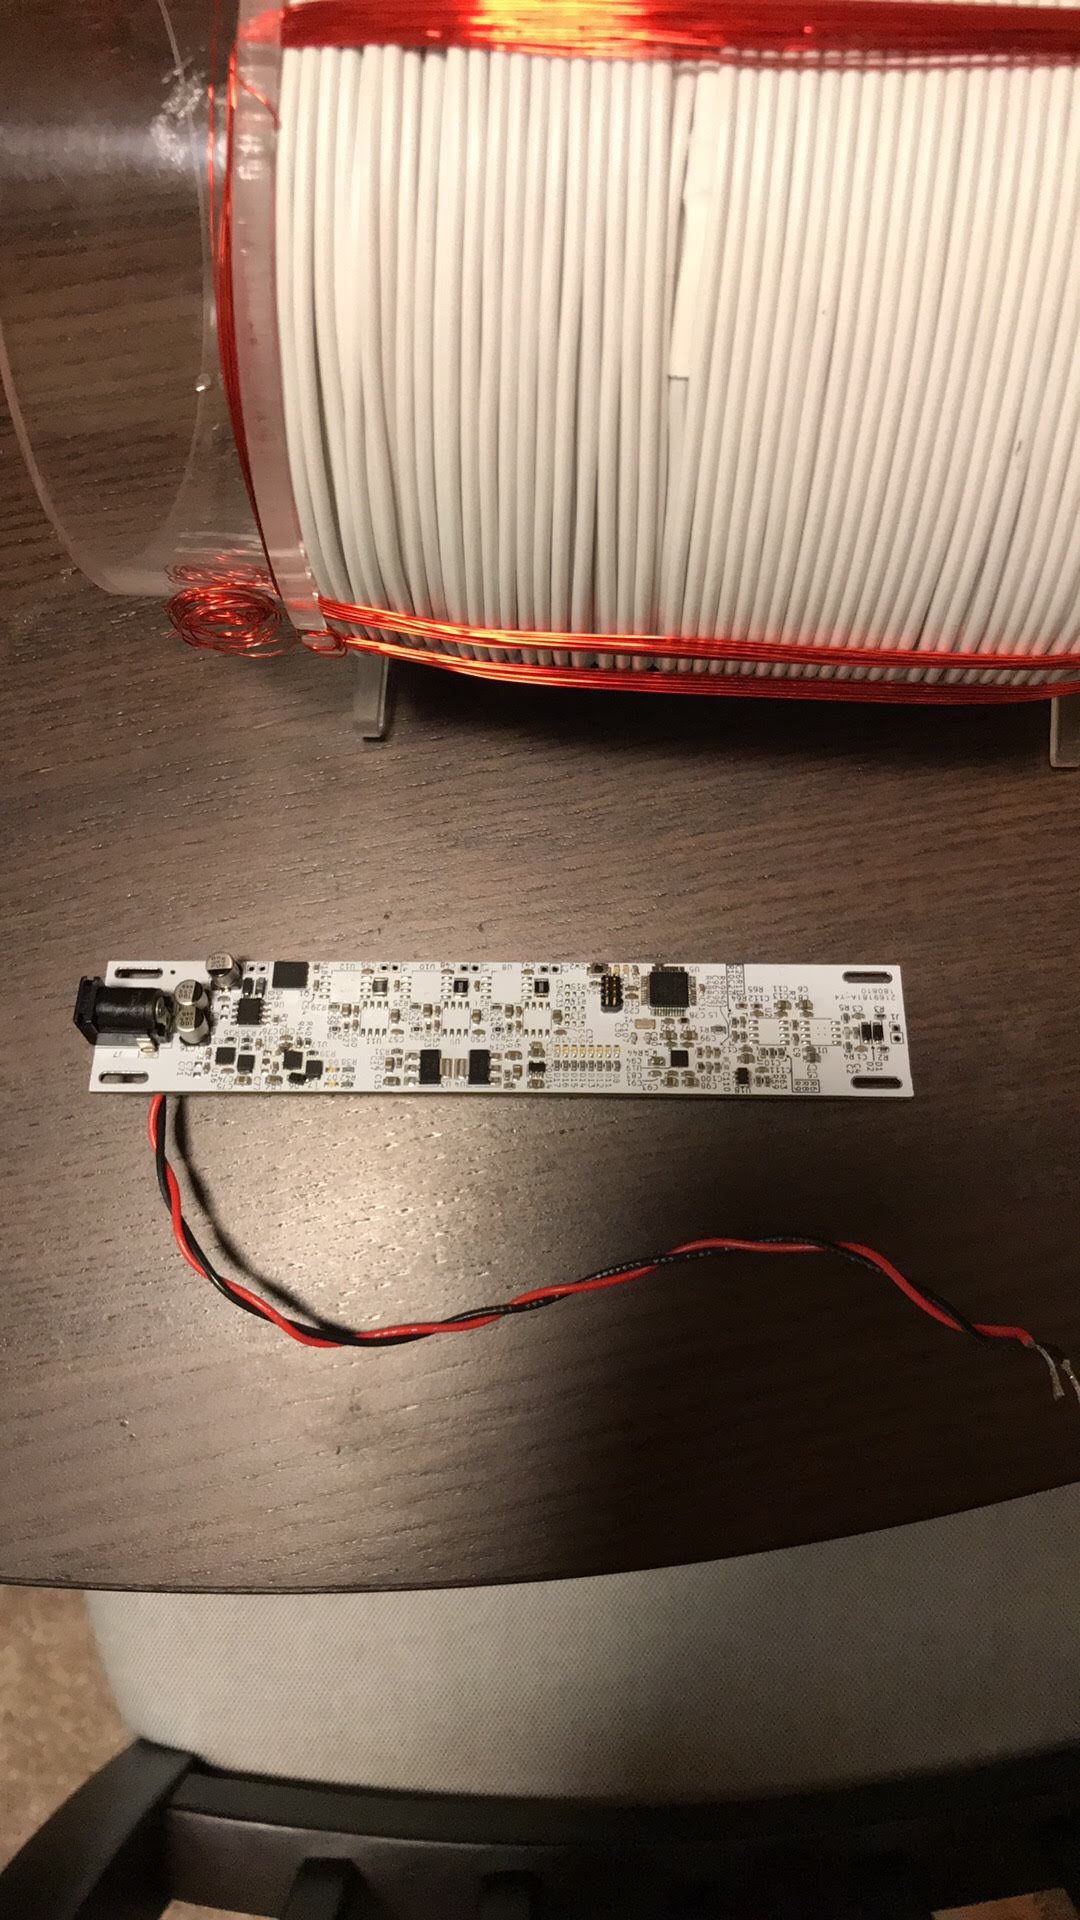
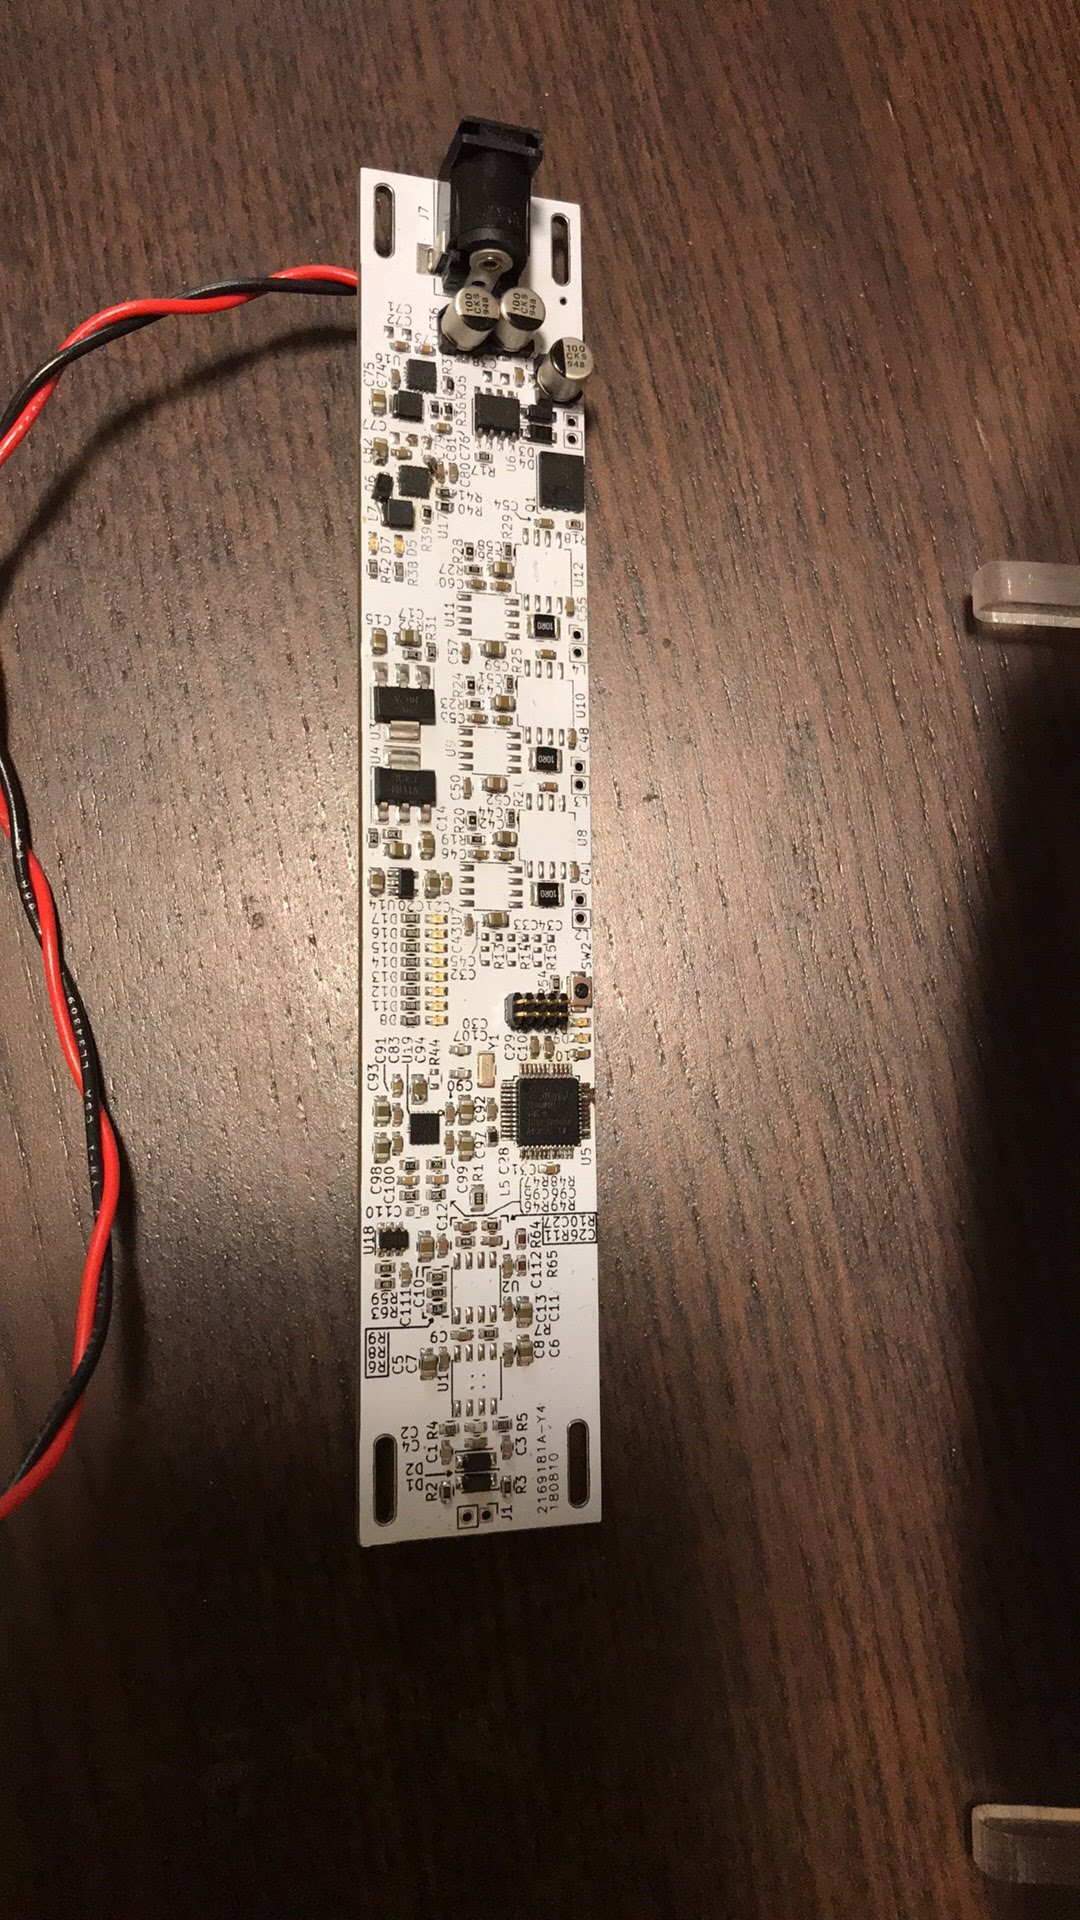
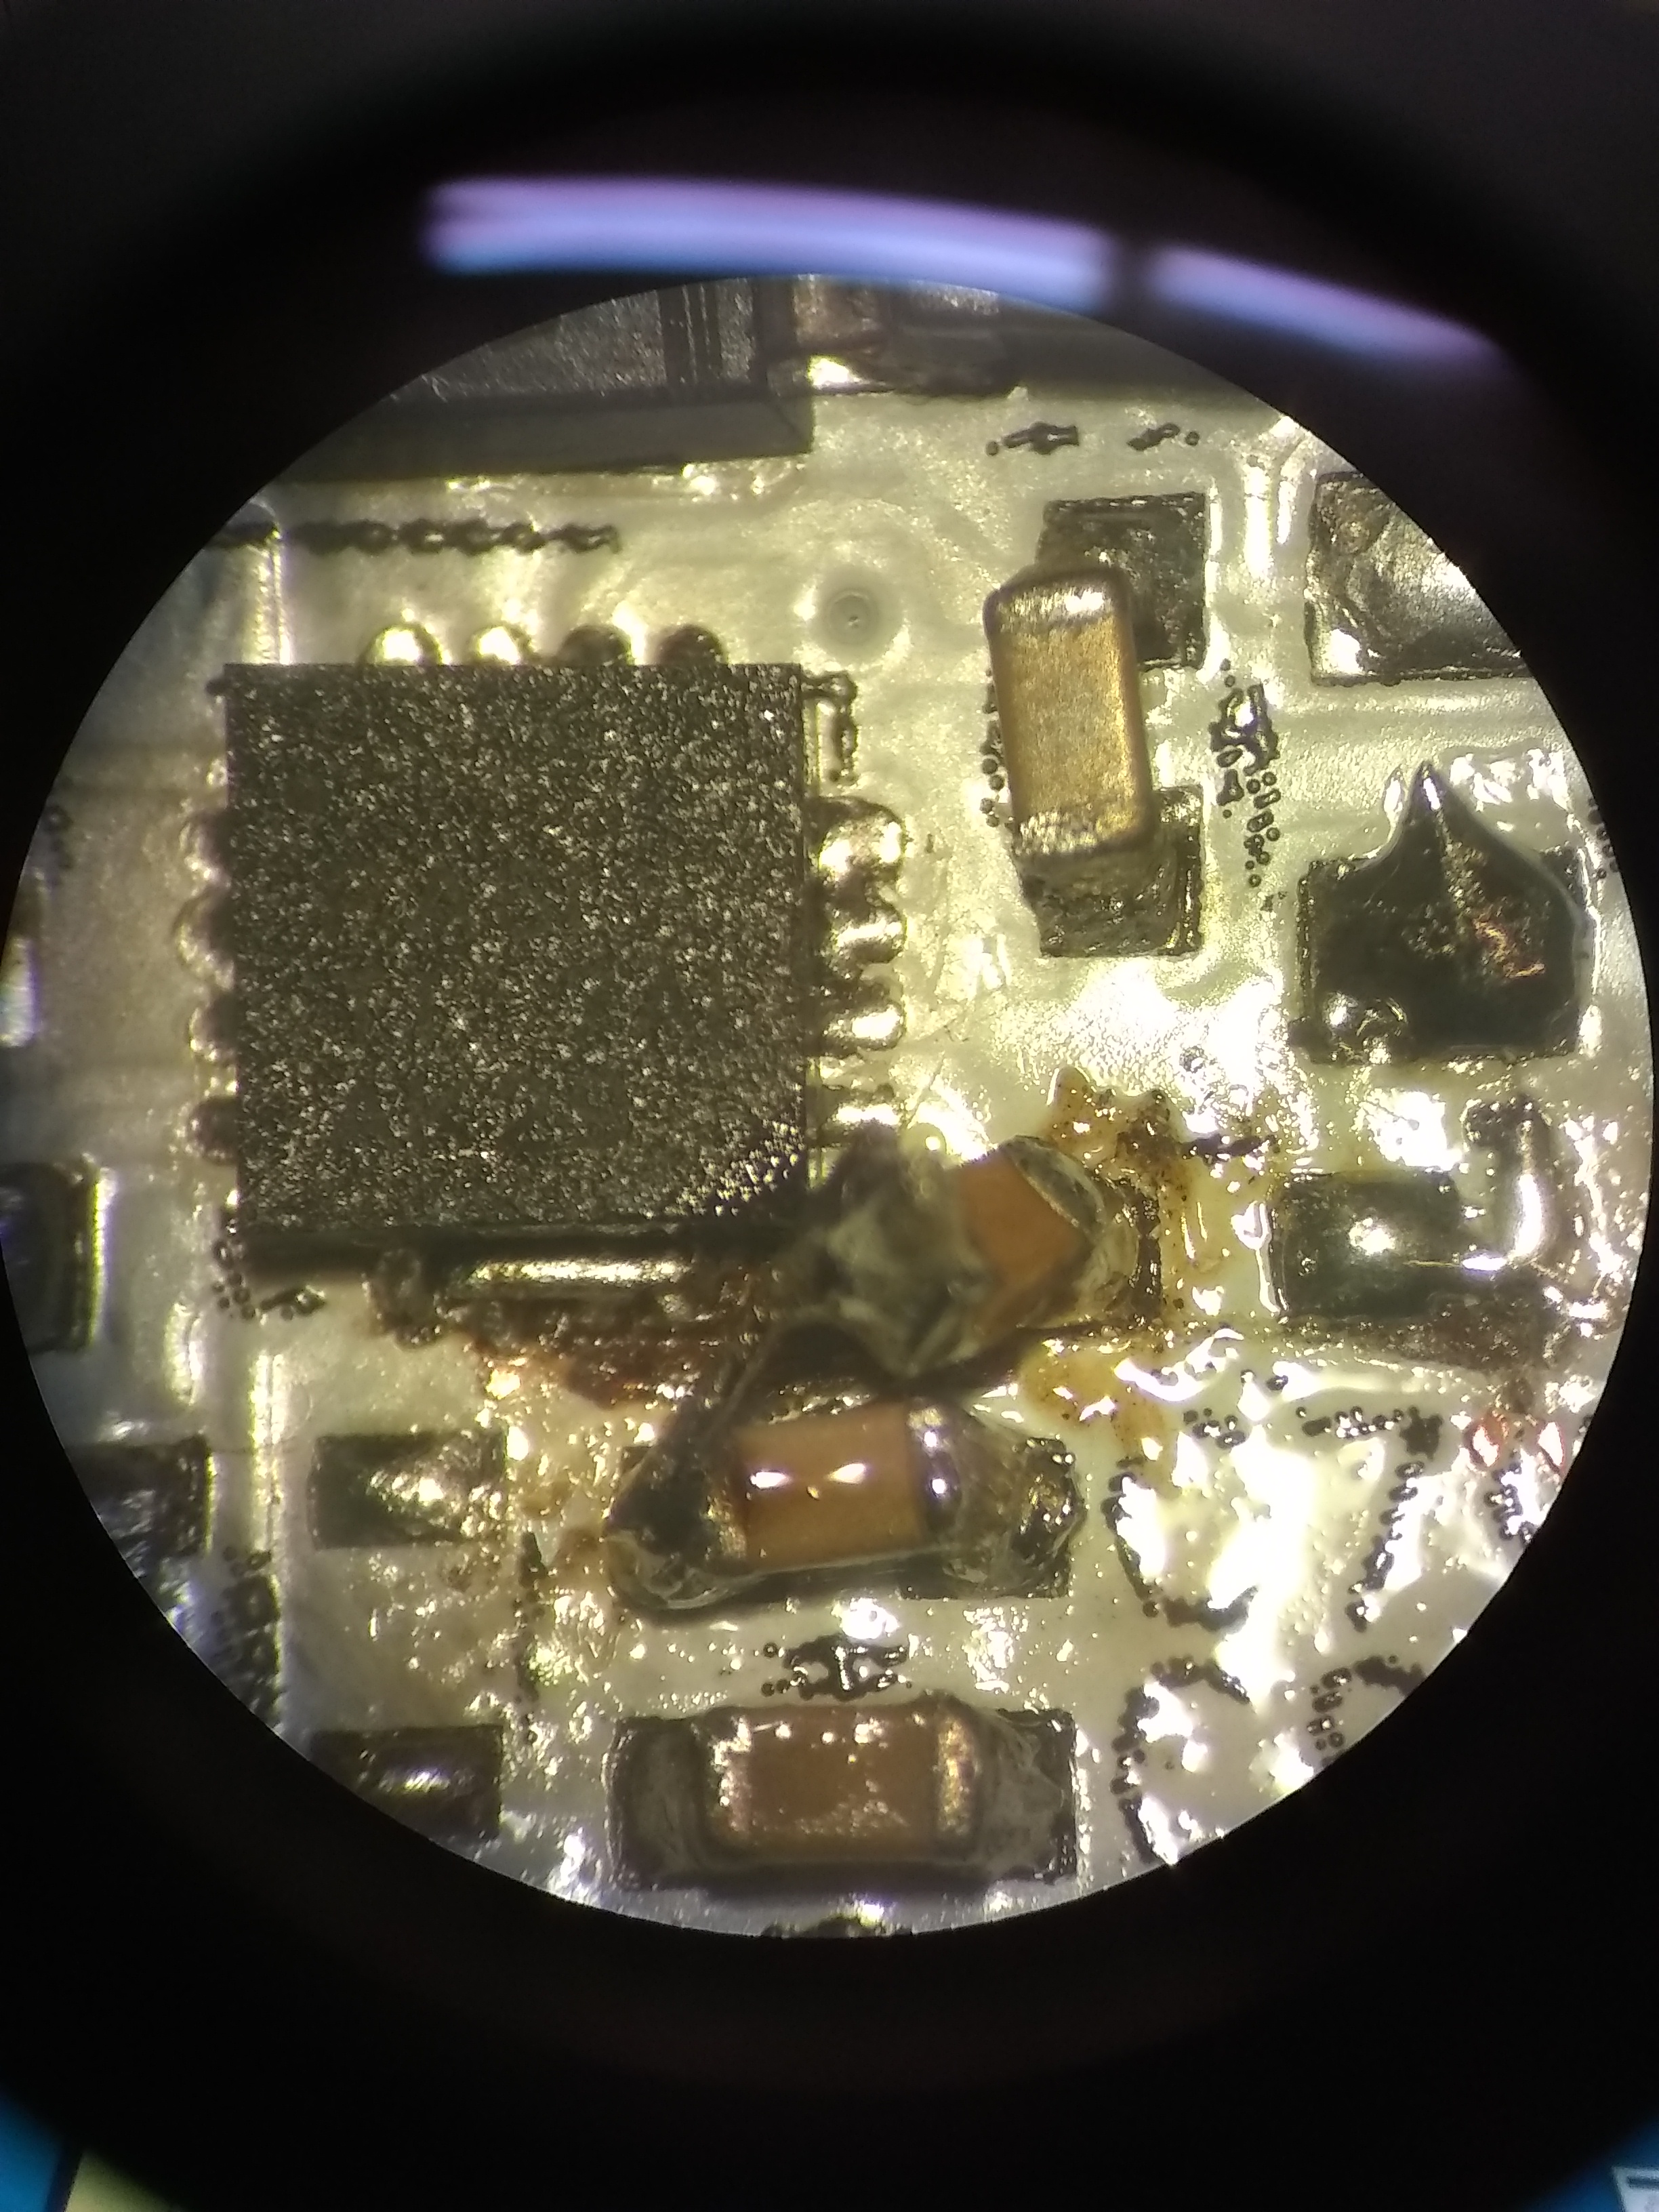
EFNMR Assembly
Assembly Last week assembly of the power supply stages went without a hitch so this week was spent assembling the remainder of the components. This included the front end module, ADC, and clock generator. Below is a few pictures of the final product. Power Testing After assembling the board the next step is powering. Always…

v2.0 EFNMR Power Supply Test
Finally received my new boards from oshpark and started putting together the stage 1 power supply. Stage 1 is based around the LT3472 and converts the 5V raspberry pi rail into 2 +/- 8 V rail. Noticed an issue when I put it together: Did a simple resistive load testing to validate things were still…
