AMINO was a project I completed back in 2017 as a 21st birthday gift for a biologist friend. It is an active display array of RGB LEDs that runs through a pattern of 21 amino acids with a few other interesting patterns. When the amino acids are displayed the colors correspond to the type of compound found on that part of the chain.
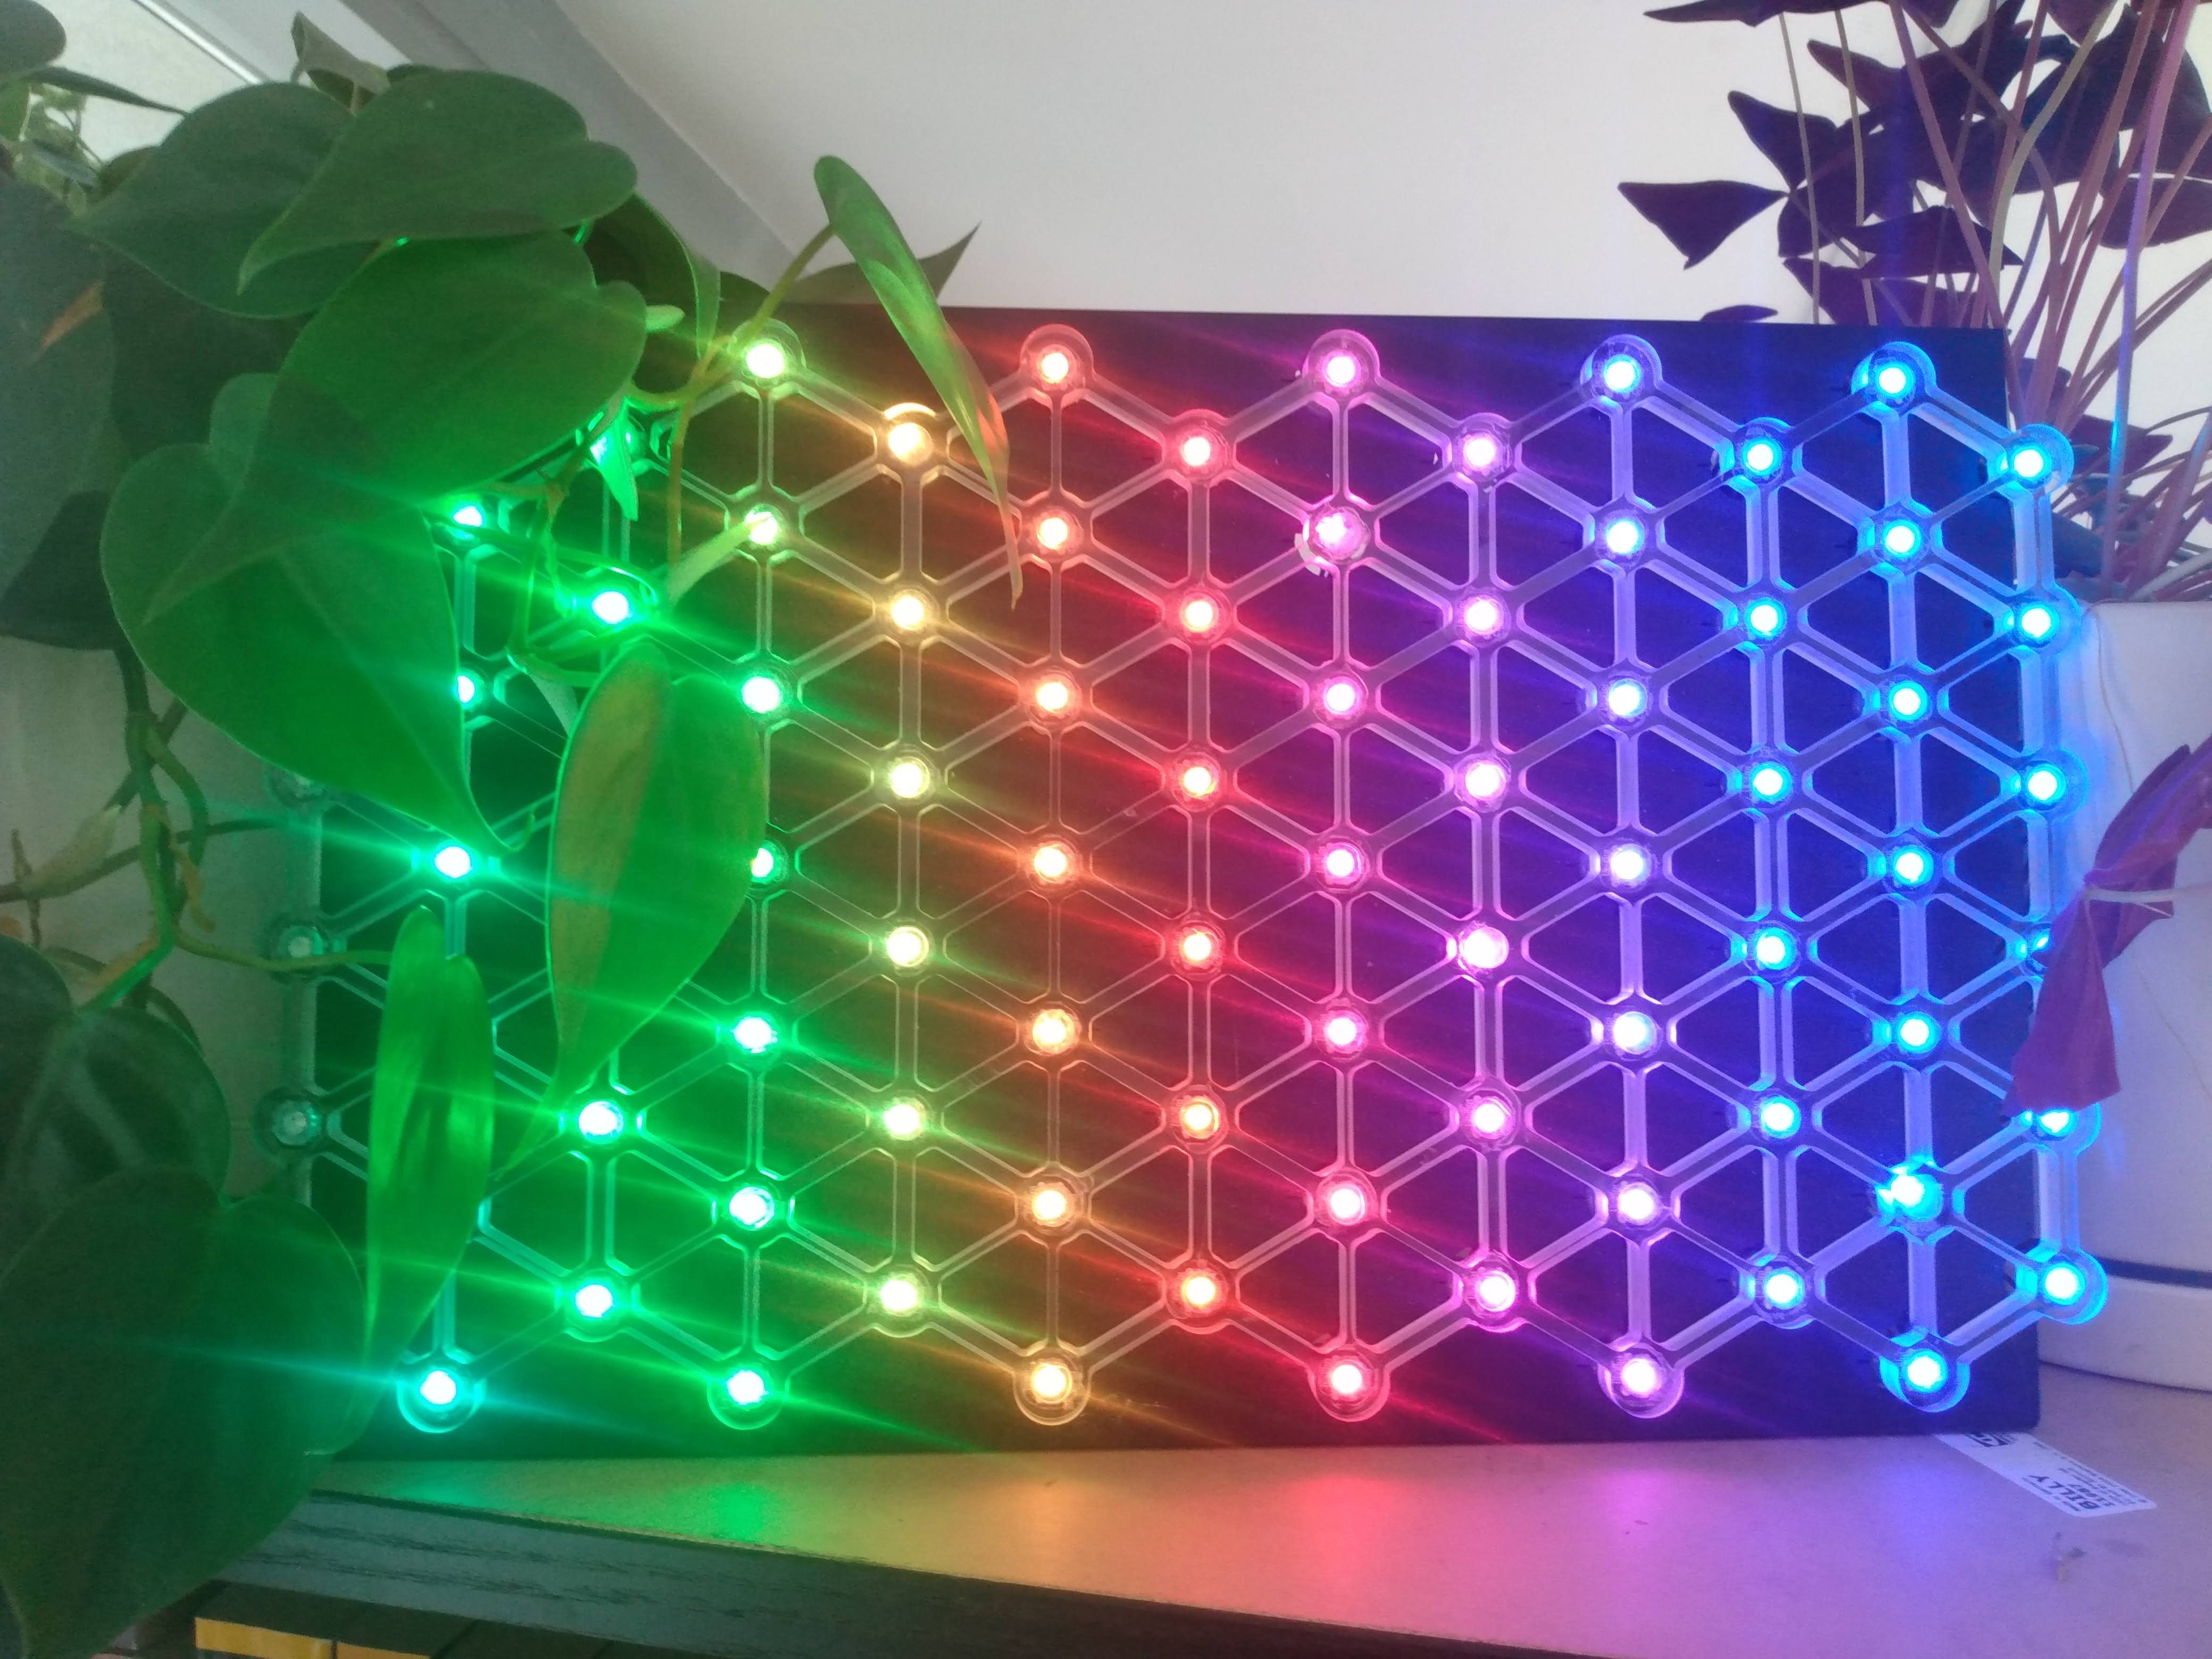
Mechanical Design
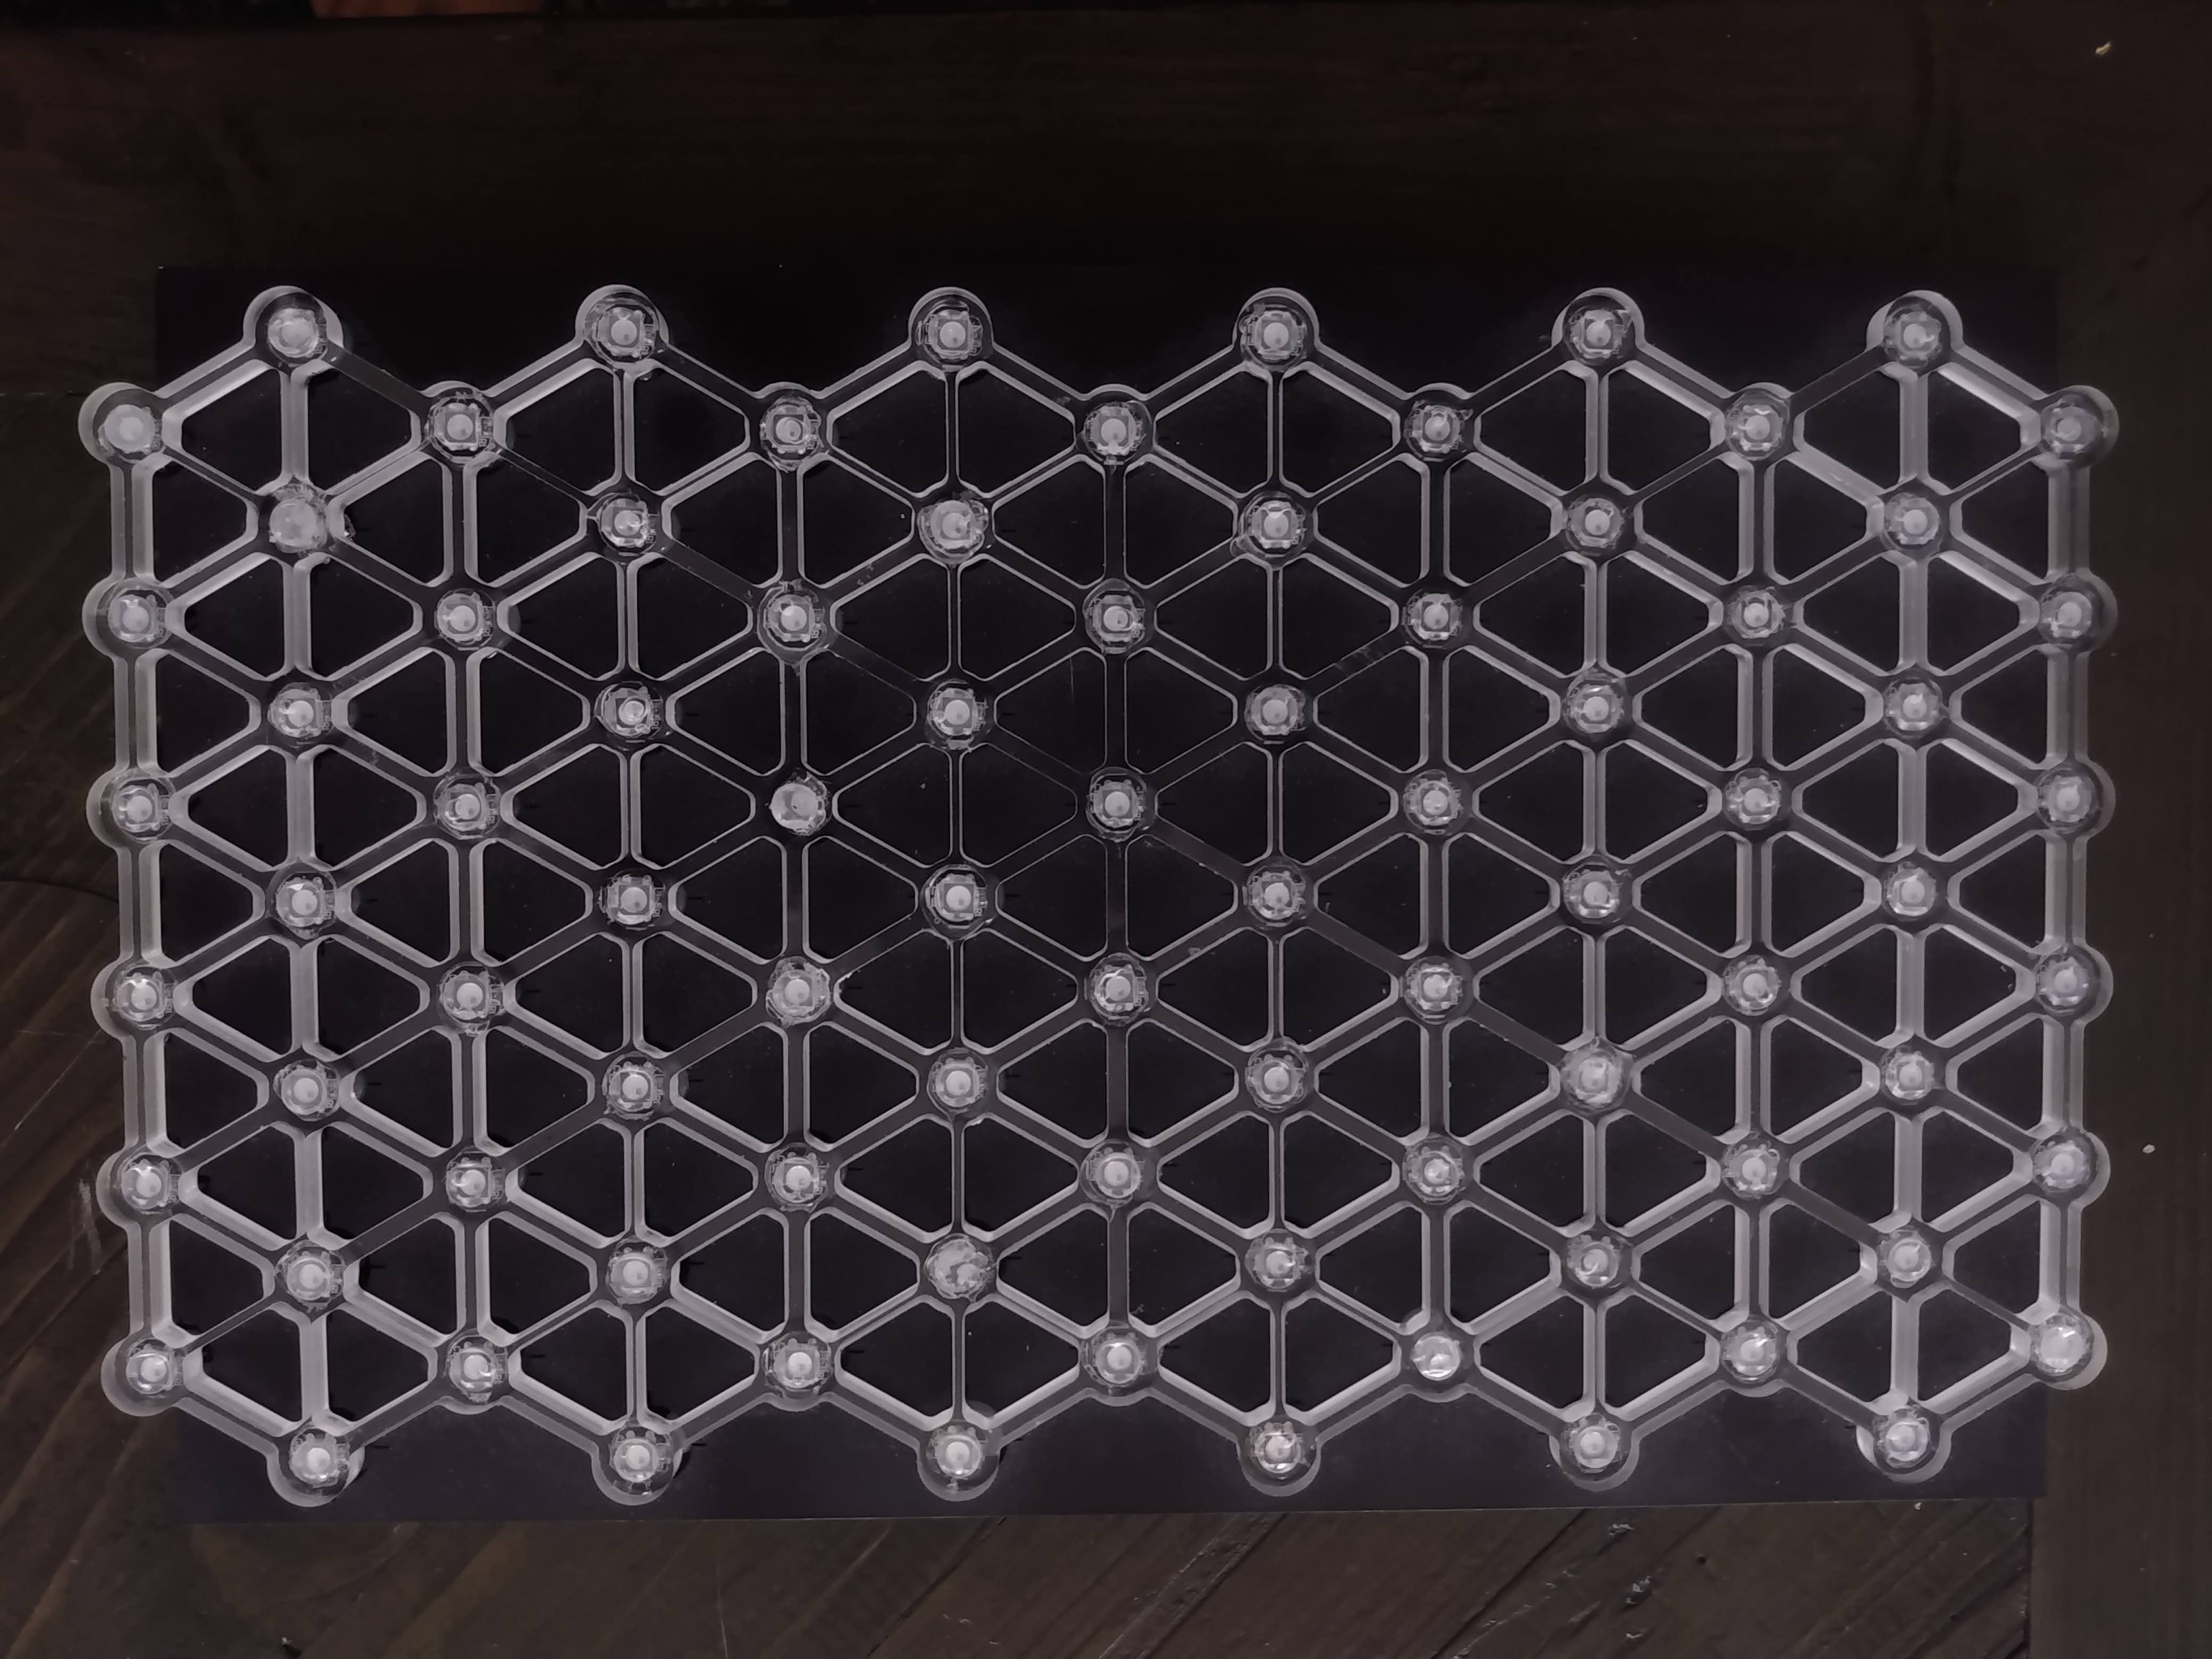
The mechanical design of AMINO utilized a single sheet of 0.25 inch acrylic split in two. One piece was laser cut to create the backboard the other was CNCd to create the hexagonal grid.
The 3D model of AMINO was created utilizing Autodesk Inventor. A dxf was exported for the laser cutter, whereas an stl file was imported into gibbsCam to create the toolpaths/Gcode for the CNC.
After the raw pieces were machined the backplating received a layer of black spray paint and the whole assembly was epoxied together.
After the LEDs were added I utilized hot glue to pot everything together.

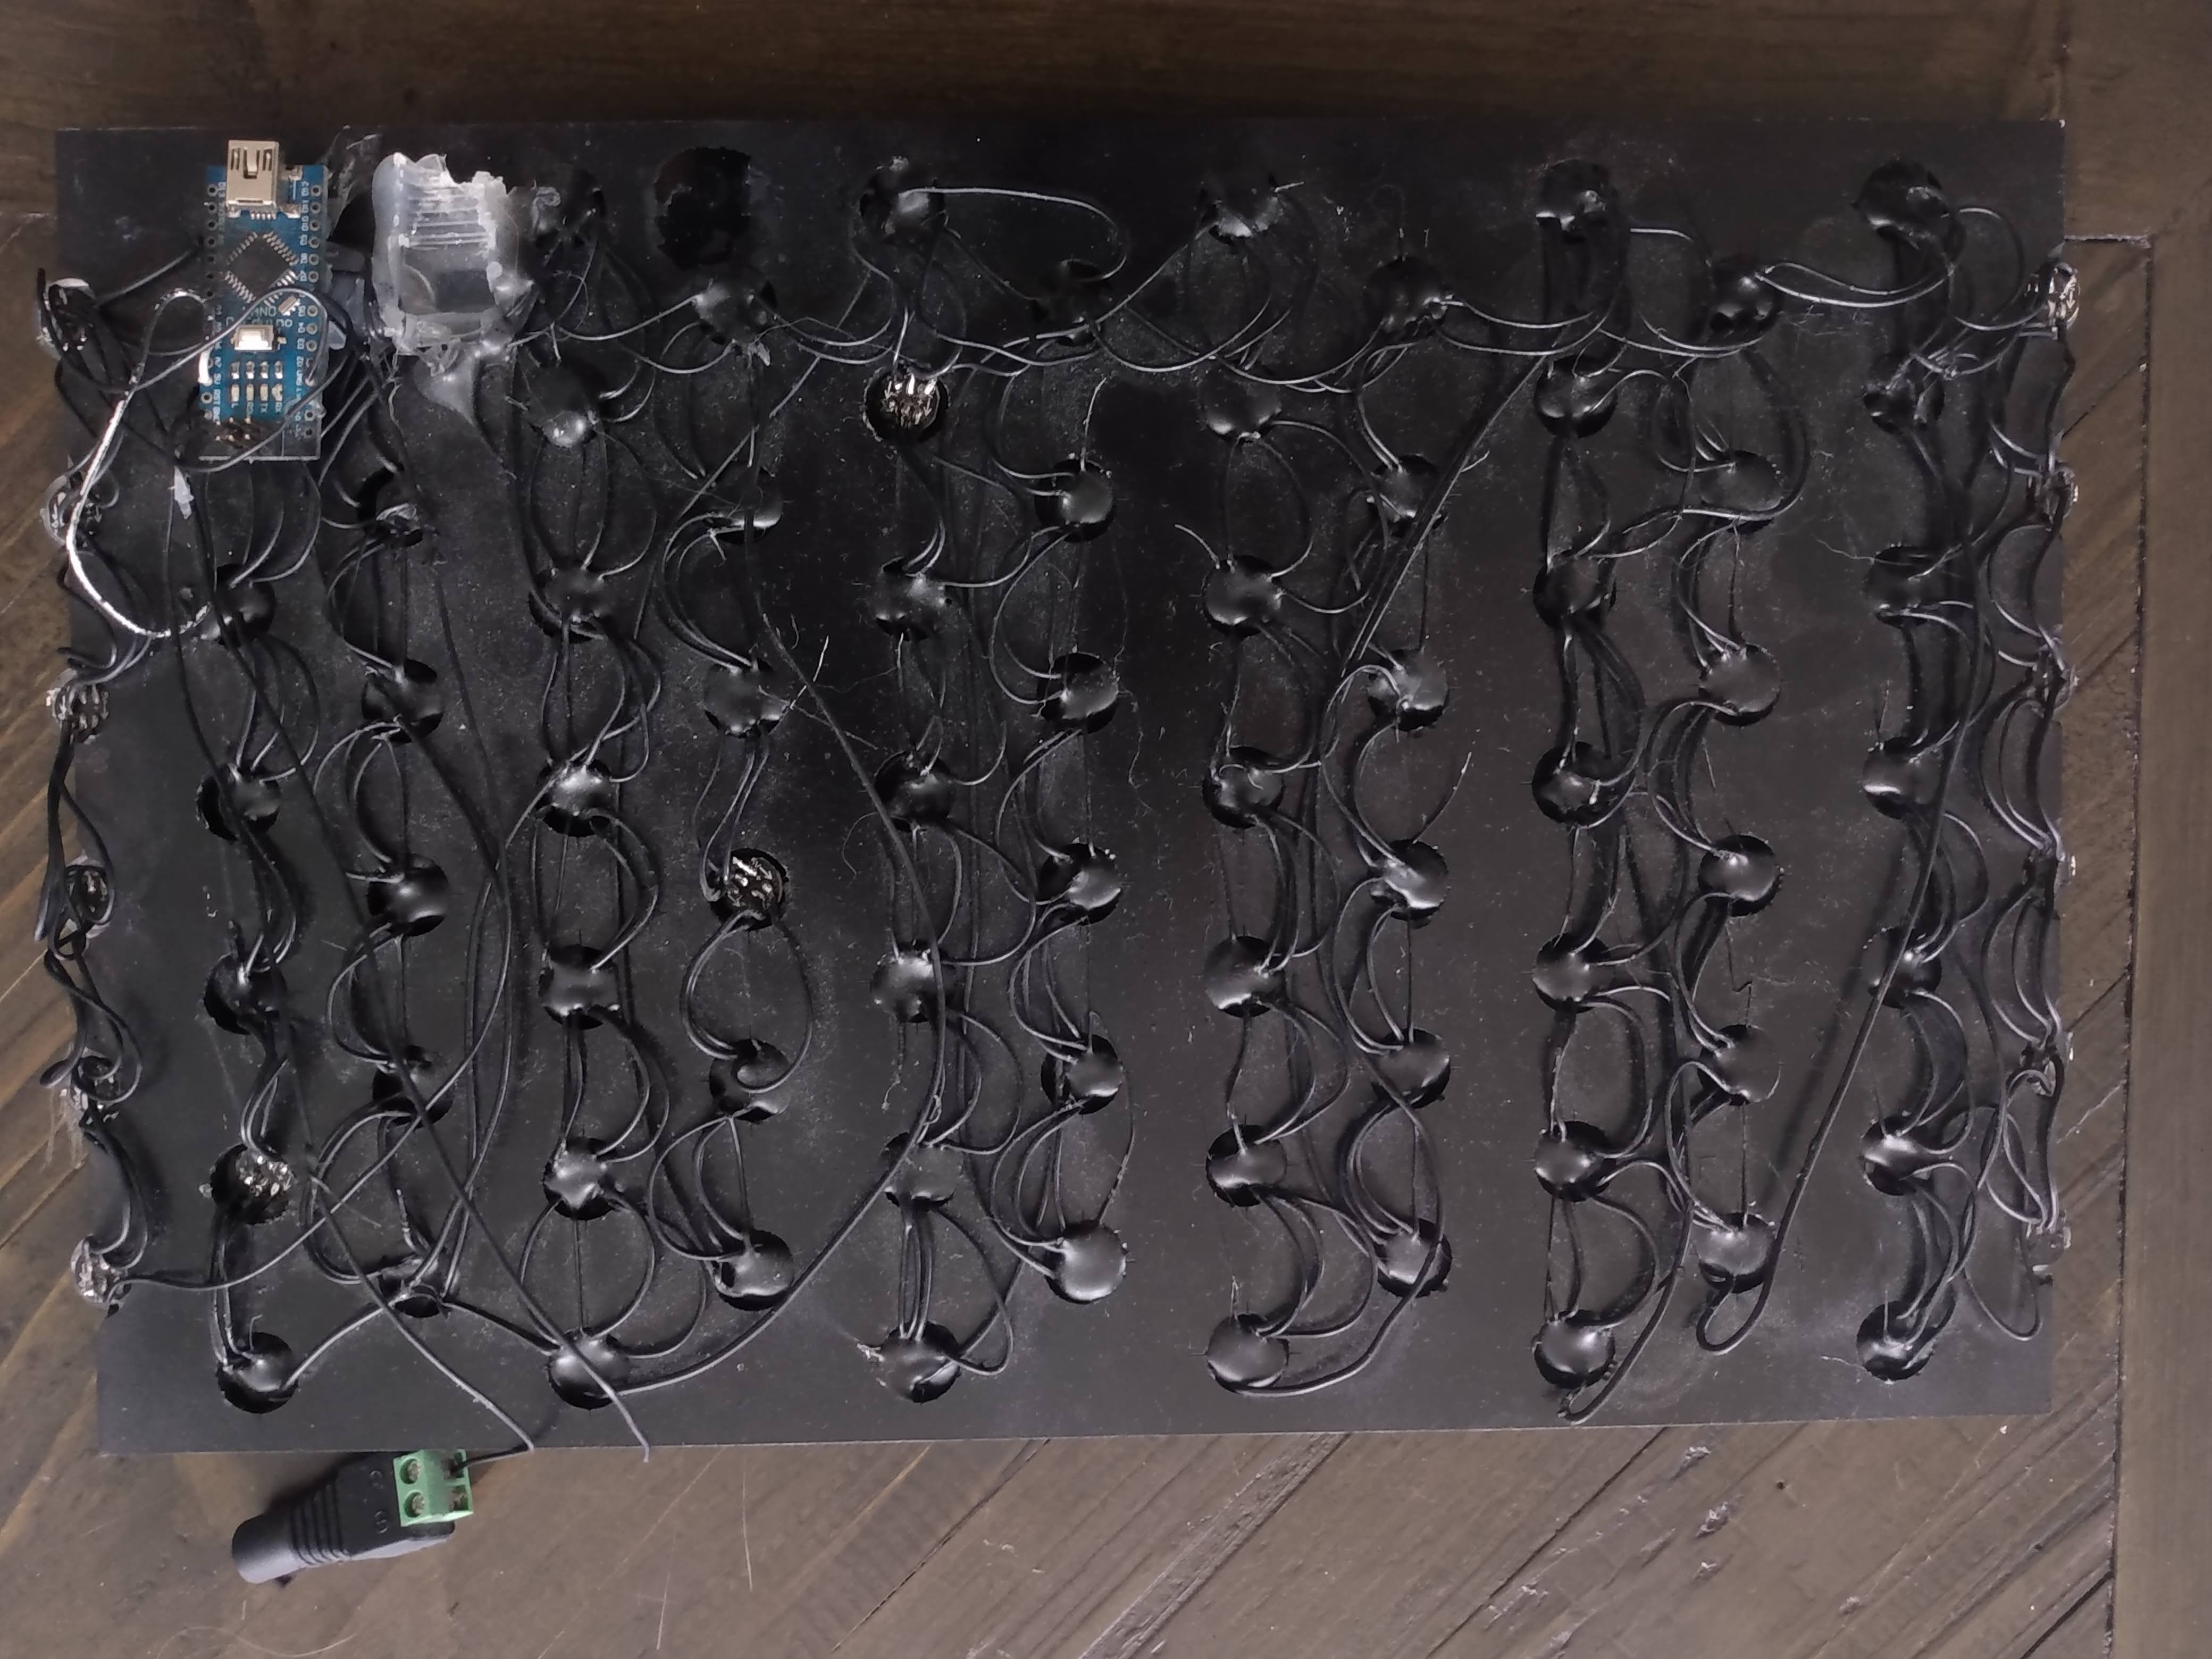
Electrical Design
The electrical design of AMINO is simply a daisy chain of LEDs anchored to a small microcontroller. Individual wires were soldered to span between the small LED breakaway pads, which was very time consuming. Because the signal frequency is low and because the ws2812b contains a re-driver (basically a retimer) I wasn’t worried about signal integrity of the overall chain. I was, however, worried about power integrity given that each LED should be budgeted to 60mA on a 5V rail. To avoid excess power supply droop I branched the power path rather than follow the signal path.

Update
Over the past few years some LEDs have failed. The overall reason is unclear but it is most likely because of abrupt/multiple power-on/off cycles. Finding the failed LED is not easy as the whole chain fails and requires a bit of trial and error to determine the culprit. The suspected LED then needs to be dug out in order for it to be replaced.
A few things I would do differently:
- Add a bulk cap to offset abrupt power changes.
- Add a power filter and or a snubber to avoid current spikes.
- Remove the hot glue potting.
