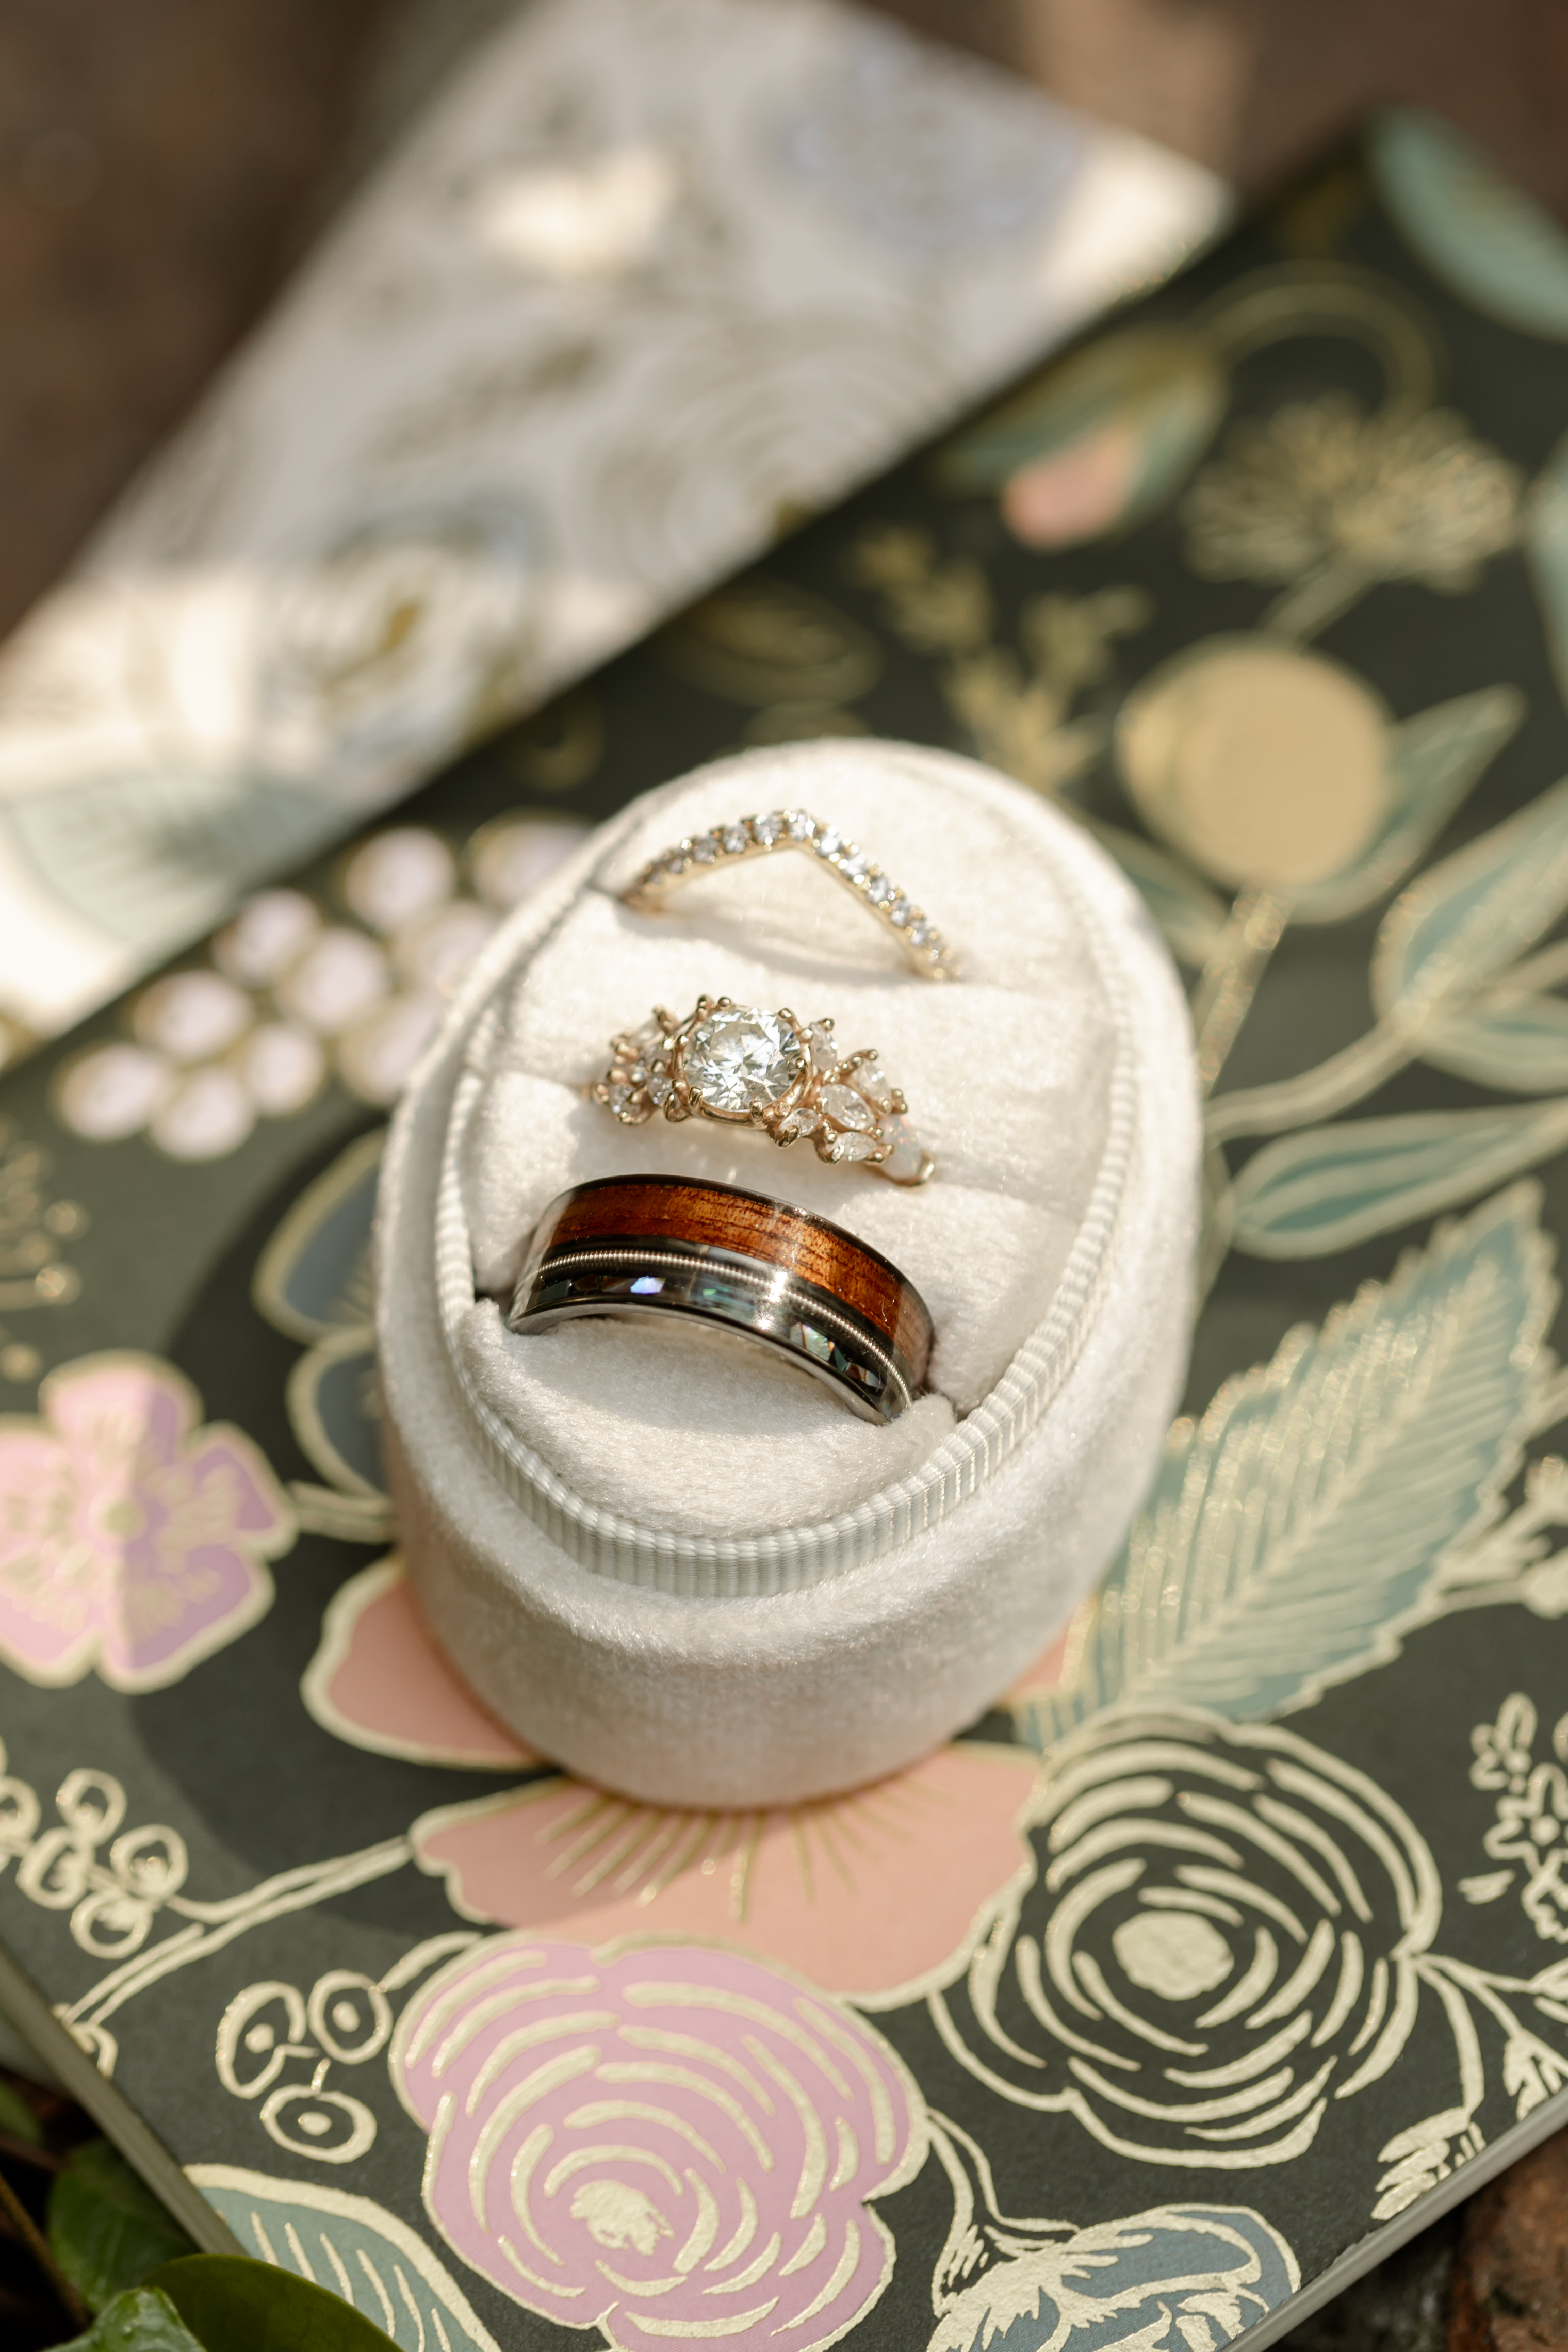
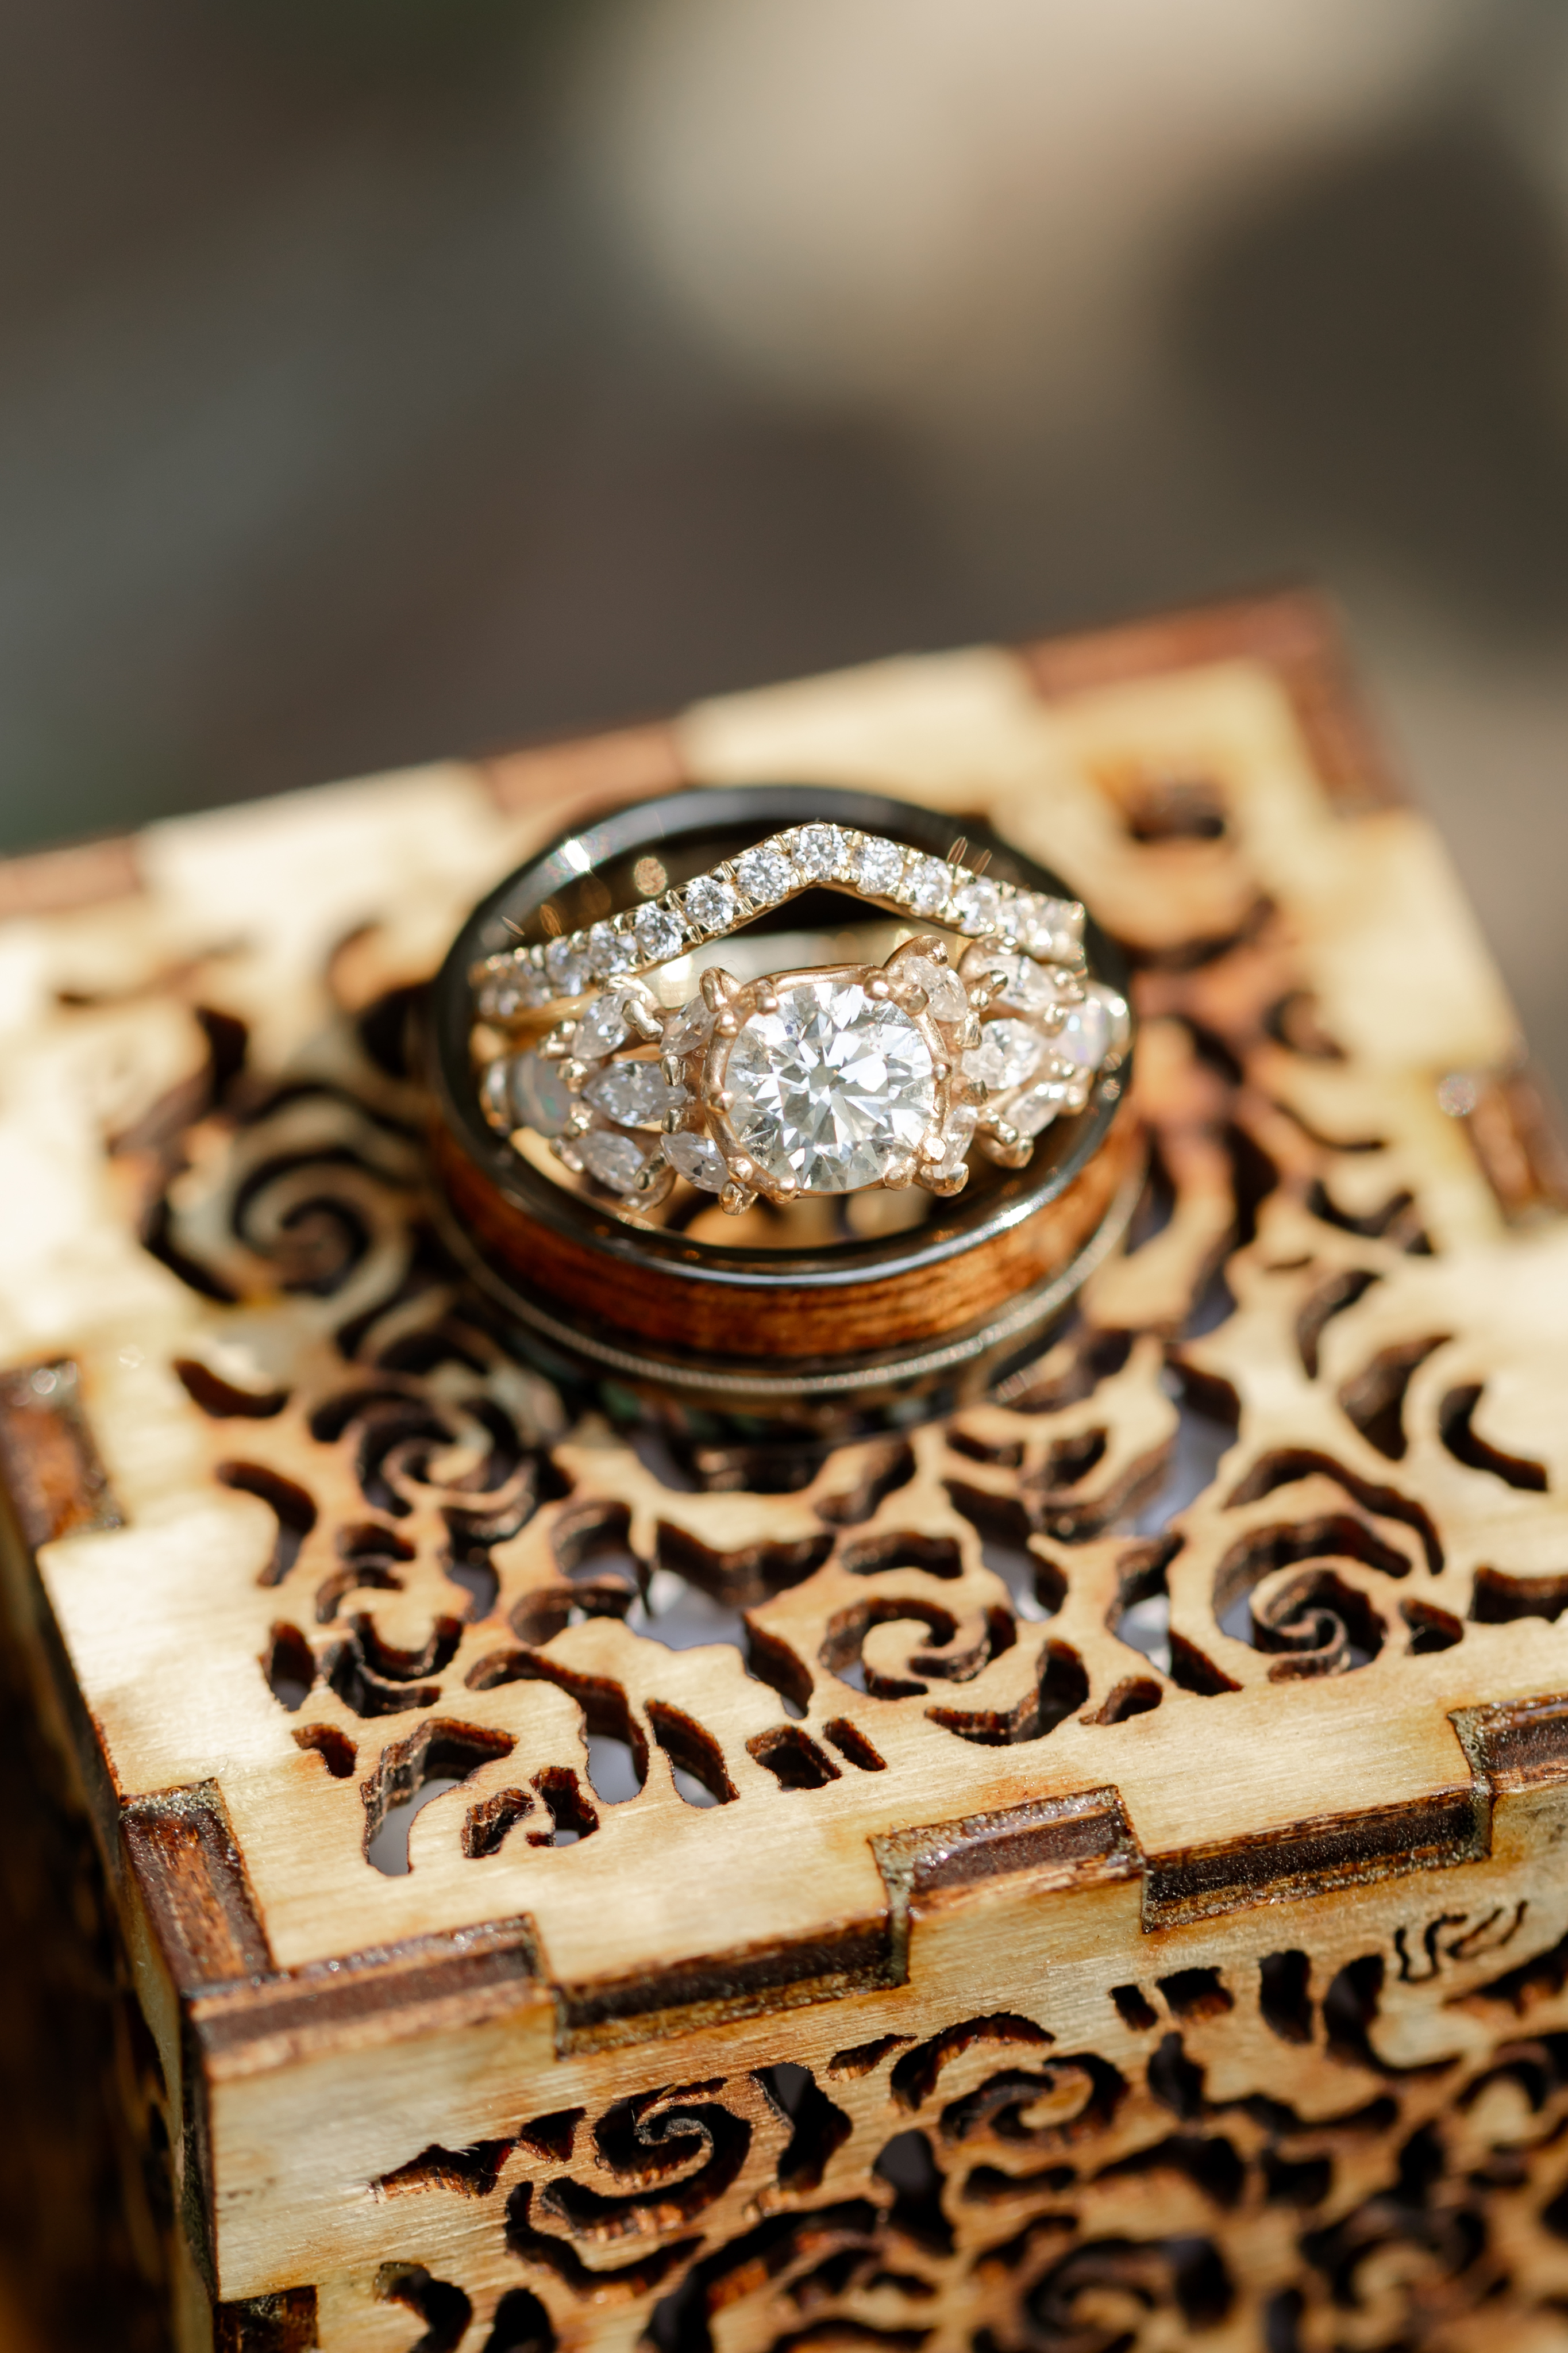
This project page will go through the steps I took to build my Fiancé’s engagement ring. The project took me 9 months from start to finish with copious amounts of trial and error as I learned the intricacies of jewelry making.
Design
I started designing the ring utilizing Fusion 360. Compared with other mechanical designs that I have done this was much more challenging as I didn’t have experience at this scale nor with this many curves. It was great to use a CAD program to put this together as I ended up with 100 different digital variants as I learned more and more about jewelry making.
To keep myself sane while trying to cad this tiny but complex design I tried to follow a few principles.
- Symmetry
- Symmetrical designs are inherently beautiful and I heavily relied on this when designing this ring. The prongs and settings are symmetrical 2 ways which helped reduce the number of unique features I needed to develop.
- Variables
- I utilized a few variables in this model in-order to allow future me to tweak a variety of settings depending on what I learned throughout the process. A few good examples include the shrinkage percentages, diamond depth/diameter, prong diameter, and ring diameter.
- Construction Features
- I heavily relied upon projected features on different construction planes and axes. This allowed me to create complex curvature with defined XY coordinates.
If I were to do this again I might try and approach this problem a little differently. Potentially utilizing Blender or Fusion360’s free form tool might have been better than using an engineering CAD tool. In the end however, I didn’t want to spend time learning a new software when I knew I had plenty of other skills to hone.


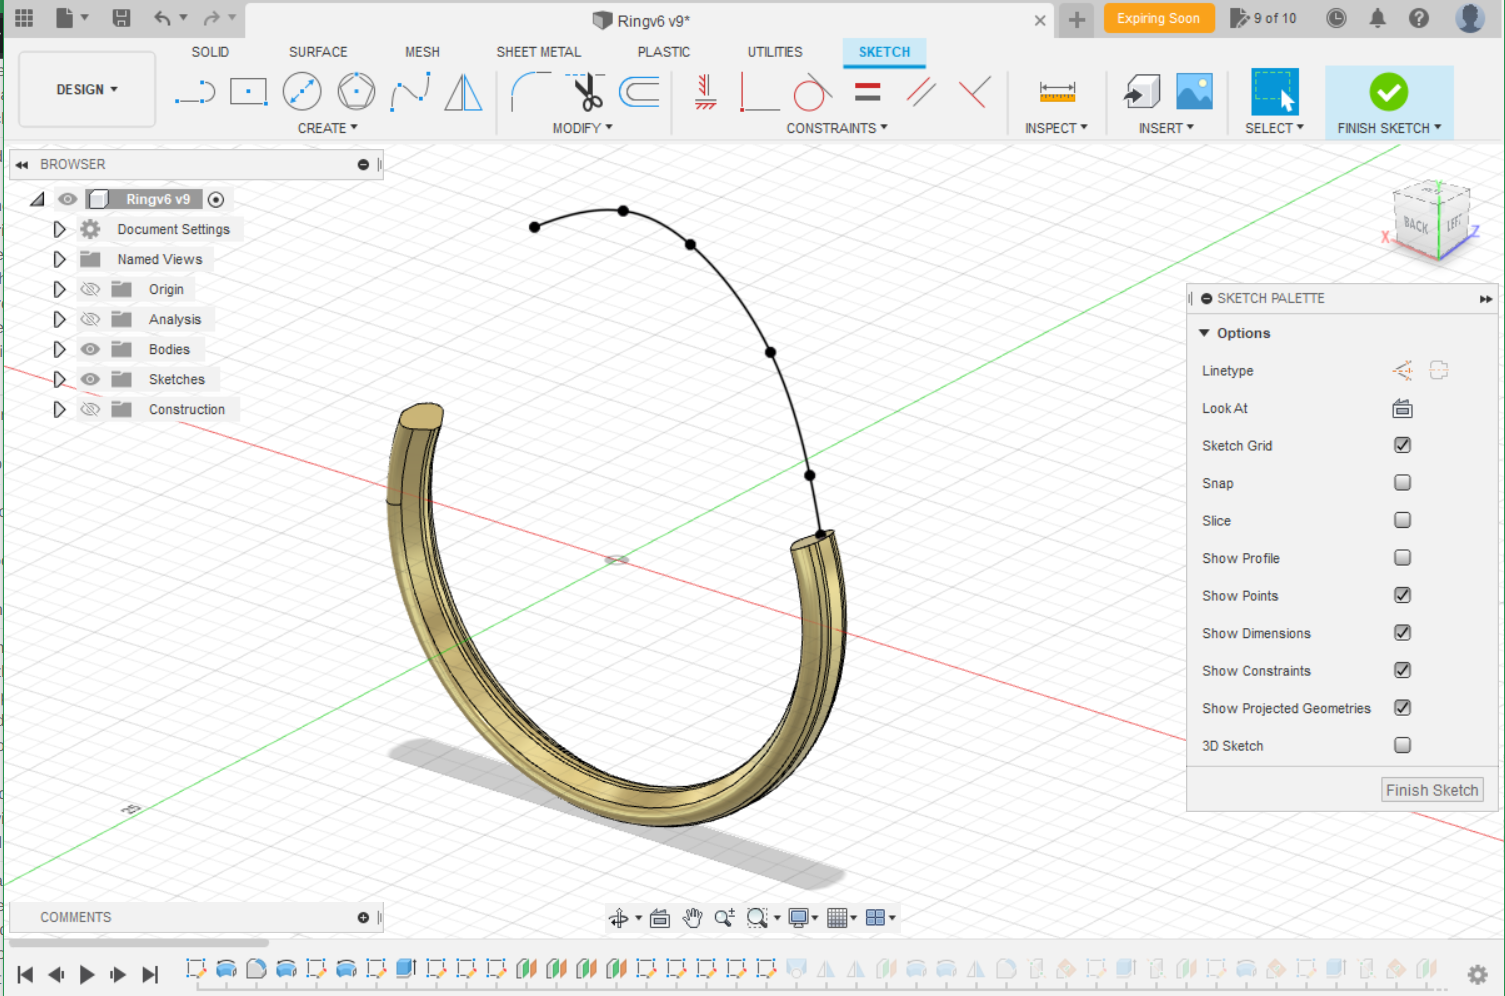

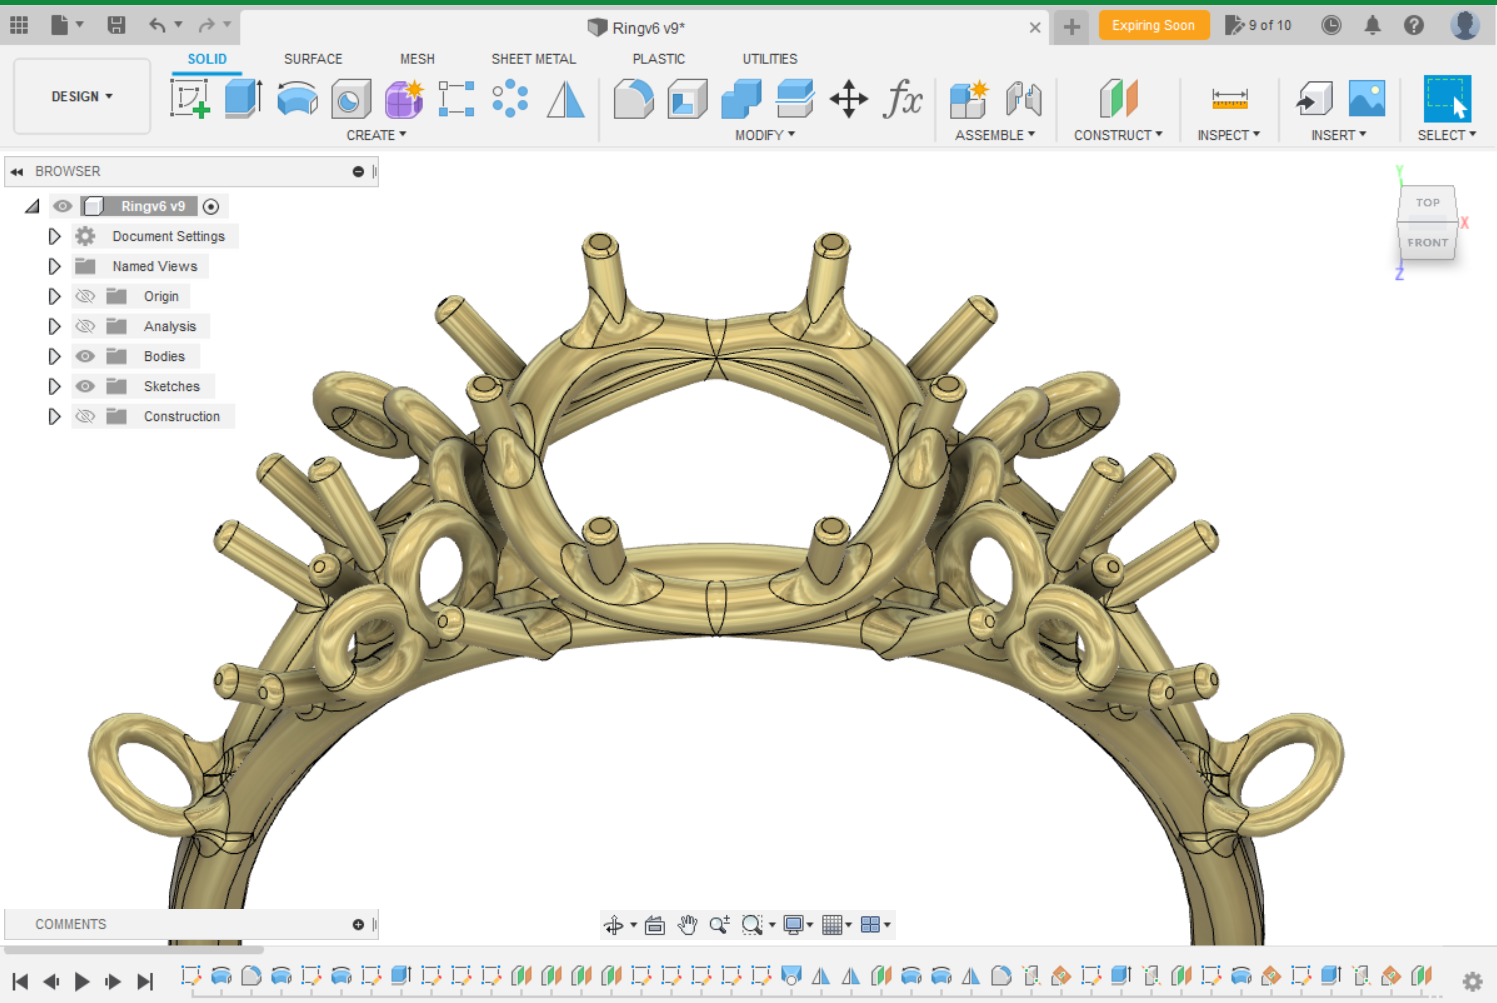
One of the most challenging aspects I learned about attempting this in Fusion360 is that fillets and curves are very hard to get right. Fortunately for me jewelry design is more about aesthetics than actual tolerances although I did have to keep in mind the casting flow paths.
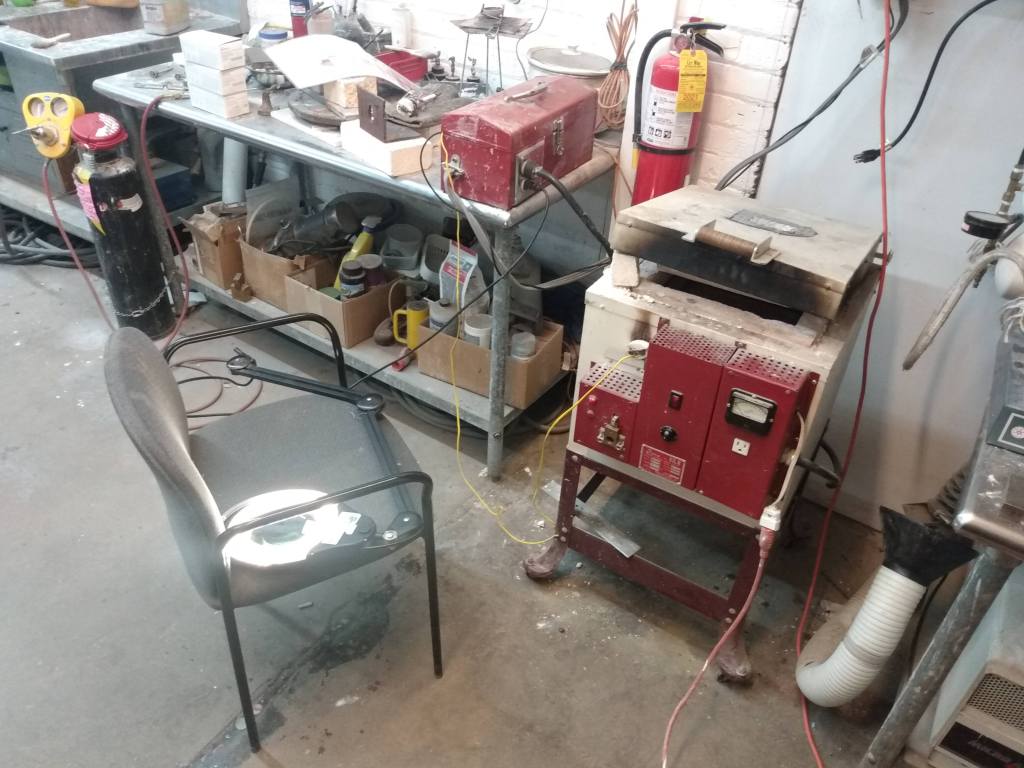
Tools
There was a variety of tools that I had to acquire, build, and test for this project. The MVP of this project was my 3D printer which let me make ~100 different versions consistently. I also put together a digital kiln controller to have tight control over the burnout cycle.
As for knowledge and learning how to do all of this – big shoutout to the internet.
3D Printing
This project would not have been possible if it wasn’t for my Mars Pro 2 3D printer. It allowed me to not only develop consistent models, but also allowed me to design shapes that would have been very difficult following traditional jeweler manufacturing processes.
Printer Settings
Utilizing a resin based 3D printer has its pros and cons. On the pro side you get amazing detail. On the con side is that when things go wrong its hard to determine why.
My initial use of my machine gave me terrible results. This was because I naively assumed I could jump straight into printing with only the briefest of calibration. Below is a list of items that I collected and processes that I use to now get very consistent results.
| Improvement | Type | Notes |
|---|---|---|
| Levelling | Process | I always re-level my build plate after every print. This assure that I will always start at the same z-depth. |
| Leveling Reaction | Process | I noticed during leveling operations that the top right corner of my build plate will always bind first. I realized that this was caused by the two bolts preferentially rotating toward that corner. The solution to this is to hold the build plate top screw to balance the reaction forced directly rather than through the machine. |
| Magnetic Build Plate | Purchased | A magnetic build plate drastically improved my ability to remove prints without damaging the prints or the build plate themselves. One thing to note is that with the Mars Pro 2 – the z-axis sensor will move out of alignment meaning you will need to add a spacer. |
| FEP Film change | Purchase/ Process | Film tension is crucial to make sure that parts stay adhered to the build plate. I learned that a frequency of 350hz is a good target to aim for. Anything lower (which means looser) will have a high tendency to fail during printing. |
| Bottom Supports | Process | Its important to maintain a large surface area to the build plate during the printing process. To do this I customized my support bottom size to increase the adhesion area. As an FYI this adjustment would be very annoying without a magnetic build plate. |
| Resin Vat Cleaning | Purchase/ Process | It is very important to fully clean the resin vat after/before each use. I found utilizing a spray bottle with isopropyl >90% and a soft brush enabled me to reach every nook and cranny that the vat has. Important to pay special attention to the groove/nook that the film makes to the rest of the vat. |
| Resin Vat Rainx | Purchase | I found that utilizing a little bit of RainX before printing helped prevent my prints from sticking to the vat. I also utilized it to clean off the glass of my 3D printer itself. Usually a spray, a few swirls, wipe-off, and some air dry time is sufficient. |
| Exposure Time | Process | I utilized a few exposure test pieces to configure the correct settings per resin. One that I particular enjoyed using was this. I initially was utilizing chitu-box’s tolerance tool, but I highly recommend NOT using it. Rather properly configuring the exposure time results in much better prints. The tolerance tool was more of a band-aid that masked problems rather than a useful tool. |
| Resin Cure vs Location | Design | I noticed that prongs located within the middle of the model vs the outer edge would cure to a different diameter despite the CAD model having the same dimension. I attribute this to the liquid resin having a different chemical reaction rate to light exposure with there is a high light flux within a certain region. To compensate for this I modified certain features so that the resin cure area would result in the correct final dimension. |
Resin
There are a lot of different resins out in the market ranging from 10s to 100s of dollars per liter. In the end I used Siraya Castable Resin because it was low cost, easy to use, and the reviews I read showed it would get me good feature definition. Two videos that helped me decide where these:
Some notes on the resin:
- Siriya tech castable resin states that you should cure within glycerin. I found that this step wasn’t really necessary so long as you suitable washed and cured it before putting it within the investment.
- The resin has a very high melt point and thus is difficult to weld to wax. This leads me to suspect that the overall wax content of the resin is relatively low. I would remark that the surface finish is quite good – but a higher quality resin may produce a finer surface finish. More remarks on this below.
Kiln Controller
The makerspace that I used to develop this ring has a small metals lab that included a few kilns, furnaces, and torches. Unfortunately what it lacked was a way to precisely control the temperature over long periods of time. Instead, people would manually adjust the temperature by checking a thermocouple ever 10 or so minutes. This wasn’t going to work for me for 2 reasons: the burnouts where 14 hours long and if I wanted consistent results I needed something more precise.
In the end I put together a kiln controller based off a raspberry pi. I followed this page to piece it all together: https://github.com/jbruce12000/kiln-controller. And wrote a little write up for other users: https://wiki.pumpingstationone.org/Dyna_Kiln_N100 .
Because the SCR utilizes a 5V control signal and the Raspberry Pi Zero W+ only has 3.3v GPIO pins I utilized a transistor and resistor I found lying around the shop to build a simple switch.

Lost Wax Investment Process
The process I used to cast is called lost wax investment casting. The process is breifly summarized below.

- CAD
- 3D Print
- Cure
- Cure Post Process
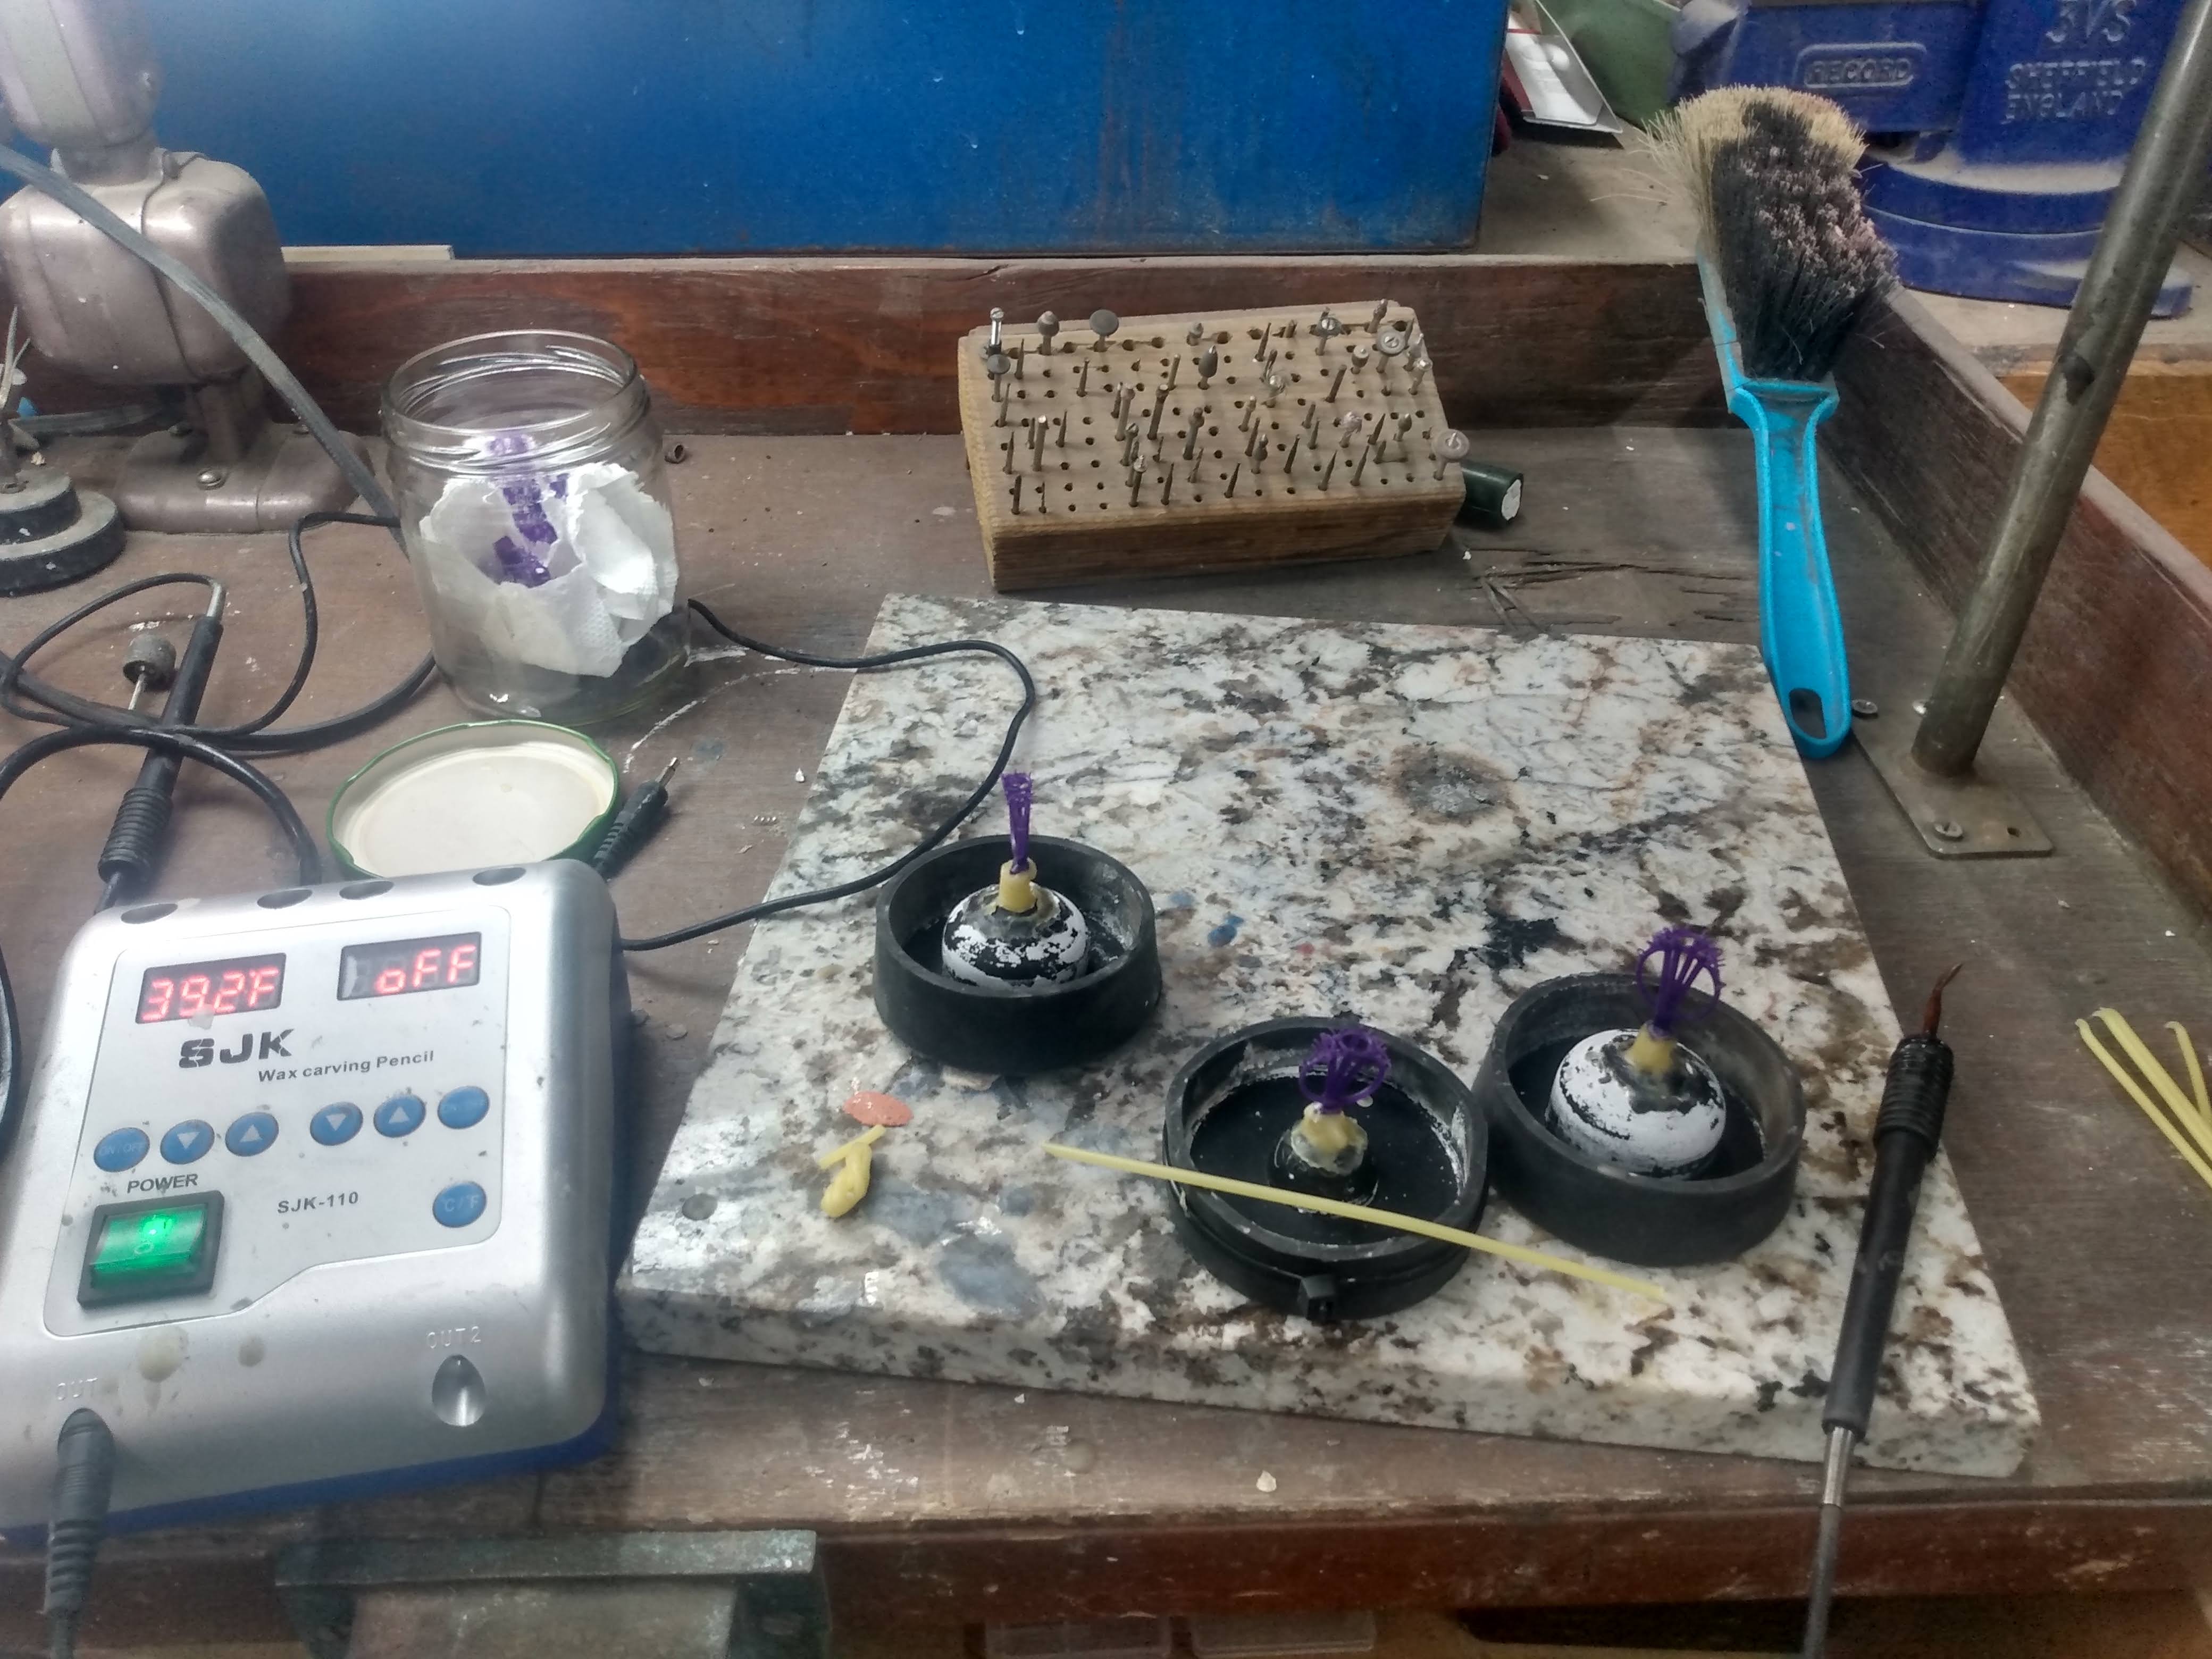
- Wax Attachment
- Attachment to wax sprue.
- Max fillet improve melt flow.
- Investment Mix
- 40:100 mix ratio.
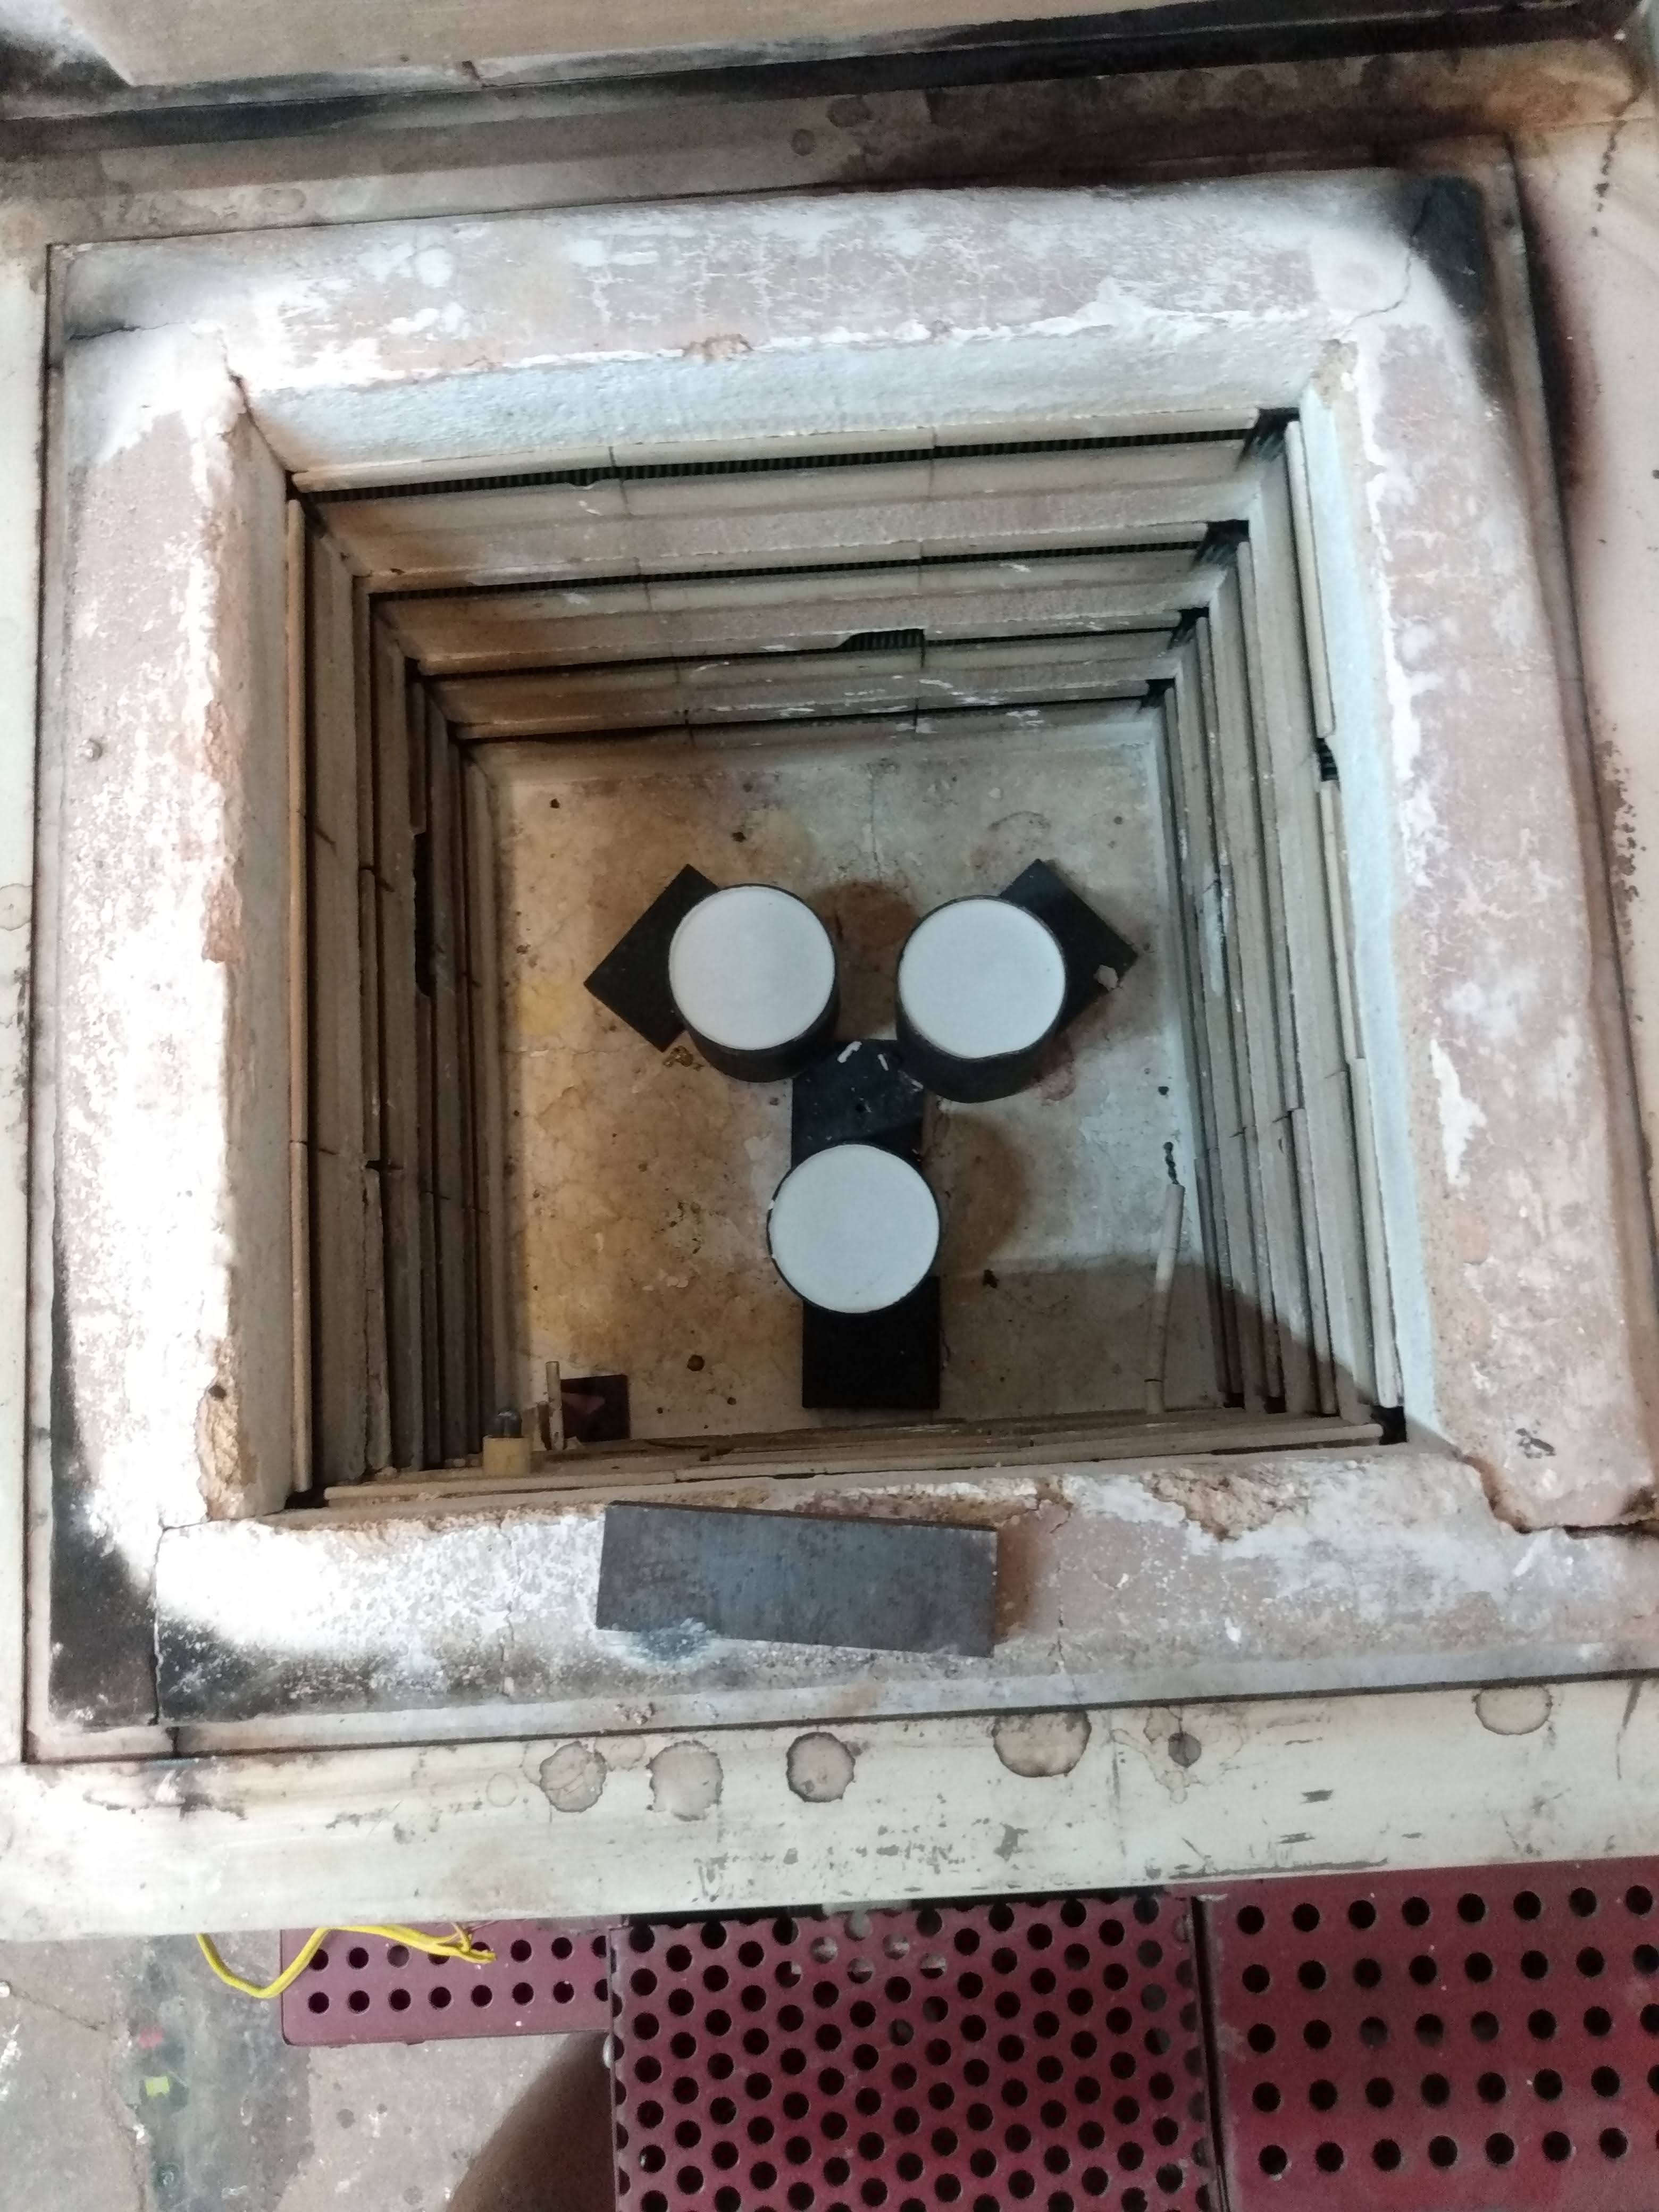
- Burnout
- Cast
- Polish
- Set Stones
Investment
Background
The concept of investment casting is to replace a non-metal object with a metal object. This is done by creating a form that fully encapsulates the object, removing the object from that form, and being left with a negative cavity for which to pour metal into. The material used for this form is gypsum + water + some additives. I’ve utilized Ransom & Randolph’s Plasticast Investment which is an investment that was designed for 3D printed parts.
Typically the original form is developed out of wax because its soft, easy to carve and work with, and has a very low melting point. This is a great material for investment casting because it leaves a very clean finish on the cavity that’s left behind. Resin based forms are tougher on the investment because they have a much higher melting point and exert more stresses on investment during the burnout process; however, resins allow you to create many versions quickly. Thus you’ve got a trade off – have a very clean burnout cavity but do all models by hand or utilize a resin printer and find a technique to improve the cavity surface finish.
Process
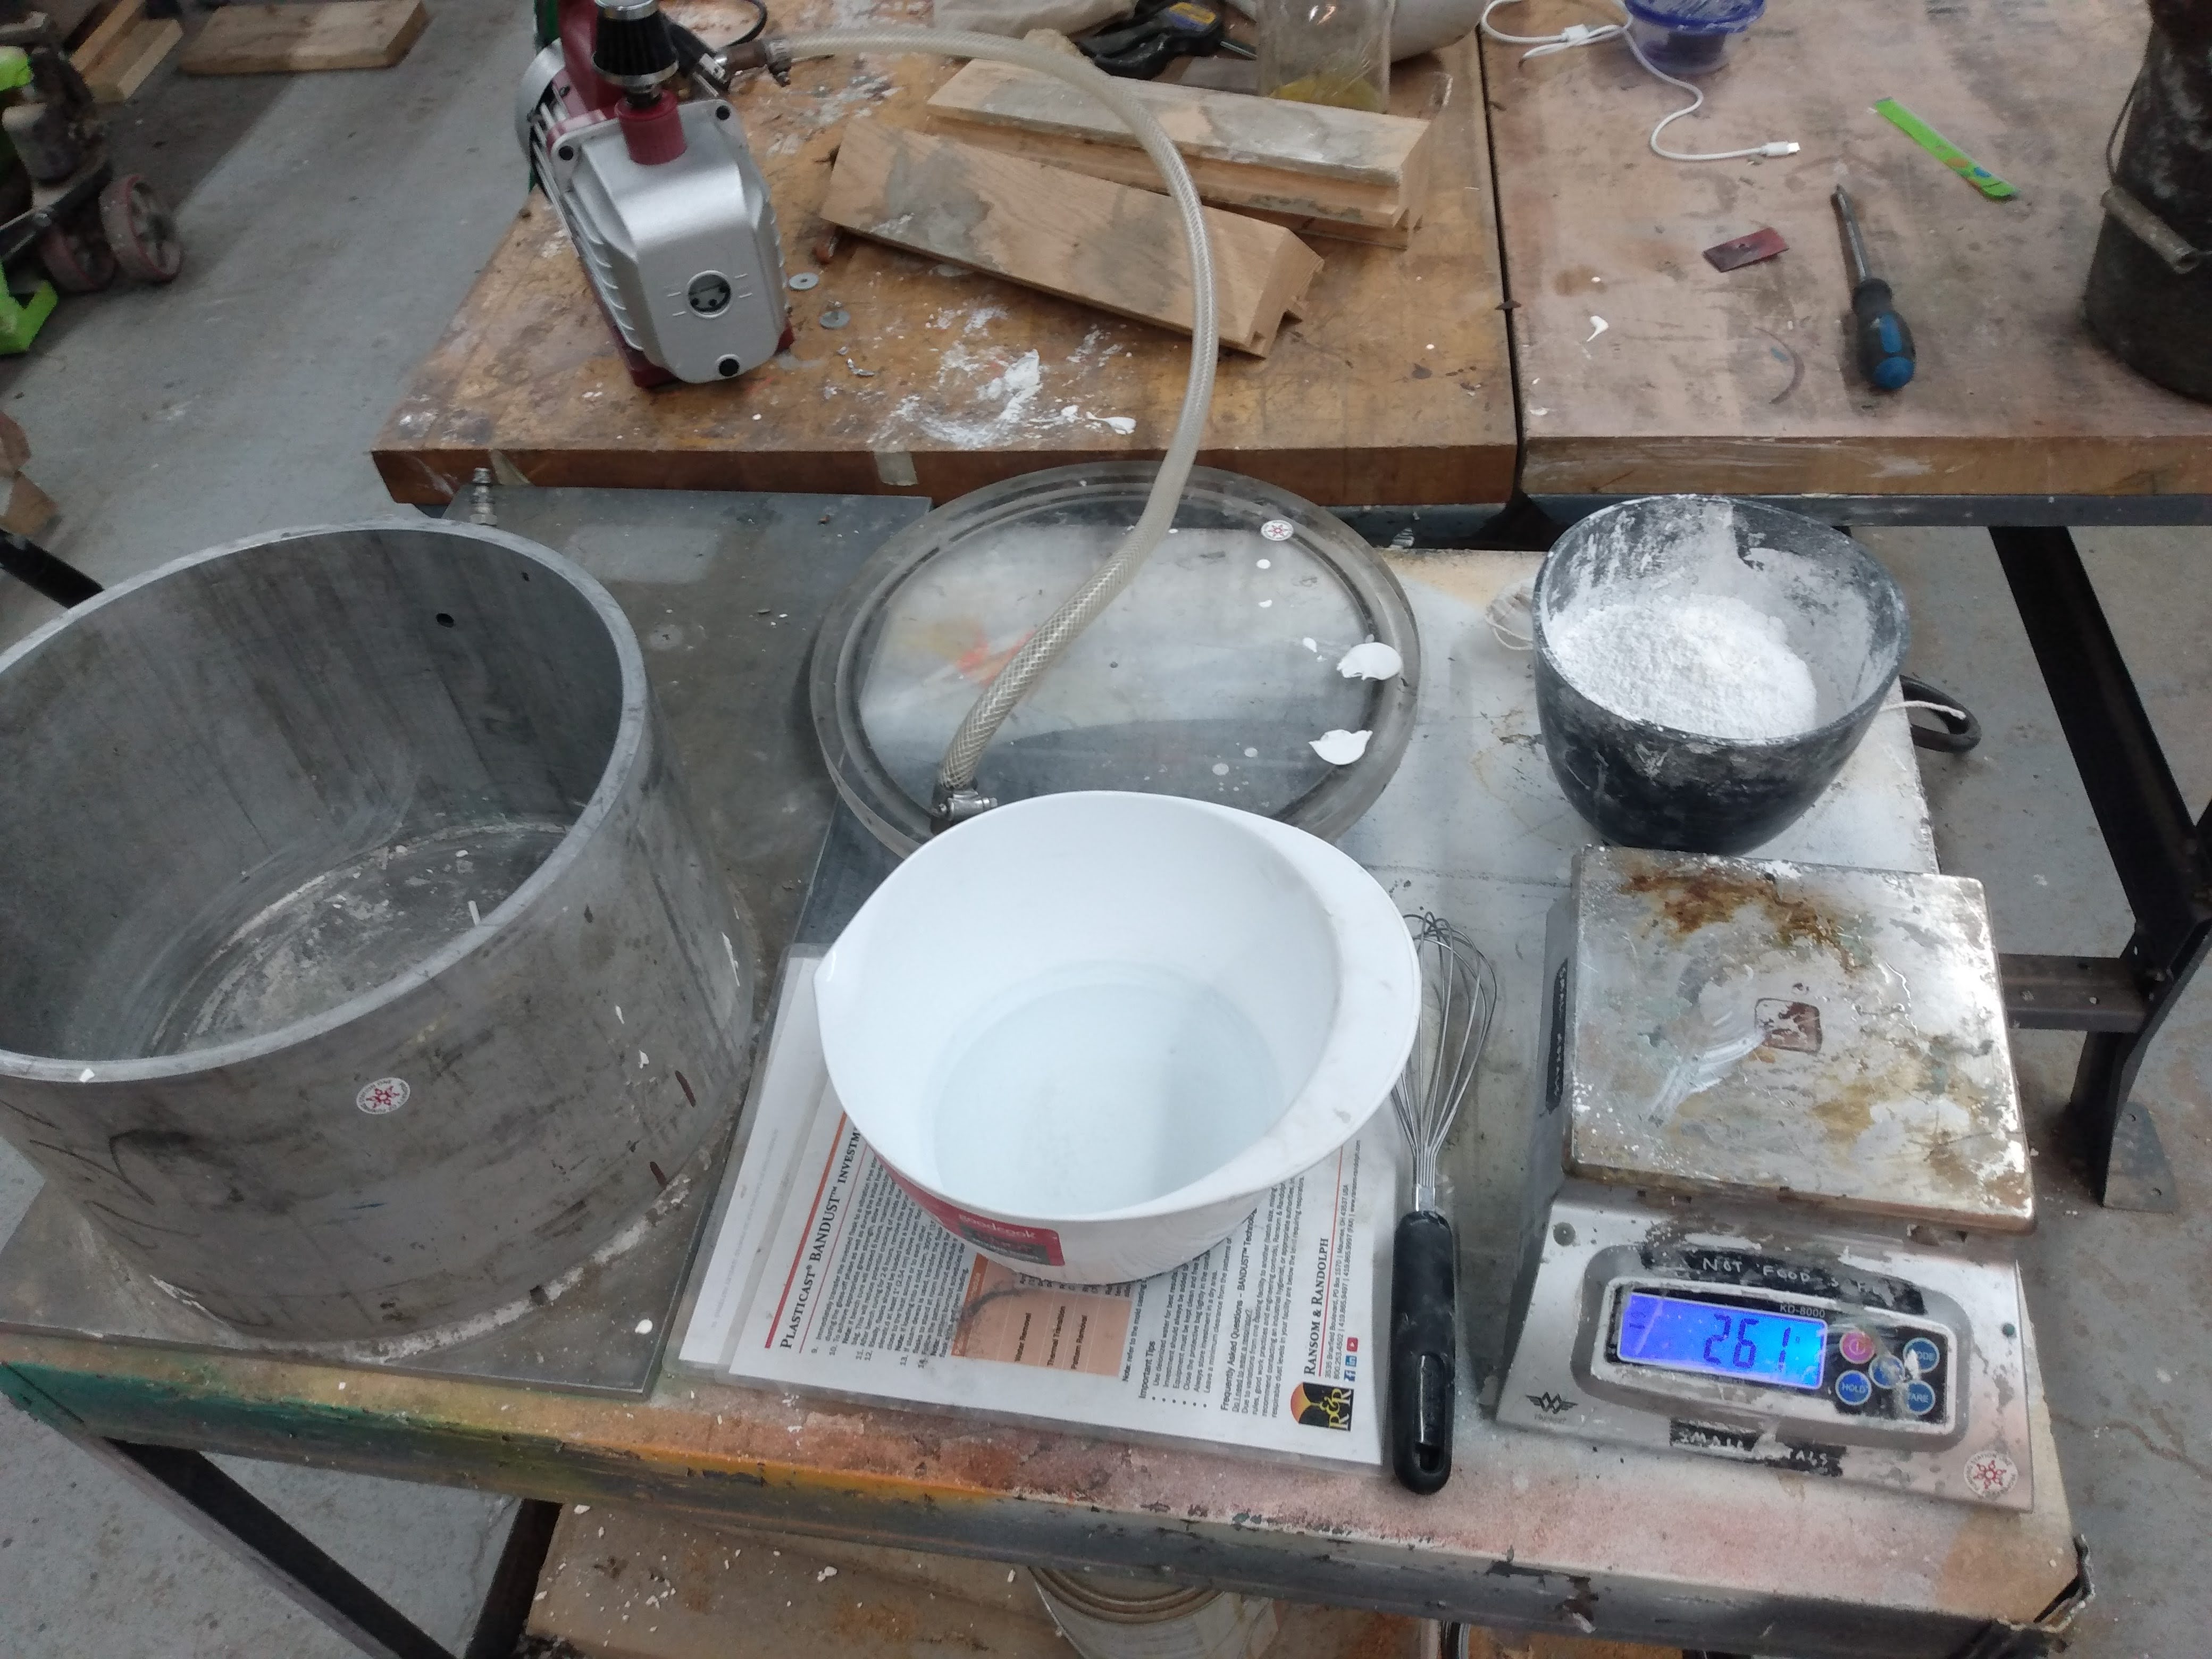
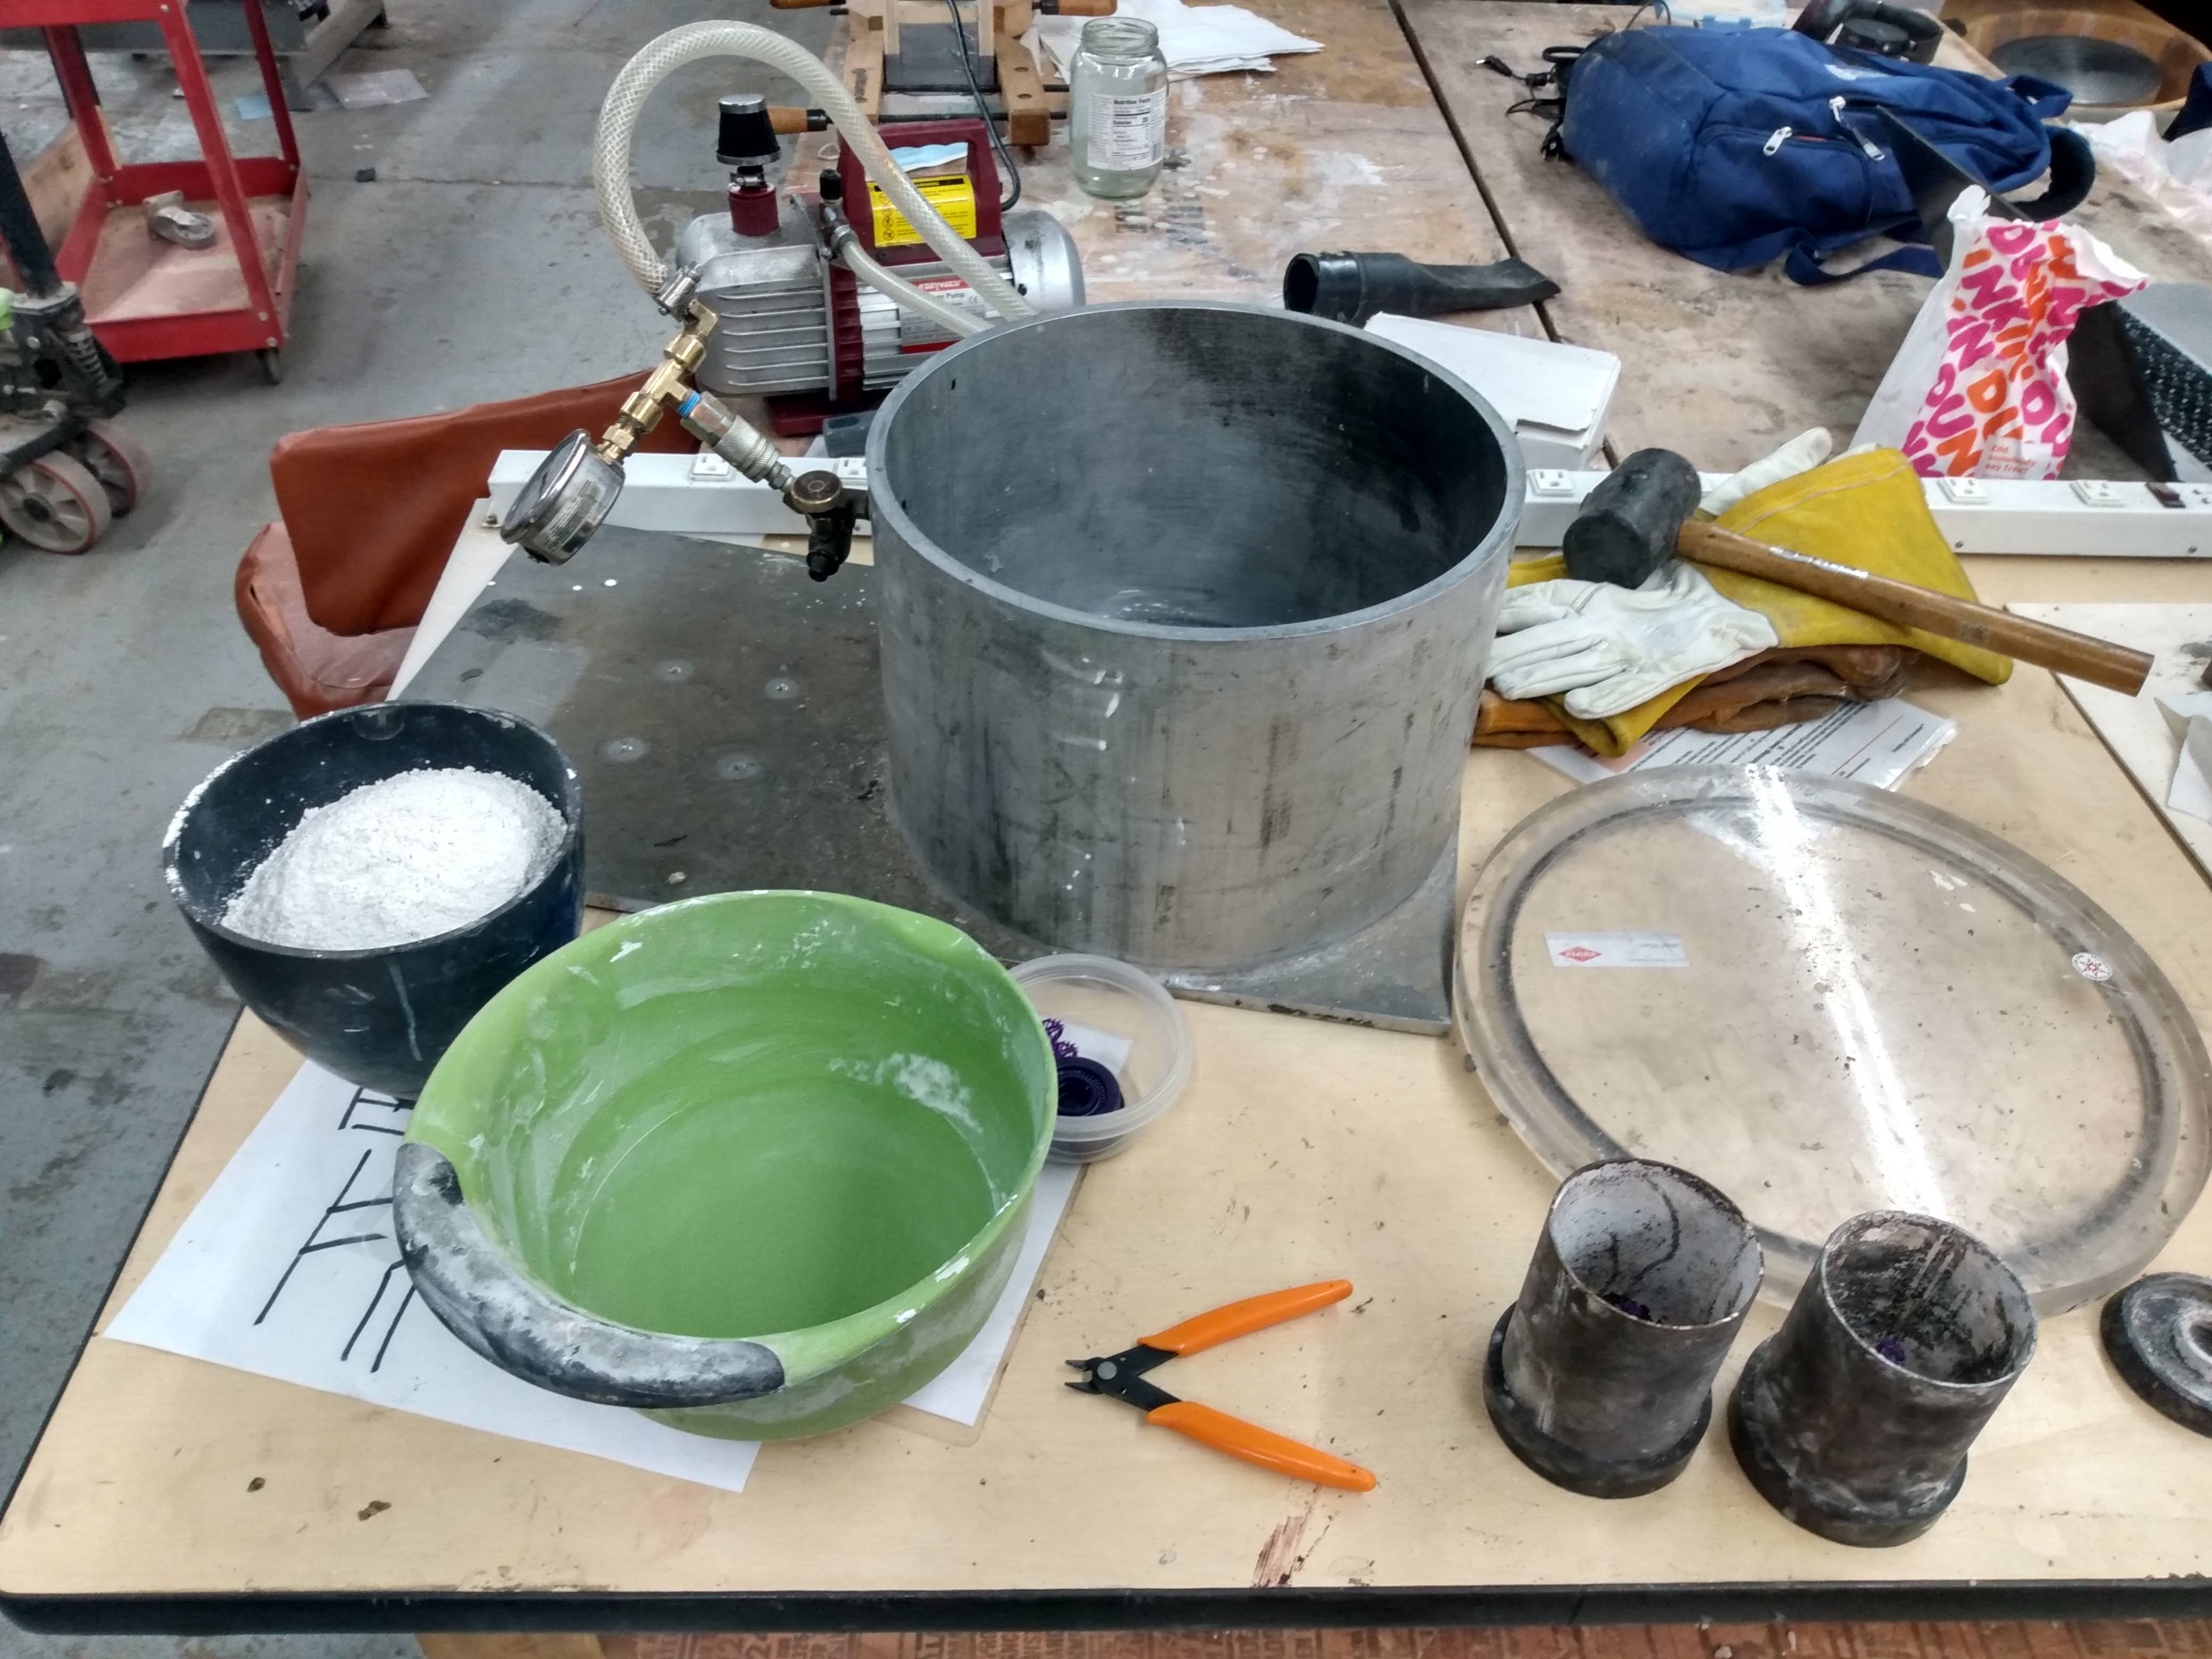
The process to create the investment is simple: mix the powder investment into water. The process I followed is outlined below:
- Measure out the investment and set aside.
- Measure out the water and set aside.
- Pour the investment into the water. The order of combining is important to help avoid clumps.
- Use a hand whisk and combine the two ingredients for 2 minutes.
- Pour the investment into the flasks.
- Apply a shap shock to the flask to dislodge bubbles. A single drop from 2-3 inches is sufficient.
- Let sit for 2-3 hours.
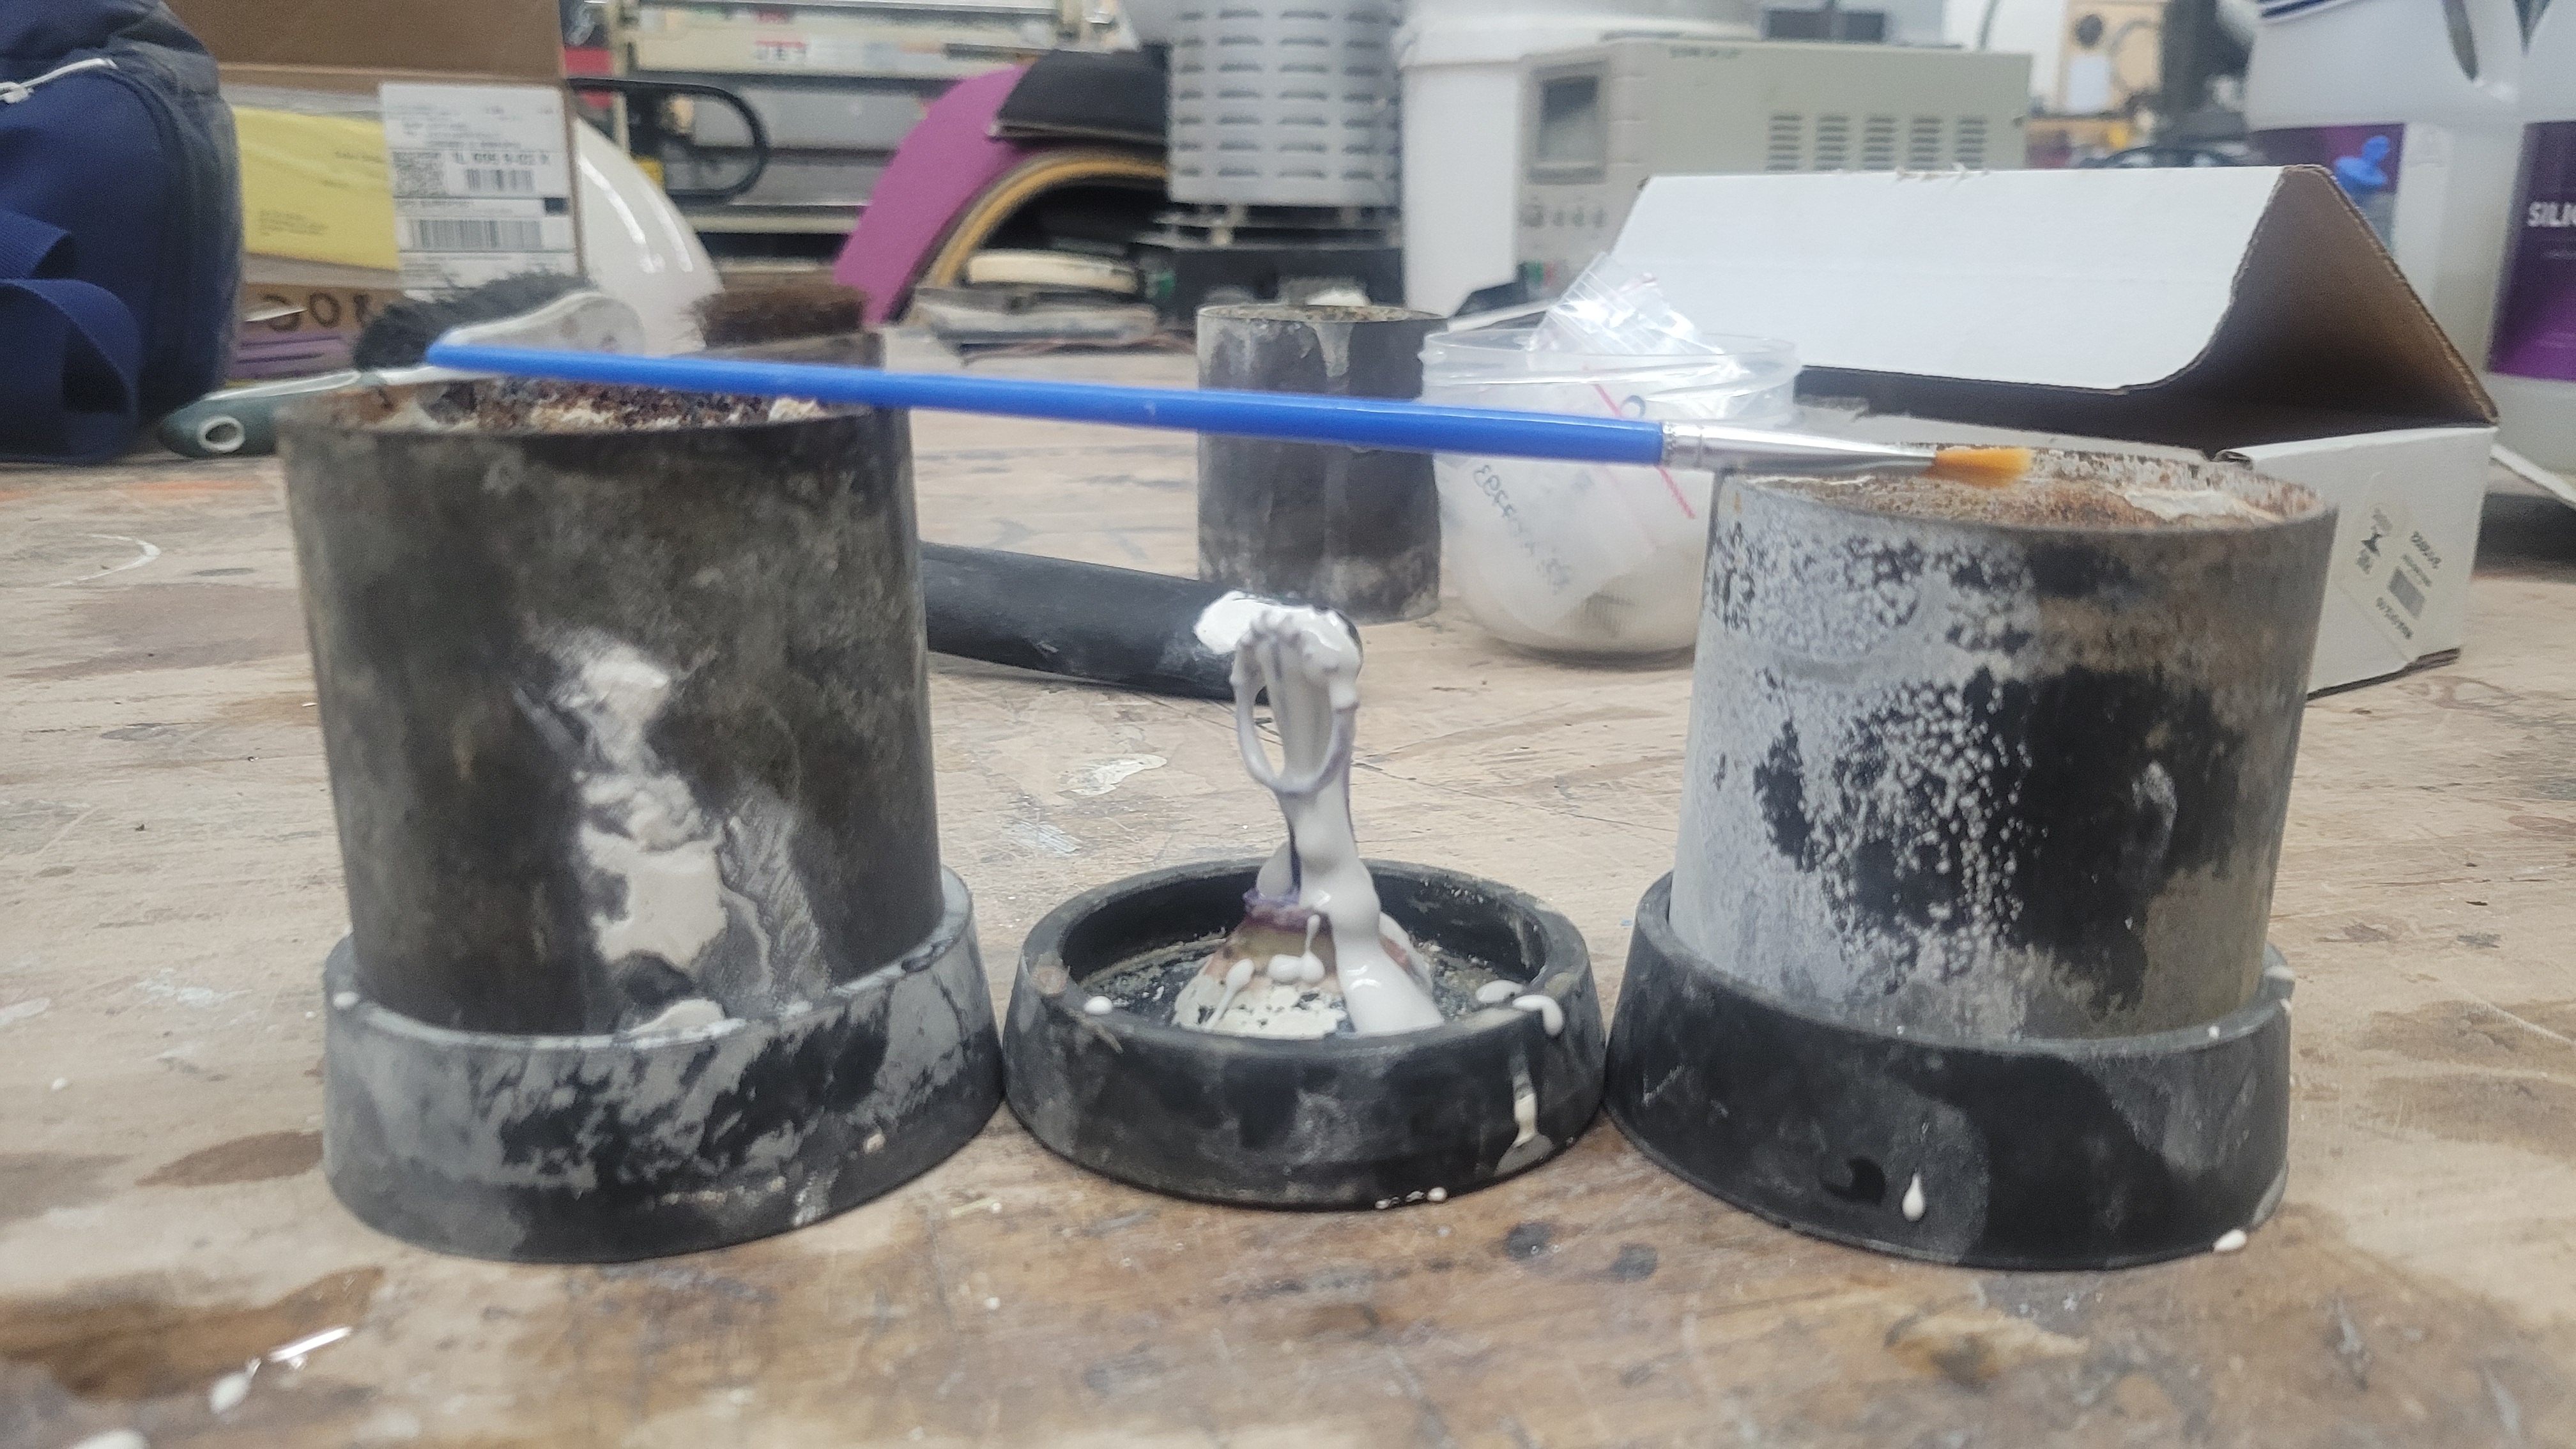
Painting on the first layer
The above procedure seems simple enough – but there’s some tricks that I’ve learned. In many procedures there is a vacuum degassing step used to help avoid bubbles getting trapped on the model. I found that the vacuum chamber I had available did a very poor job at this, and tend to actually create more bubbles. Instead I would create a small amount of investment and utilize a paint brush to coat all the nooks and crannies with a layer of investment. Allowing this to harden and then pouring the rest of the form ensured that no bubbles would appear on the surface.


Burnout
After the investment as time to set within the flask the next step is to burnout the object that is being copied hence the name “lost wax” casting. The procedure is simple: heat things up until there’s only an empty void. But naturally the process is relatively complex.
The investment I used was Ransom & Randolph’s Plasticast investment designed to work with 3D printed resin. This is an important thing to note because unlike wax 3D prints require a much higher temperature to remove. Higher temperature yields higher stresses on the investment (think thermal expansion, thermal decomposition) and thus its important to aim to use the right stuff.
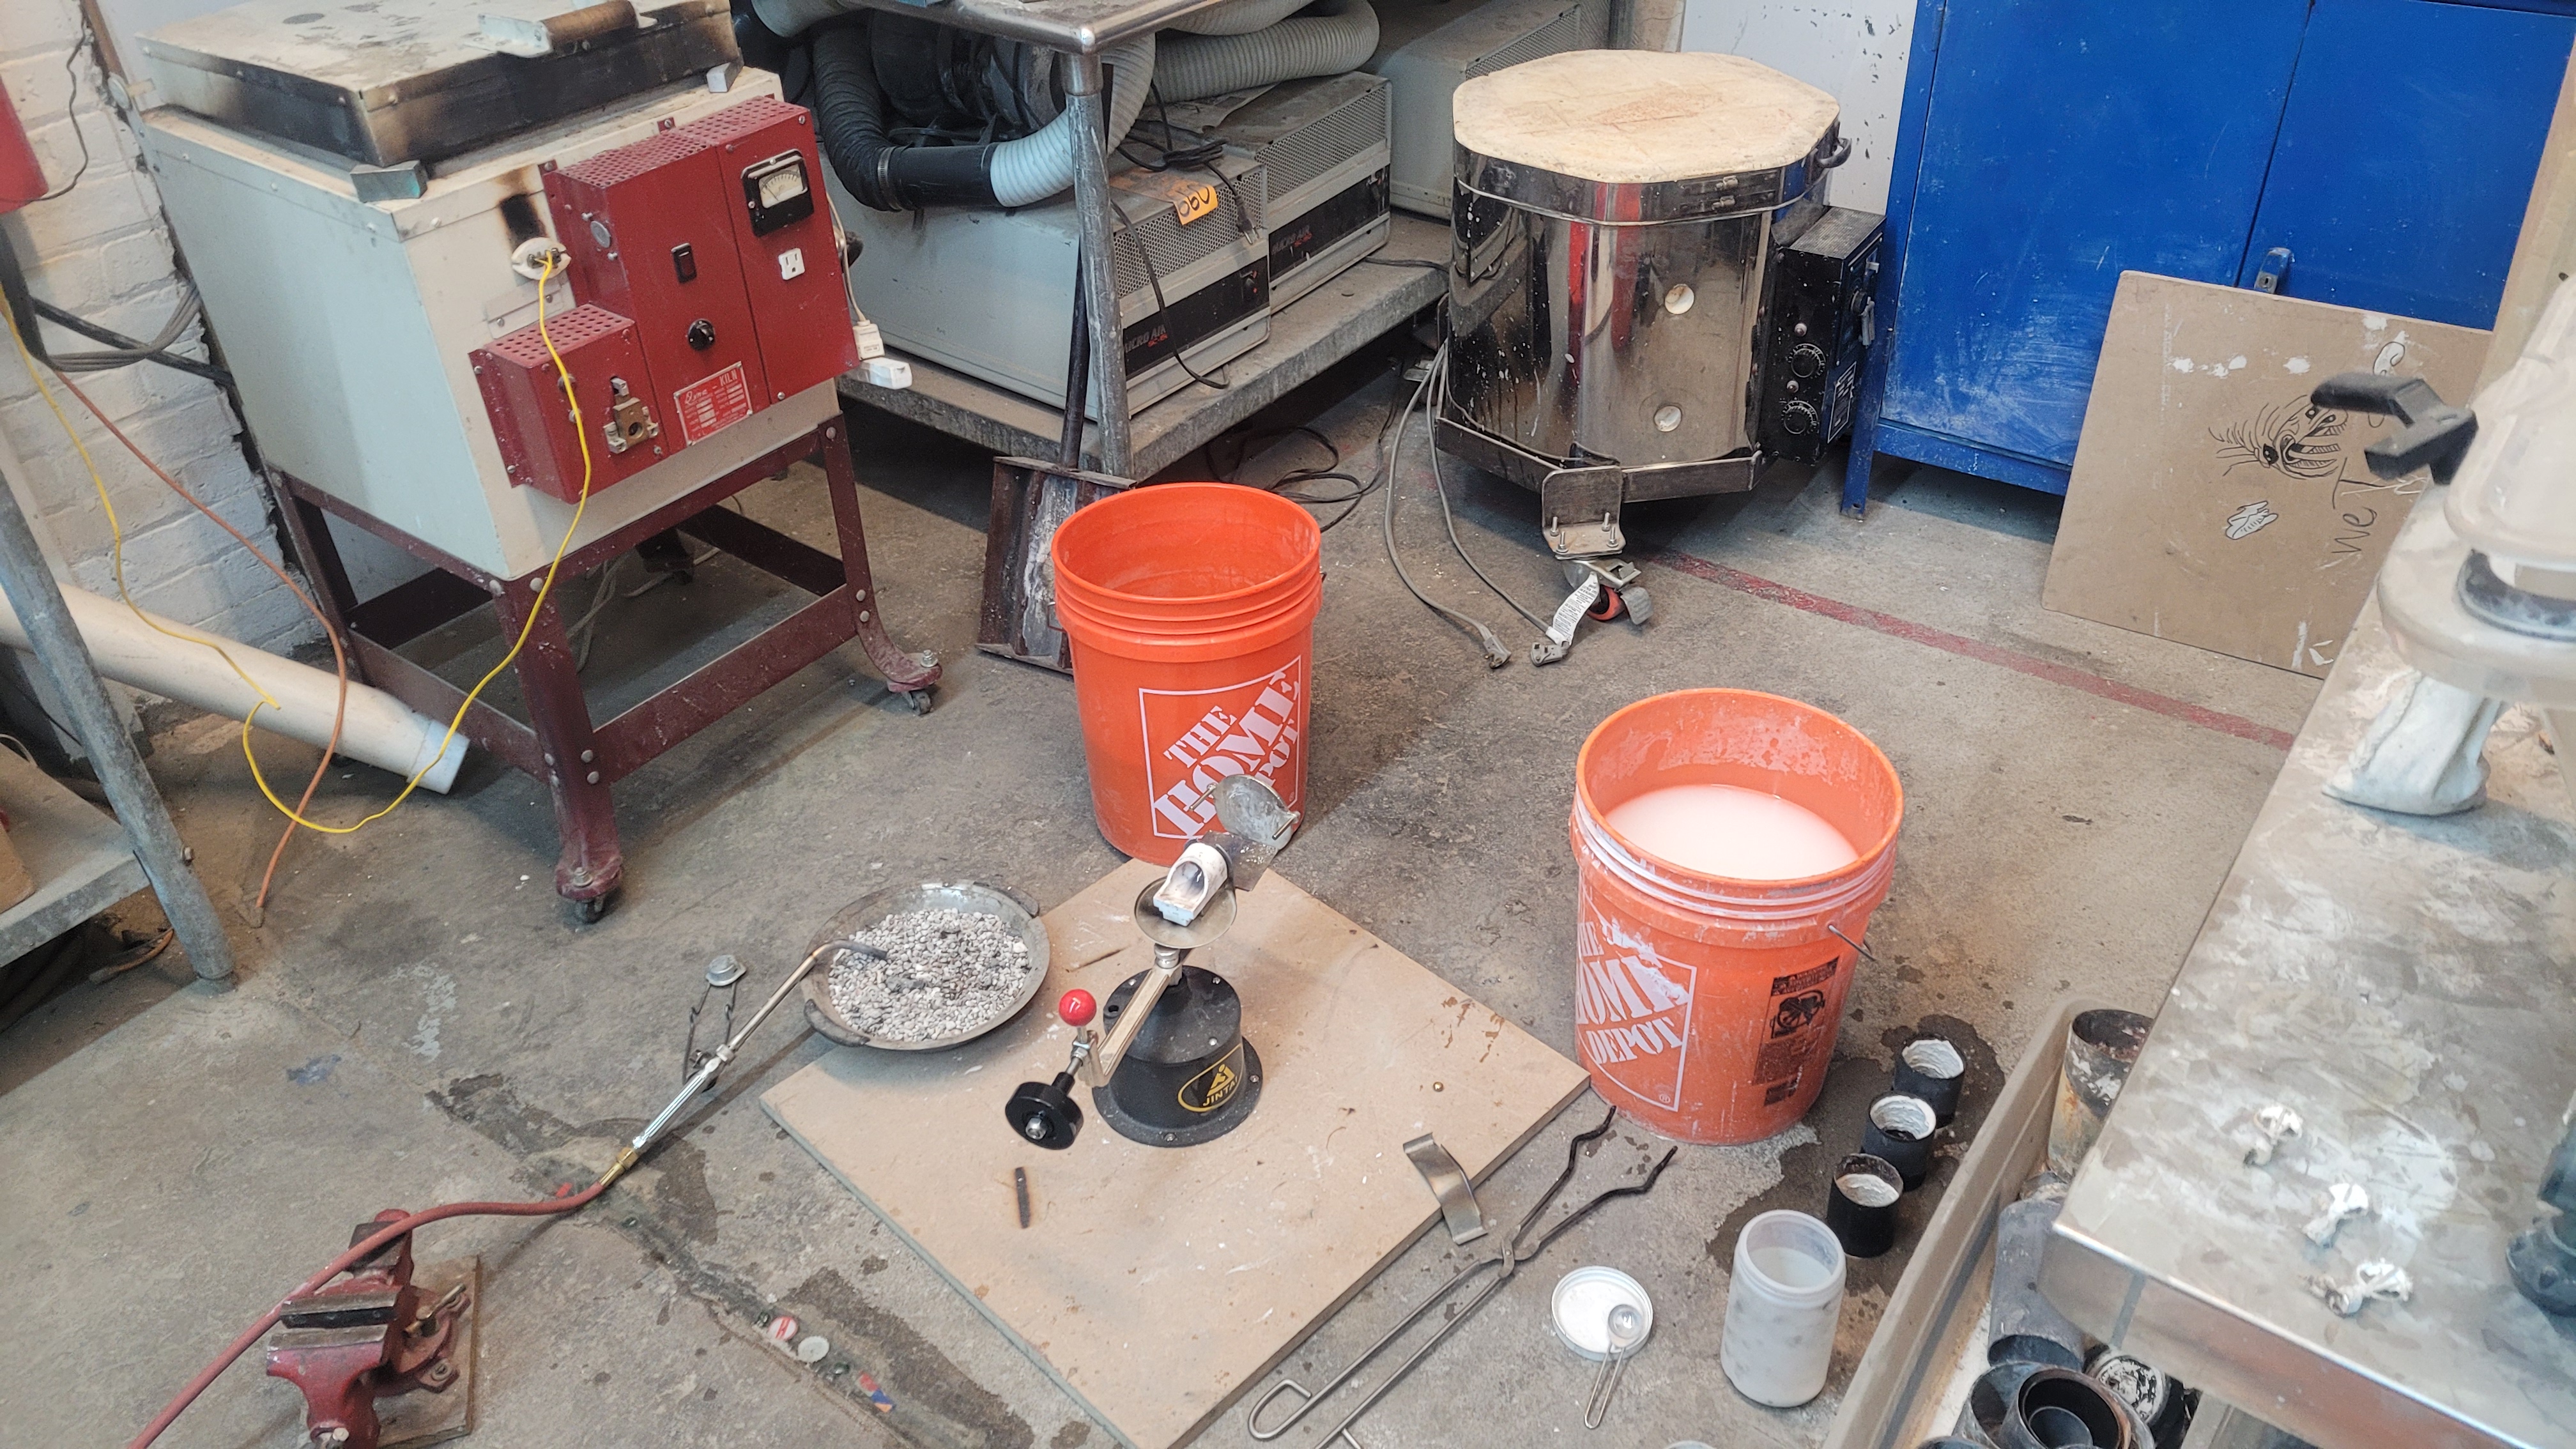
Casting
There are a few ways you can melt metal and put it into the cavity formed post burnout. The first method I attempted was gravity. Essentially pour the metal in and let it cool. As a beginner this was the simplest method to try out so I gave it a go. After 1-2 attempts it was clear to me that this method was not going to work. Essential I would be left with incomplete pours aka the metal would freeze before it had a chance to fill the entire void. I noticed during my runs that if I poured the metal from a higher distance it would fill the void more. Which led me to realize the speed that the metal has when it enters the flask is very important. With the gravity method the time it would take was too long. Thus I turned to centripetal casting.
Centripetal casting is much more dangerous than gravity casting which is why I was hesitant to start with it. This method of casting utilize the potential energy of a wound spring to quickly rotate the contraption creating a much higher acceleration than was possible with just gravity. This method proved far more successful, but I still had to climb the learning curve to get it work consistently.
For the gravity fed method I utilized an electric kiln to melt my metal grain. For the centrifuge I had to resort to utilizing the acetylene-air torch. Unlike the kiln I don’t have a temperature dial to tell me when everything was hot enough. I learned to look for the viscosity of the melt pool – and found that once the pool acted like hot oil on a pan it was ready to go. While heating the crucible within the broken-arm casting machine I could jiggle it and see what the pool’s response was like.
I also learned that keeping the crucible hot throughout the entire process was very important to ensure that the molten metal slug would make it all the way into the flask and fill everything out.

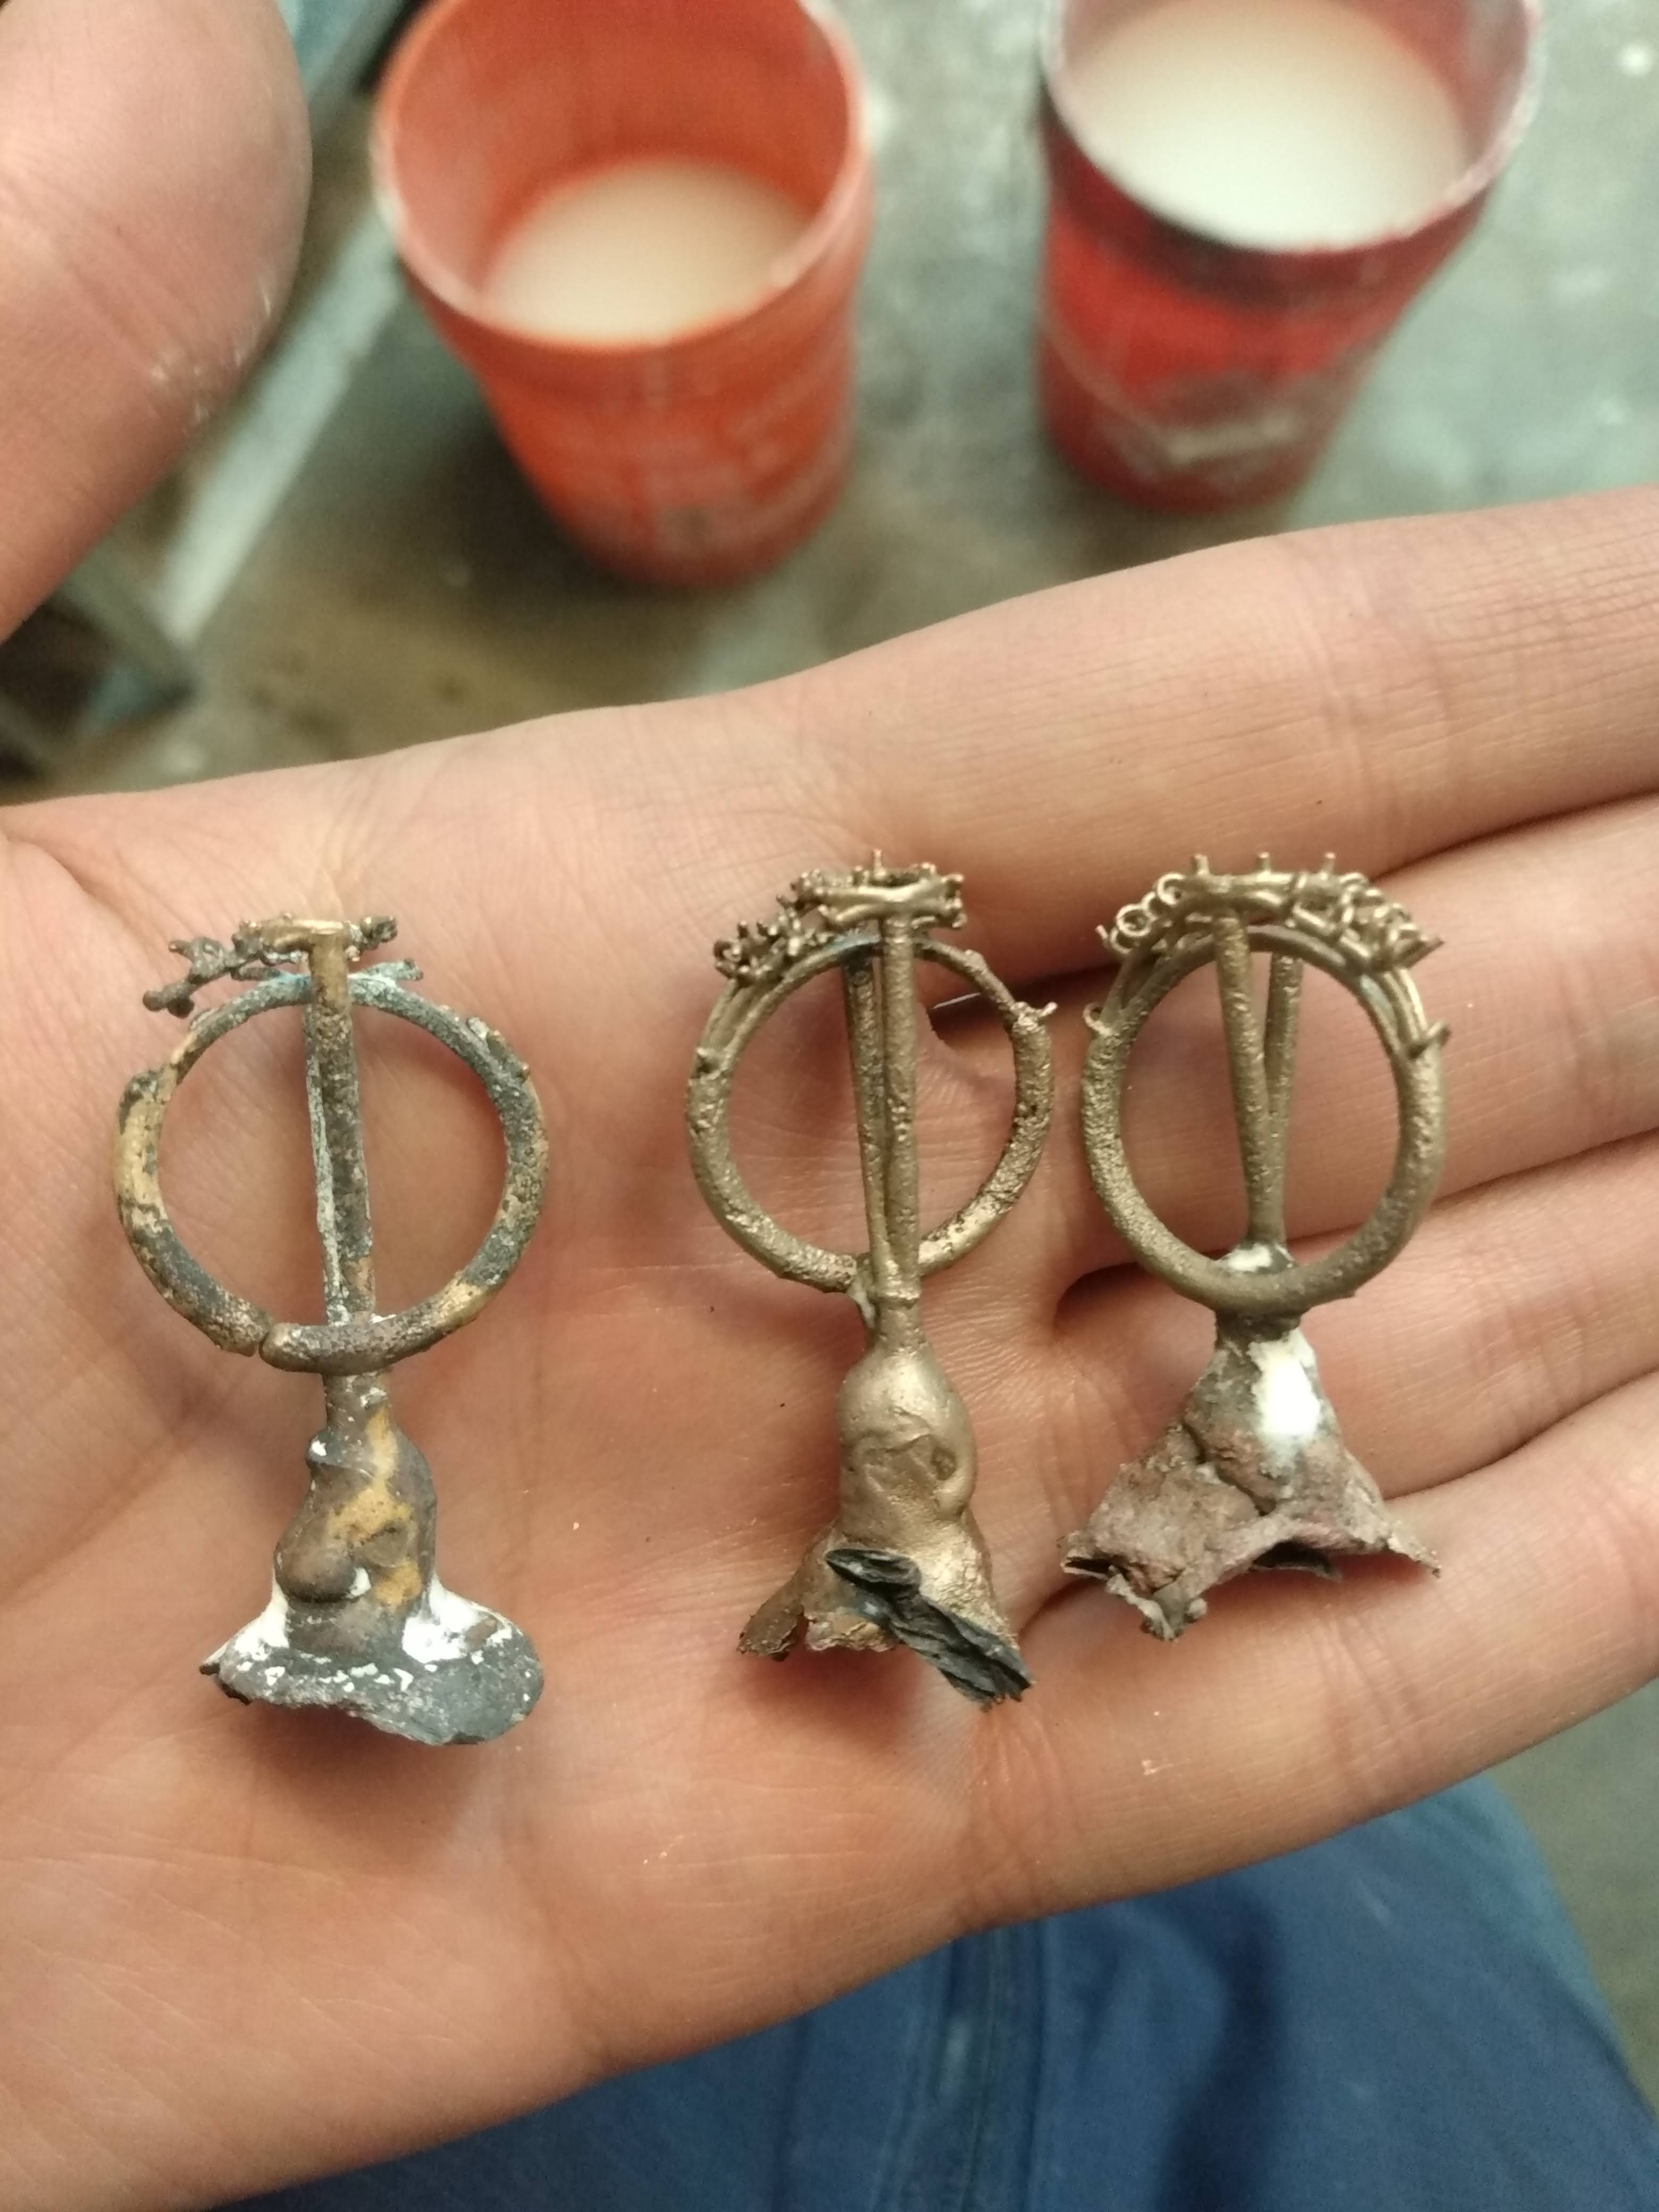
Roughing
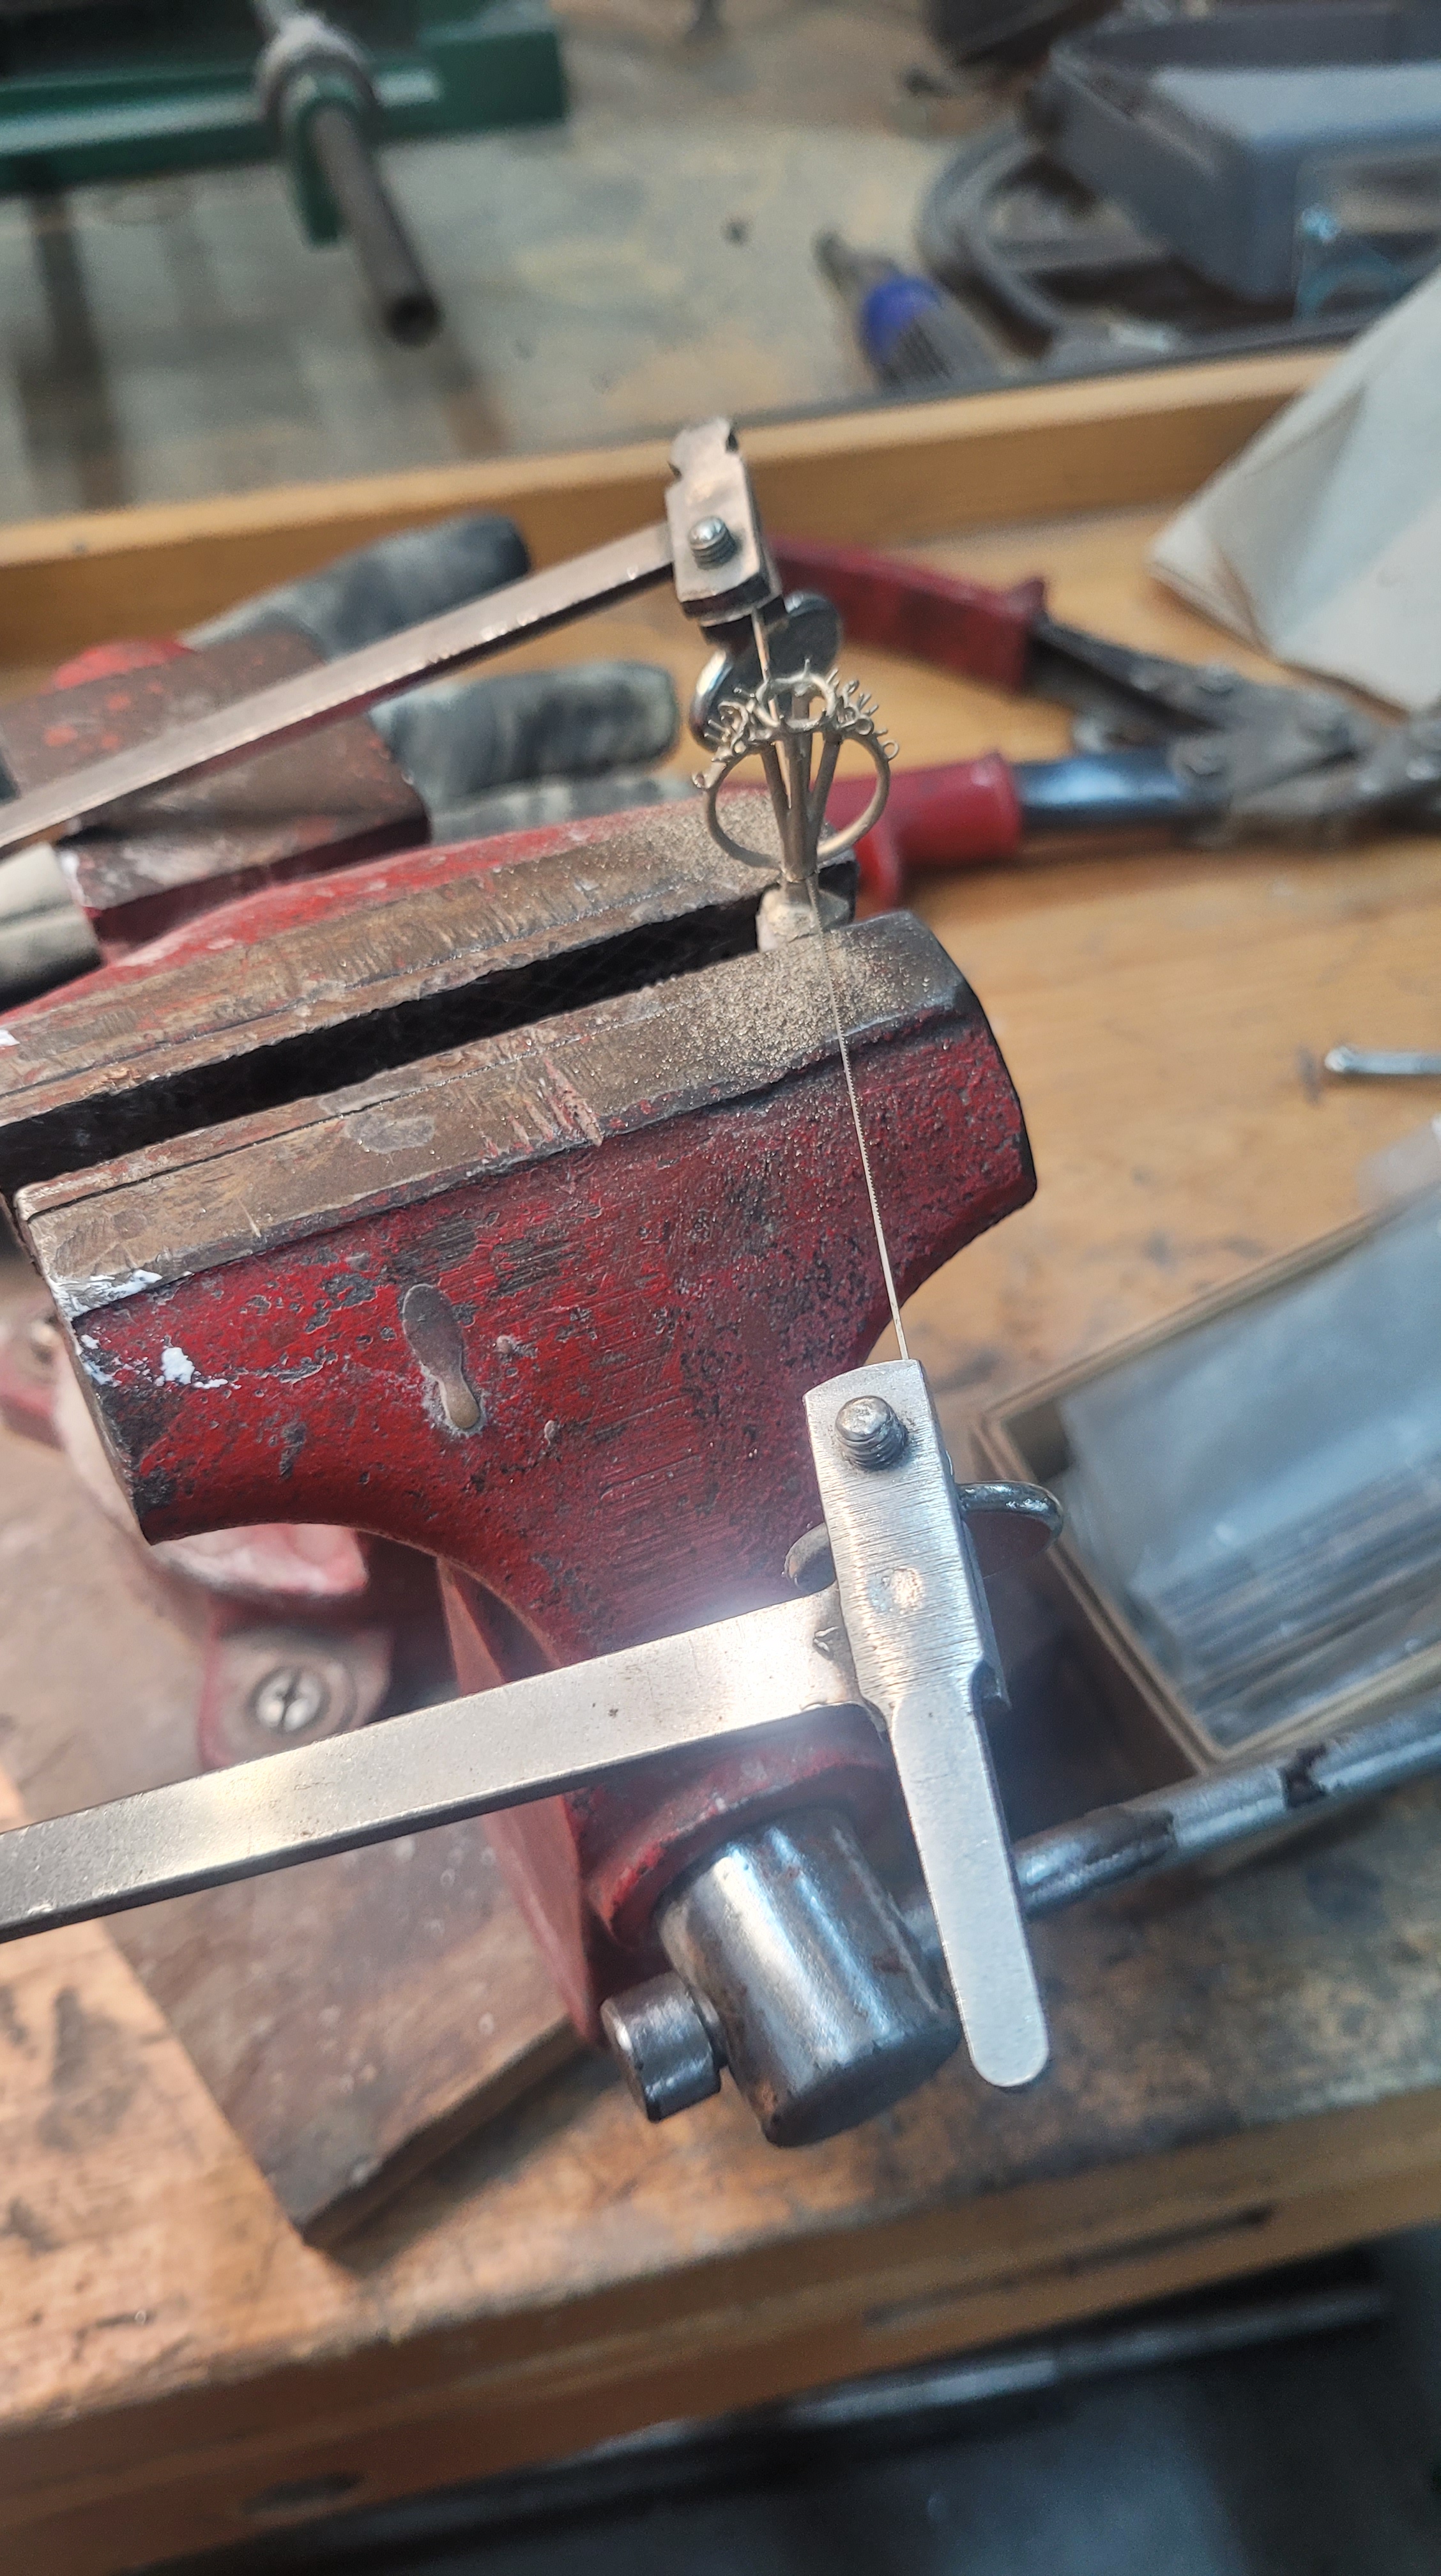
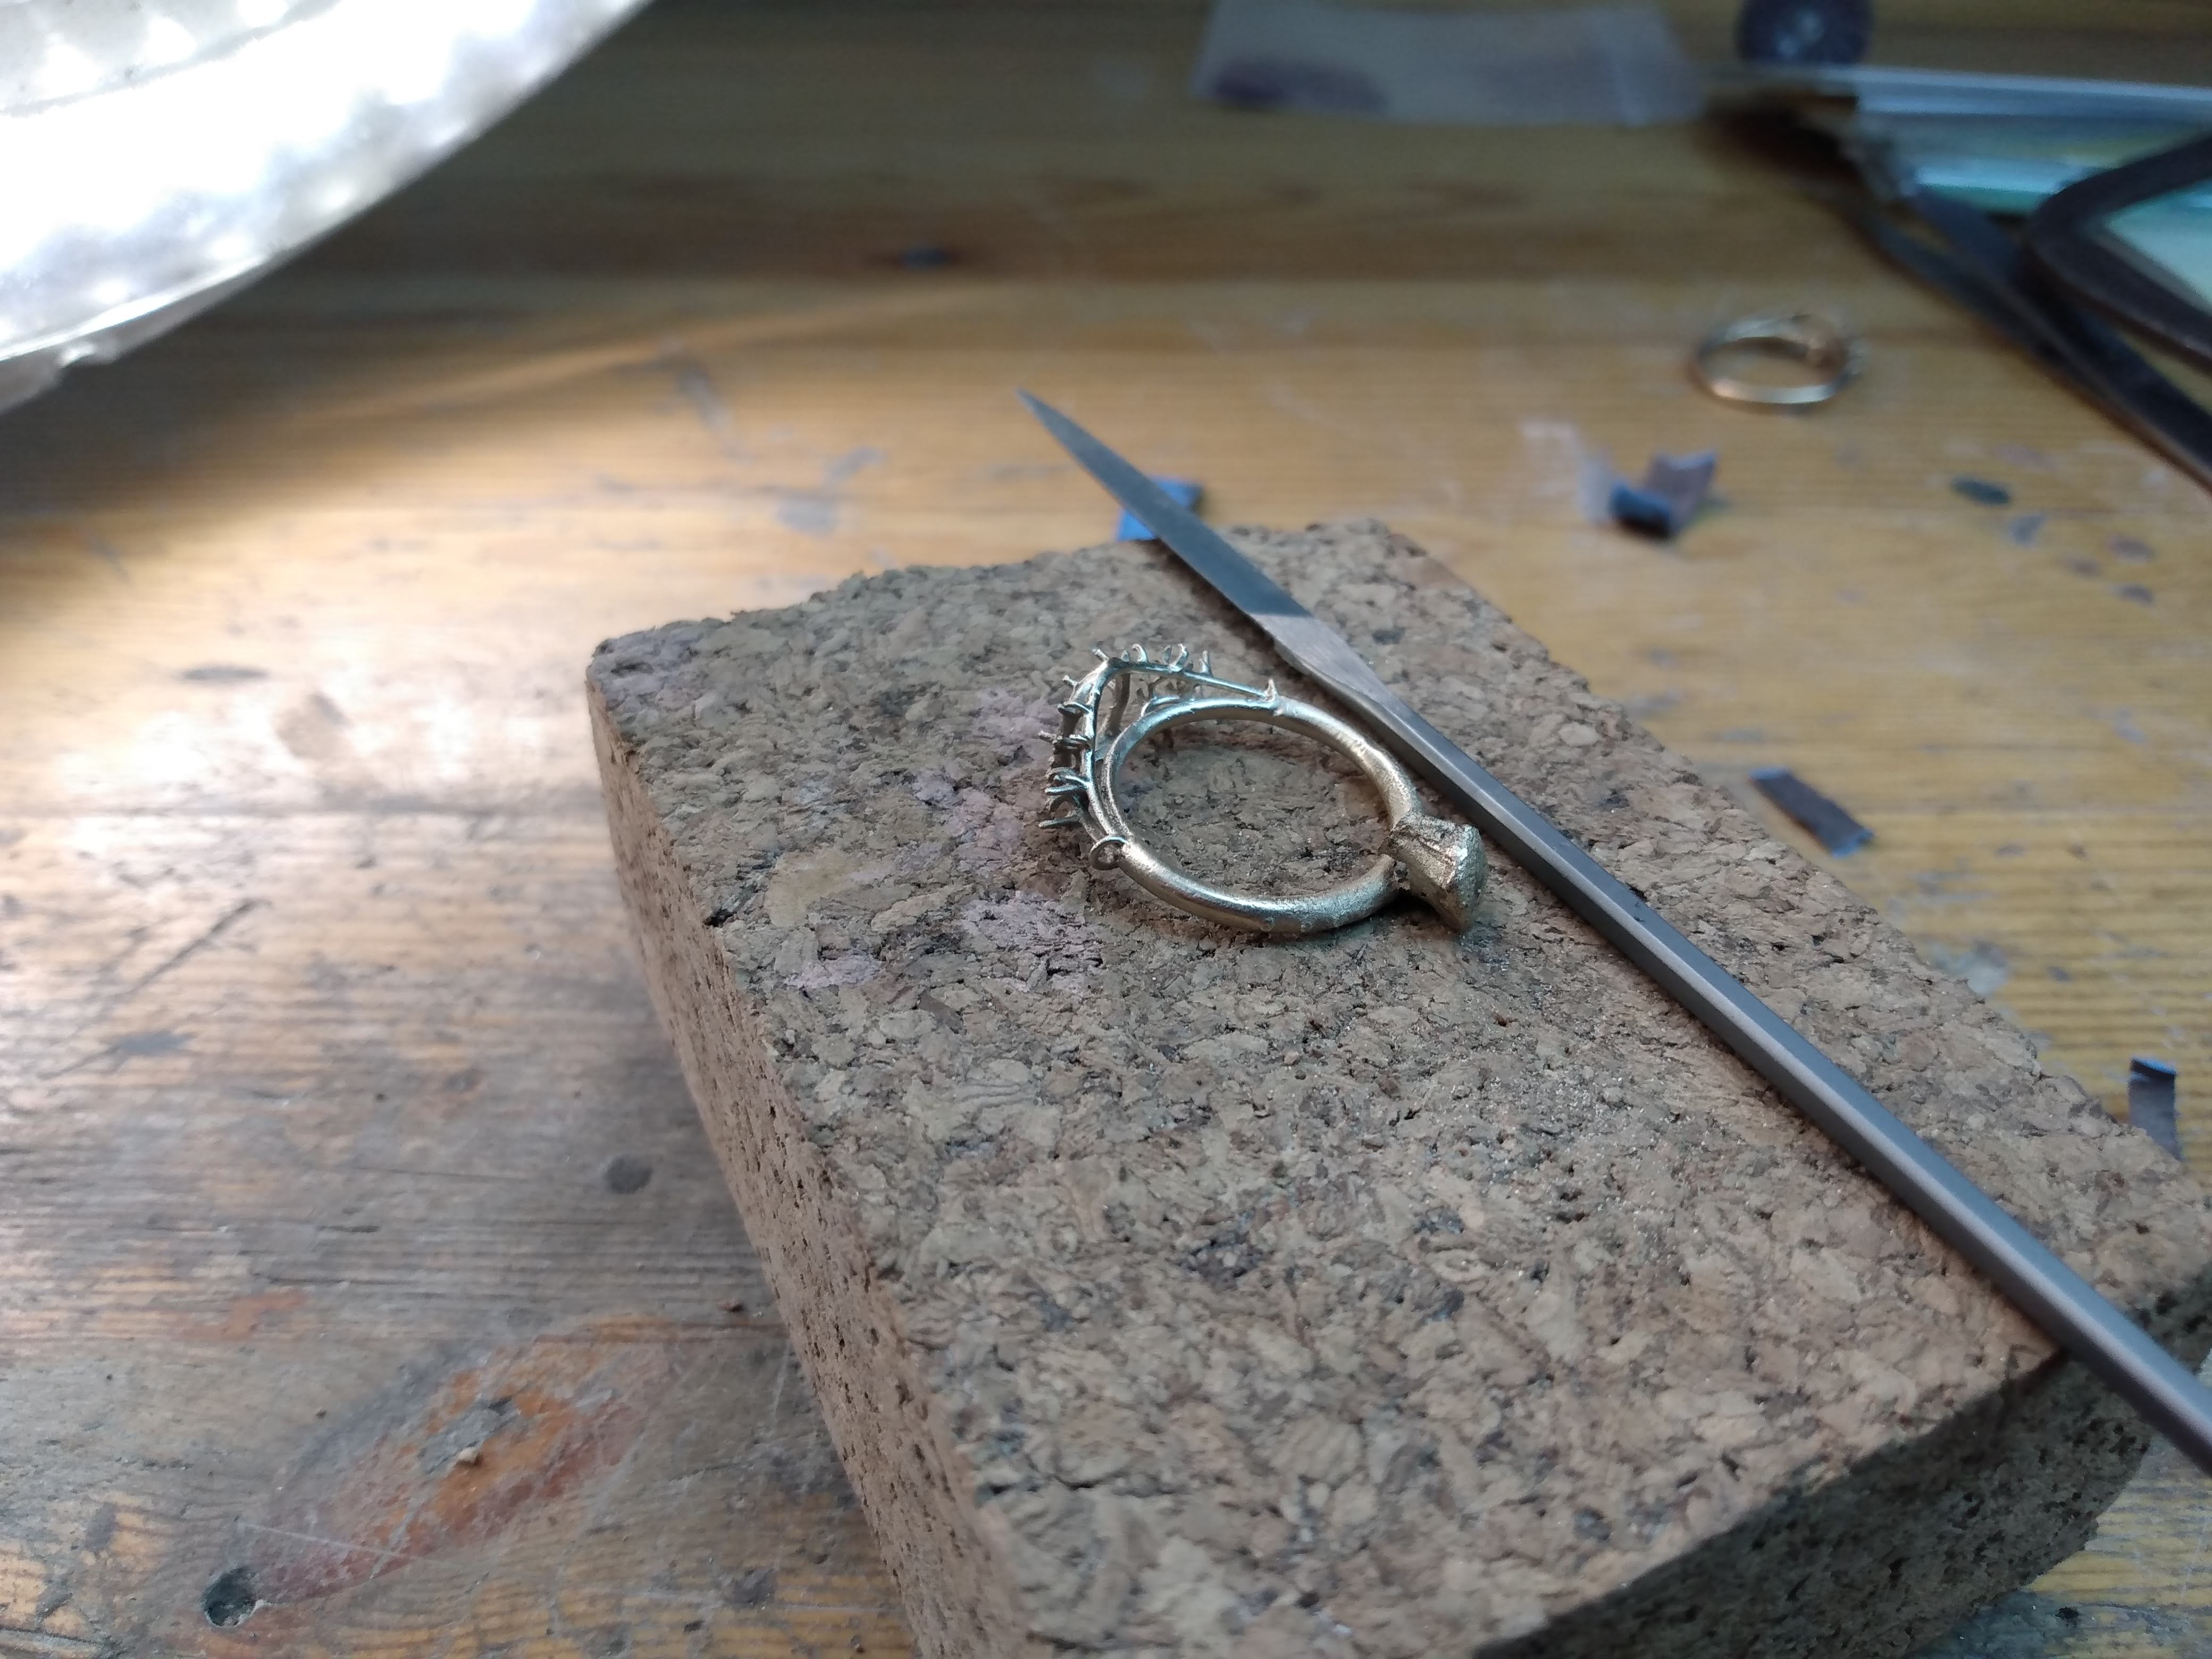
Next up was to take the metal part and make it look more like a ring! This involved cutting off the button and feed sprues as well as getting the shape closer to what I wanted.
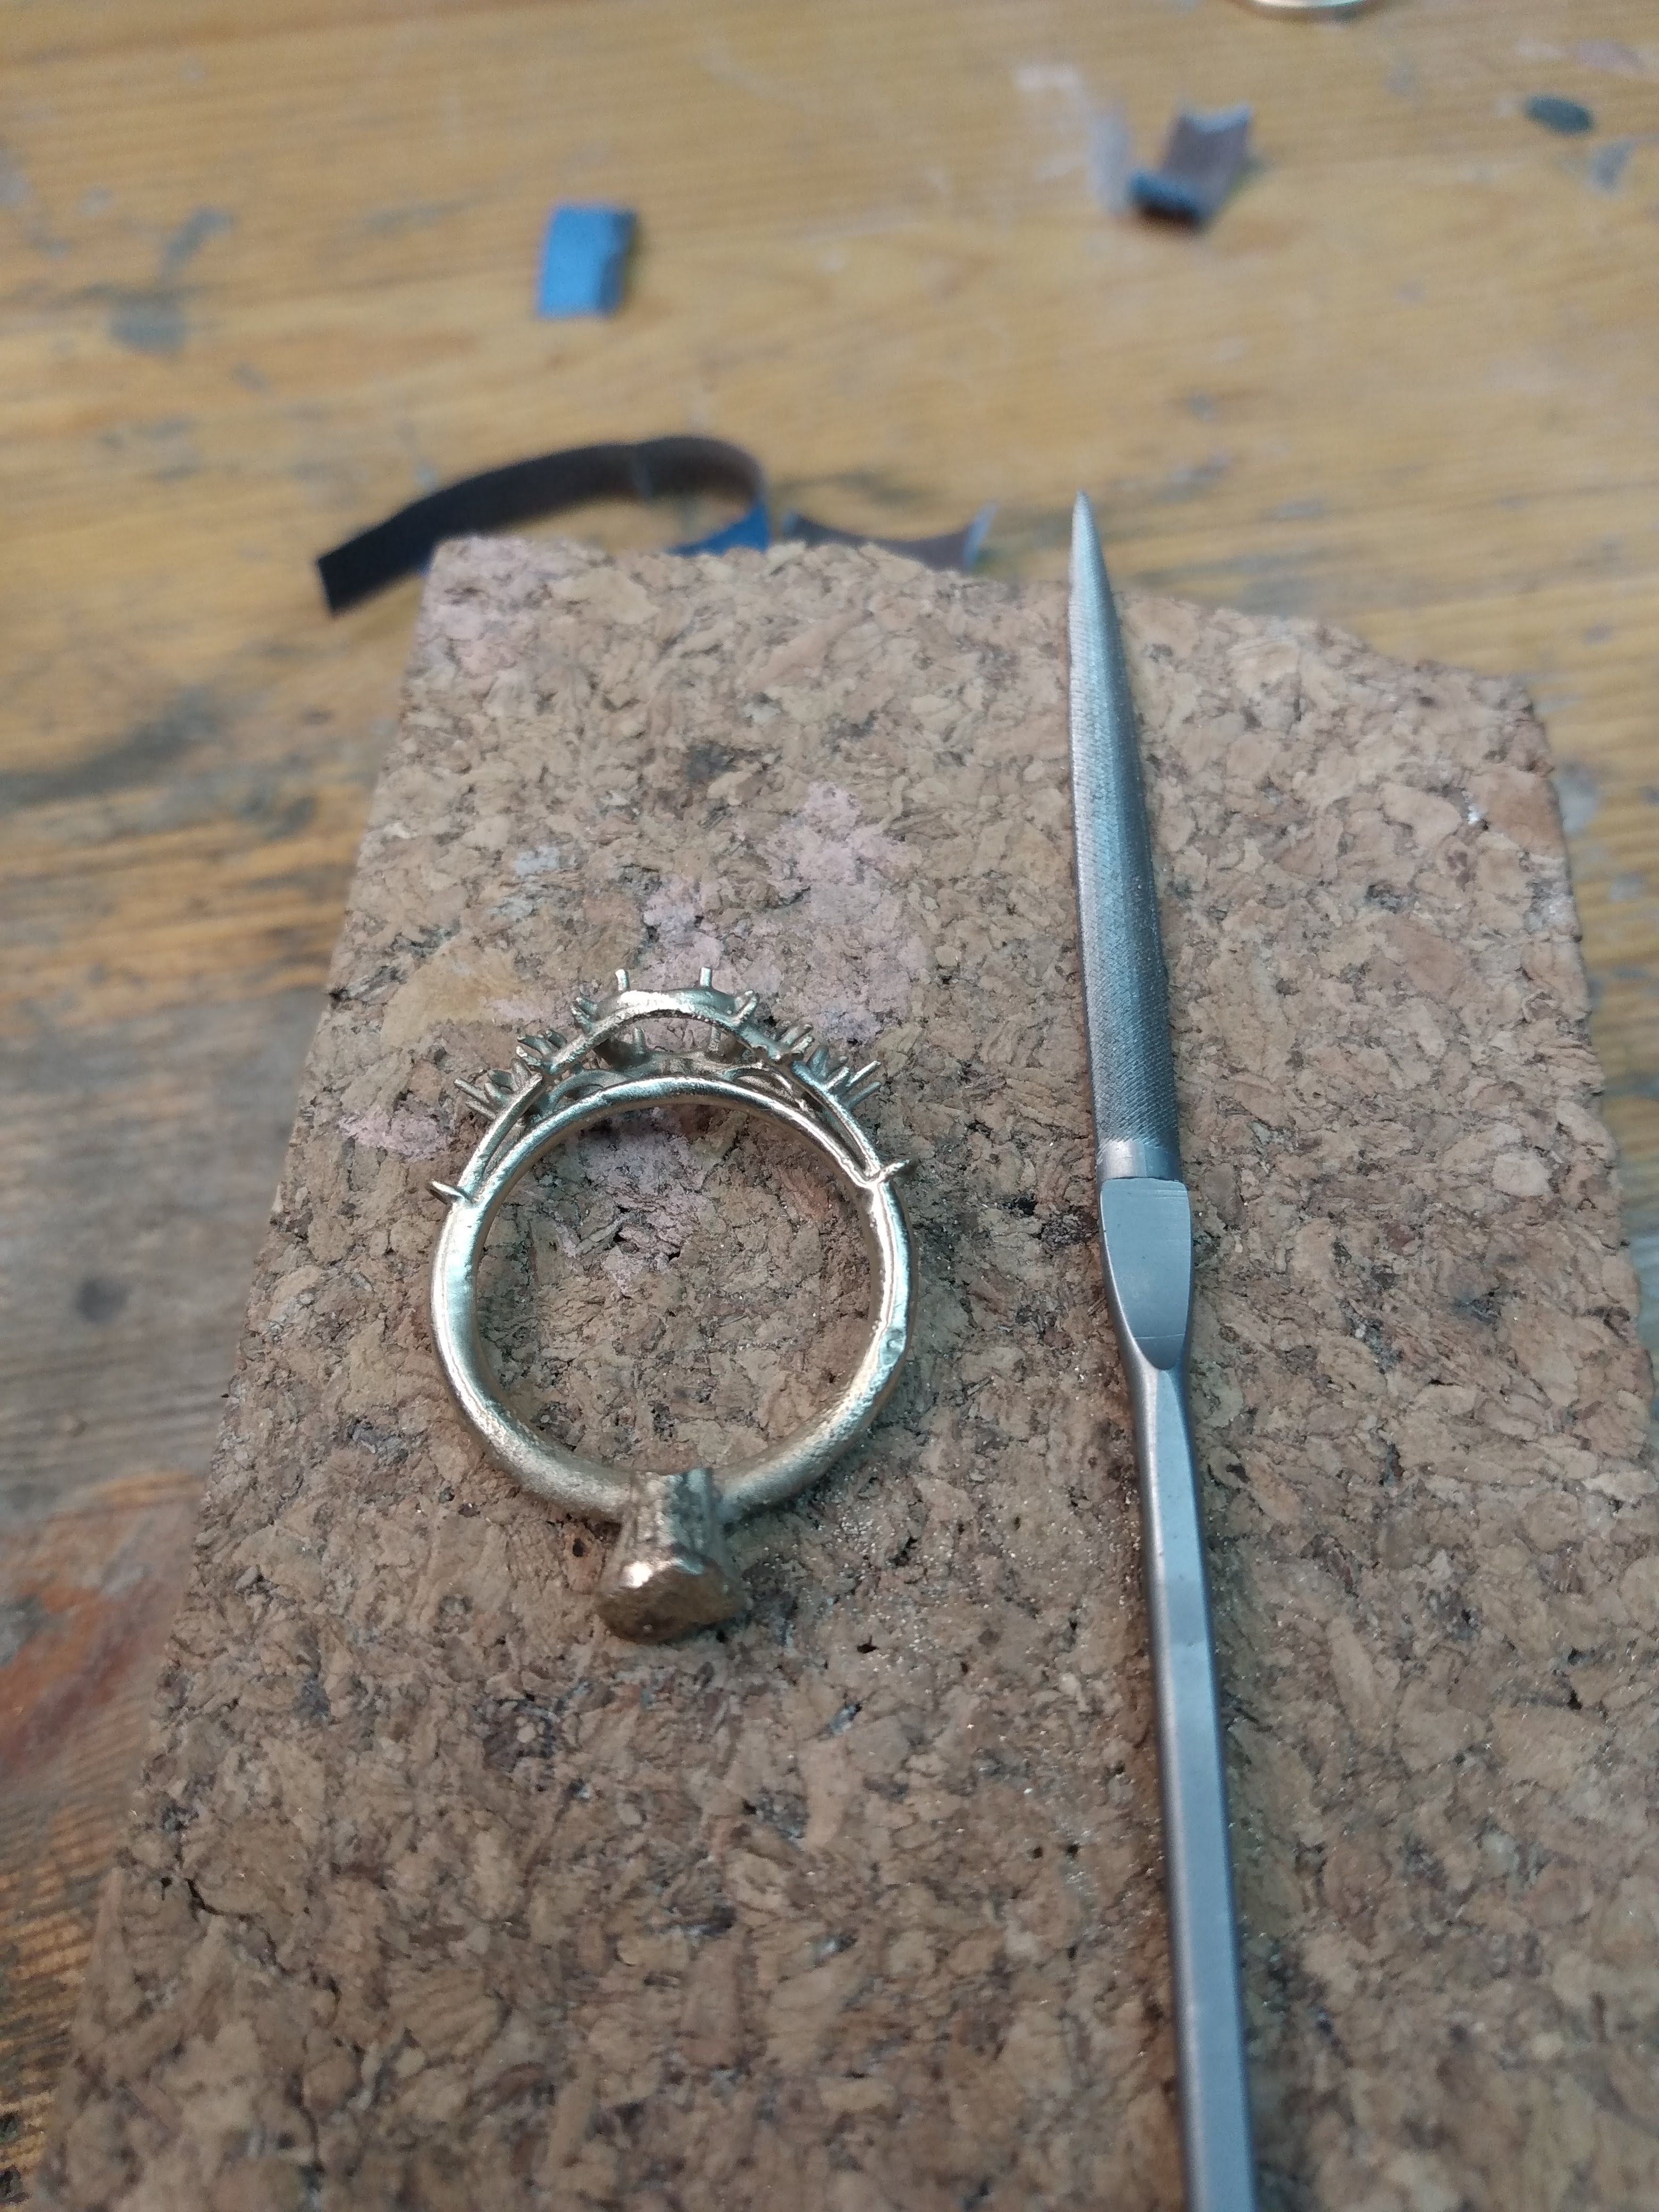
I utilized a jeweler’s blade/hack-saw which is essentially just a very thin metal blade put into tension to minimize the kerf waste. Using that close to the ring body I was able to hack off the sprues and button. To remove 95% of the remainder numb I utilized a variety of metal files and sand paper. With all the failed casts I had a lot of practice in honing these skills. Biggest take away was patience!
One of the most confusing things to me when I started getting into the roughing and polishing process was that there seems to be at least 10 different ways of doing the same thing. It seems like there isn’t a single defined process, but rather a range of options that many people have differing opinions on. Which means there wasn’t a lot of precedent/guidance I had when choosing an option. I seemed to have happened upon a winning solution so I’ll keep at it until I try something else.
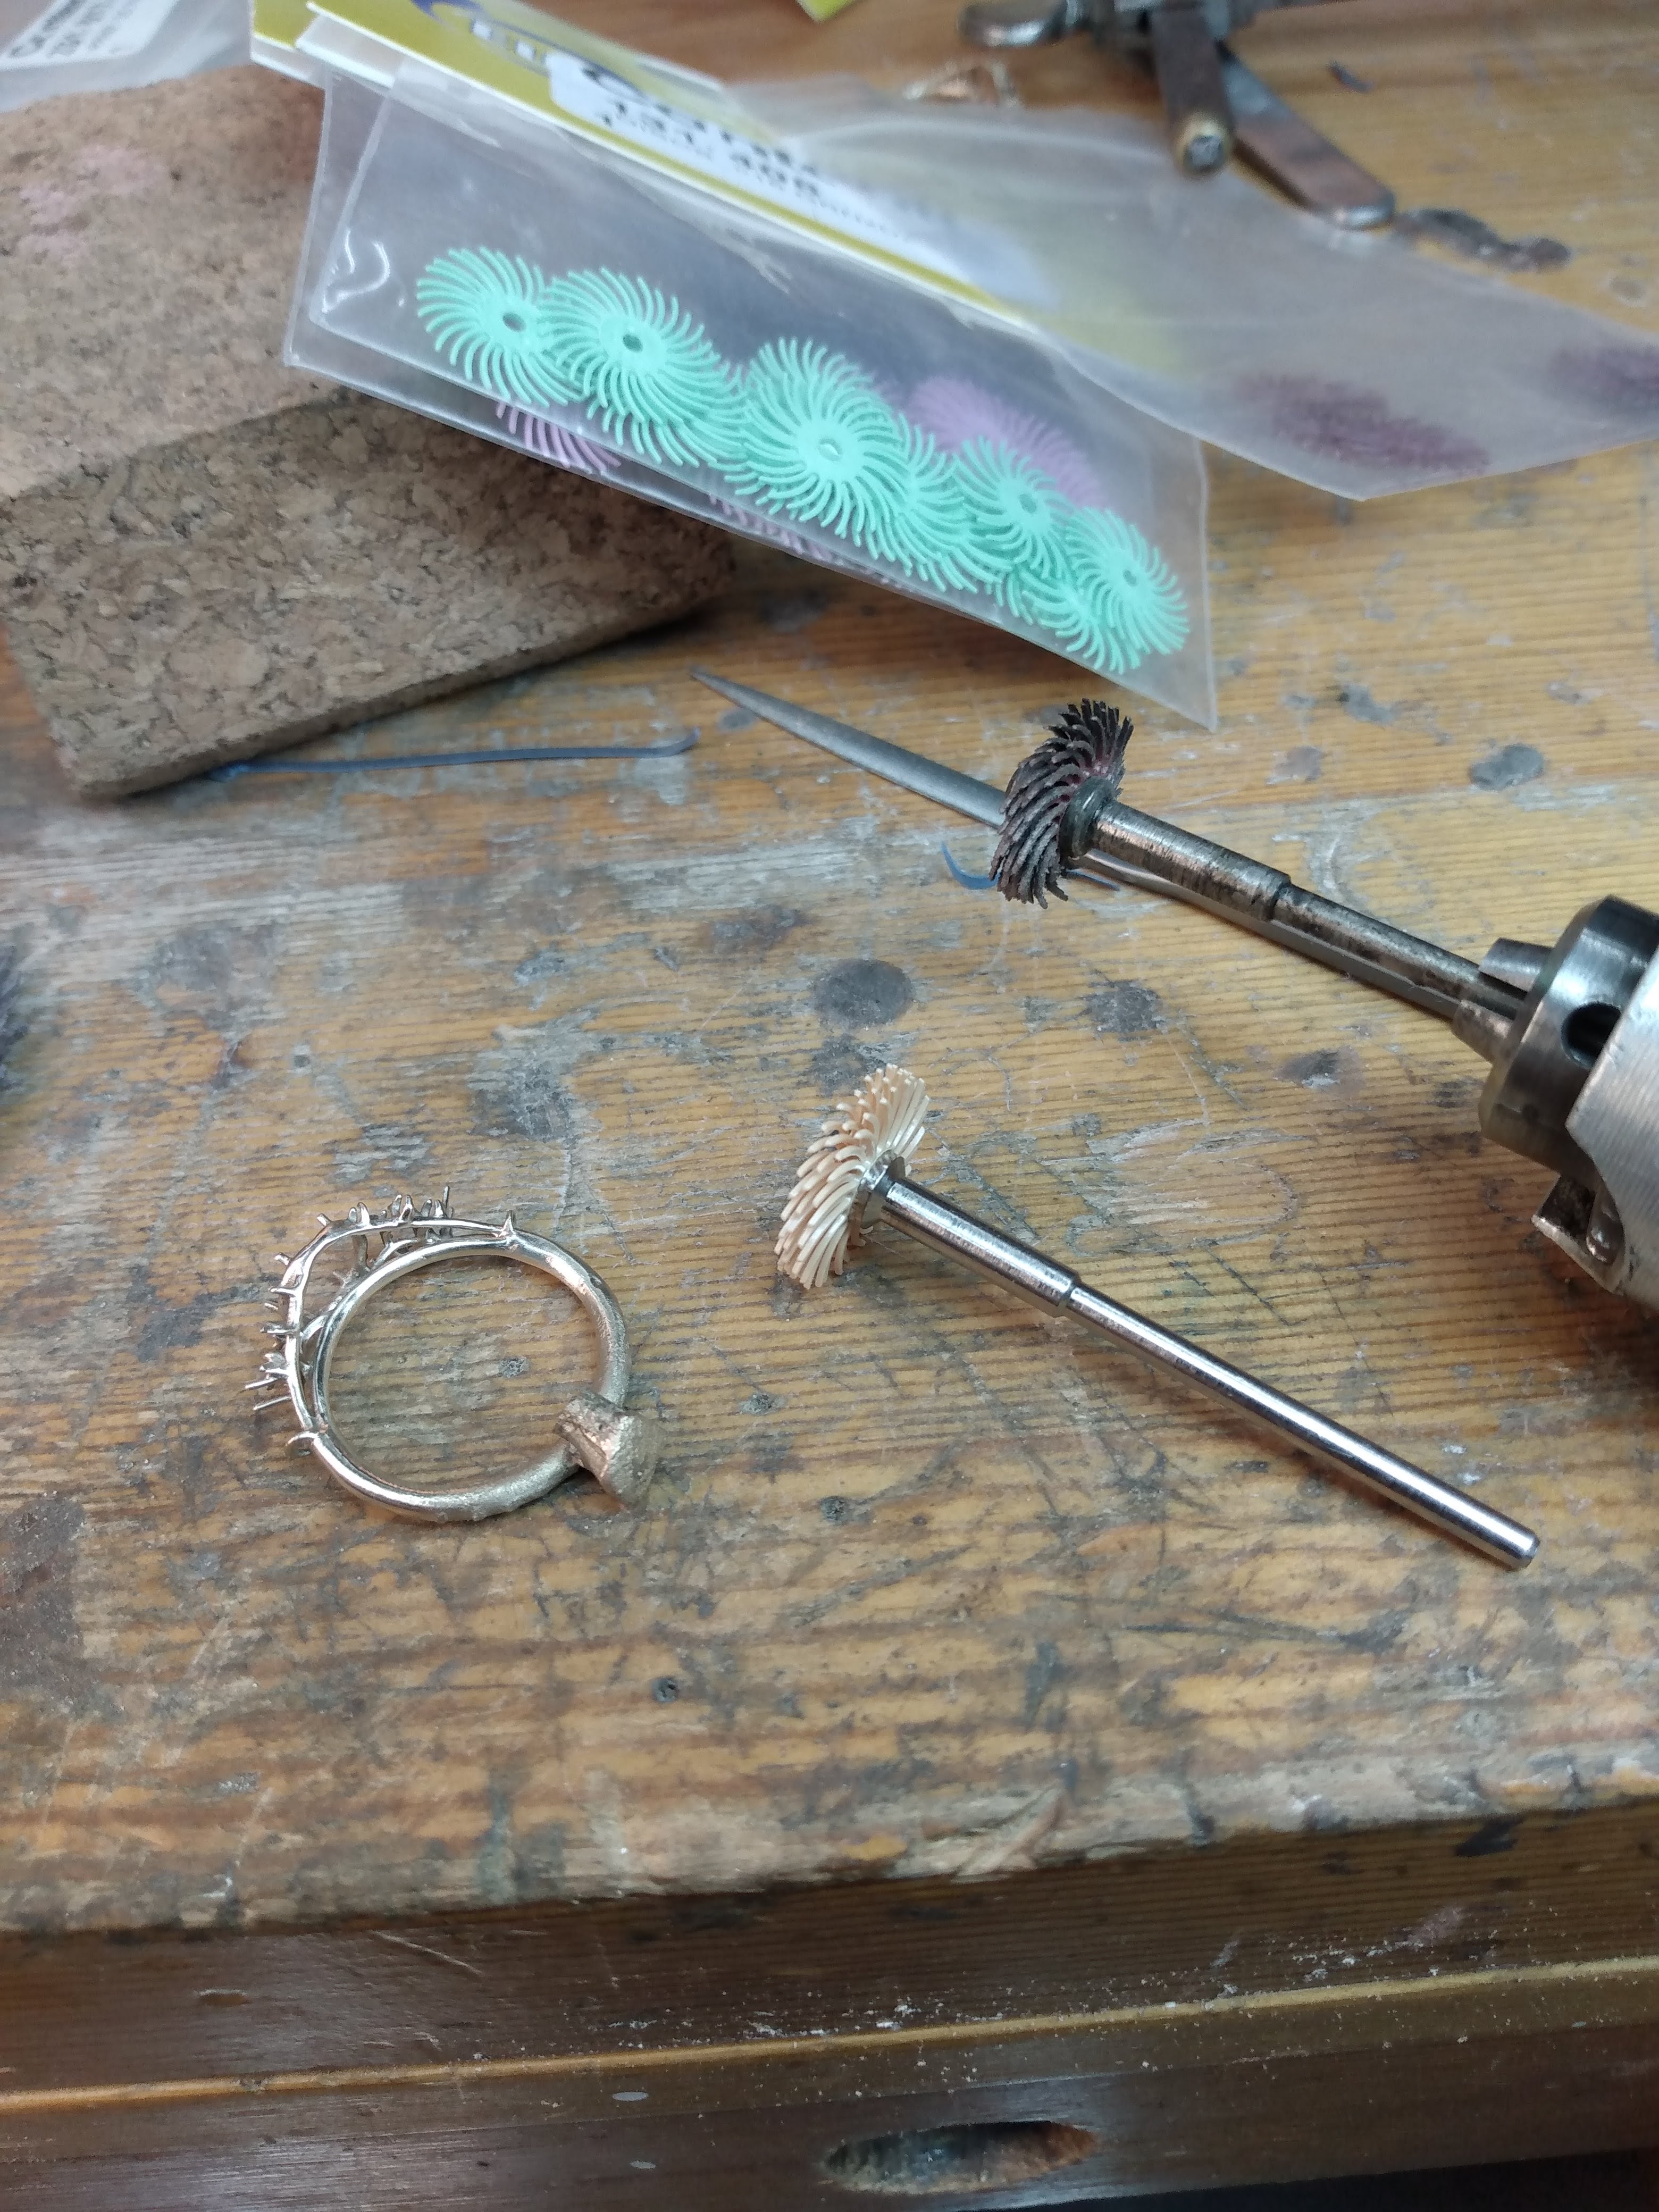
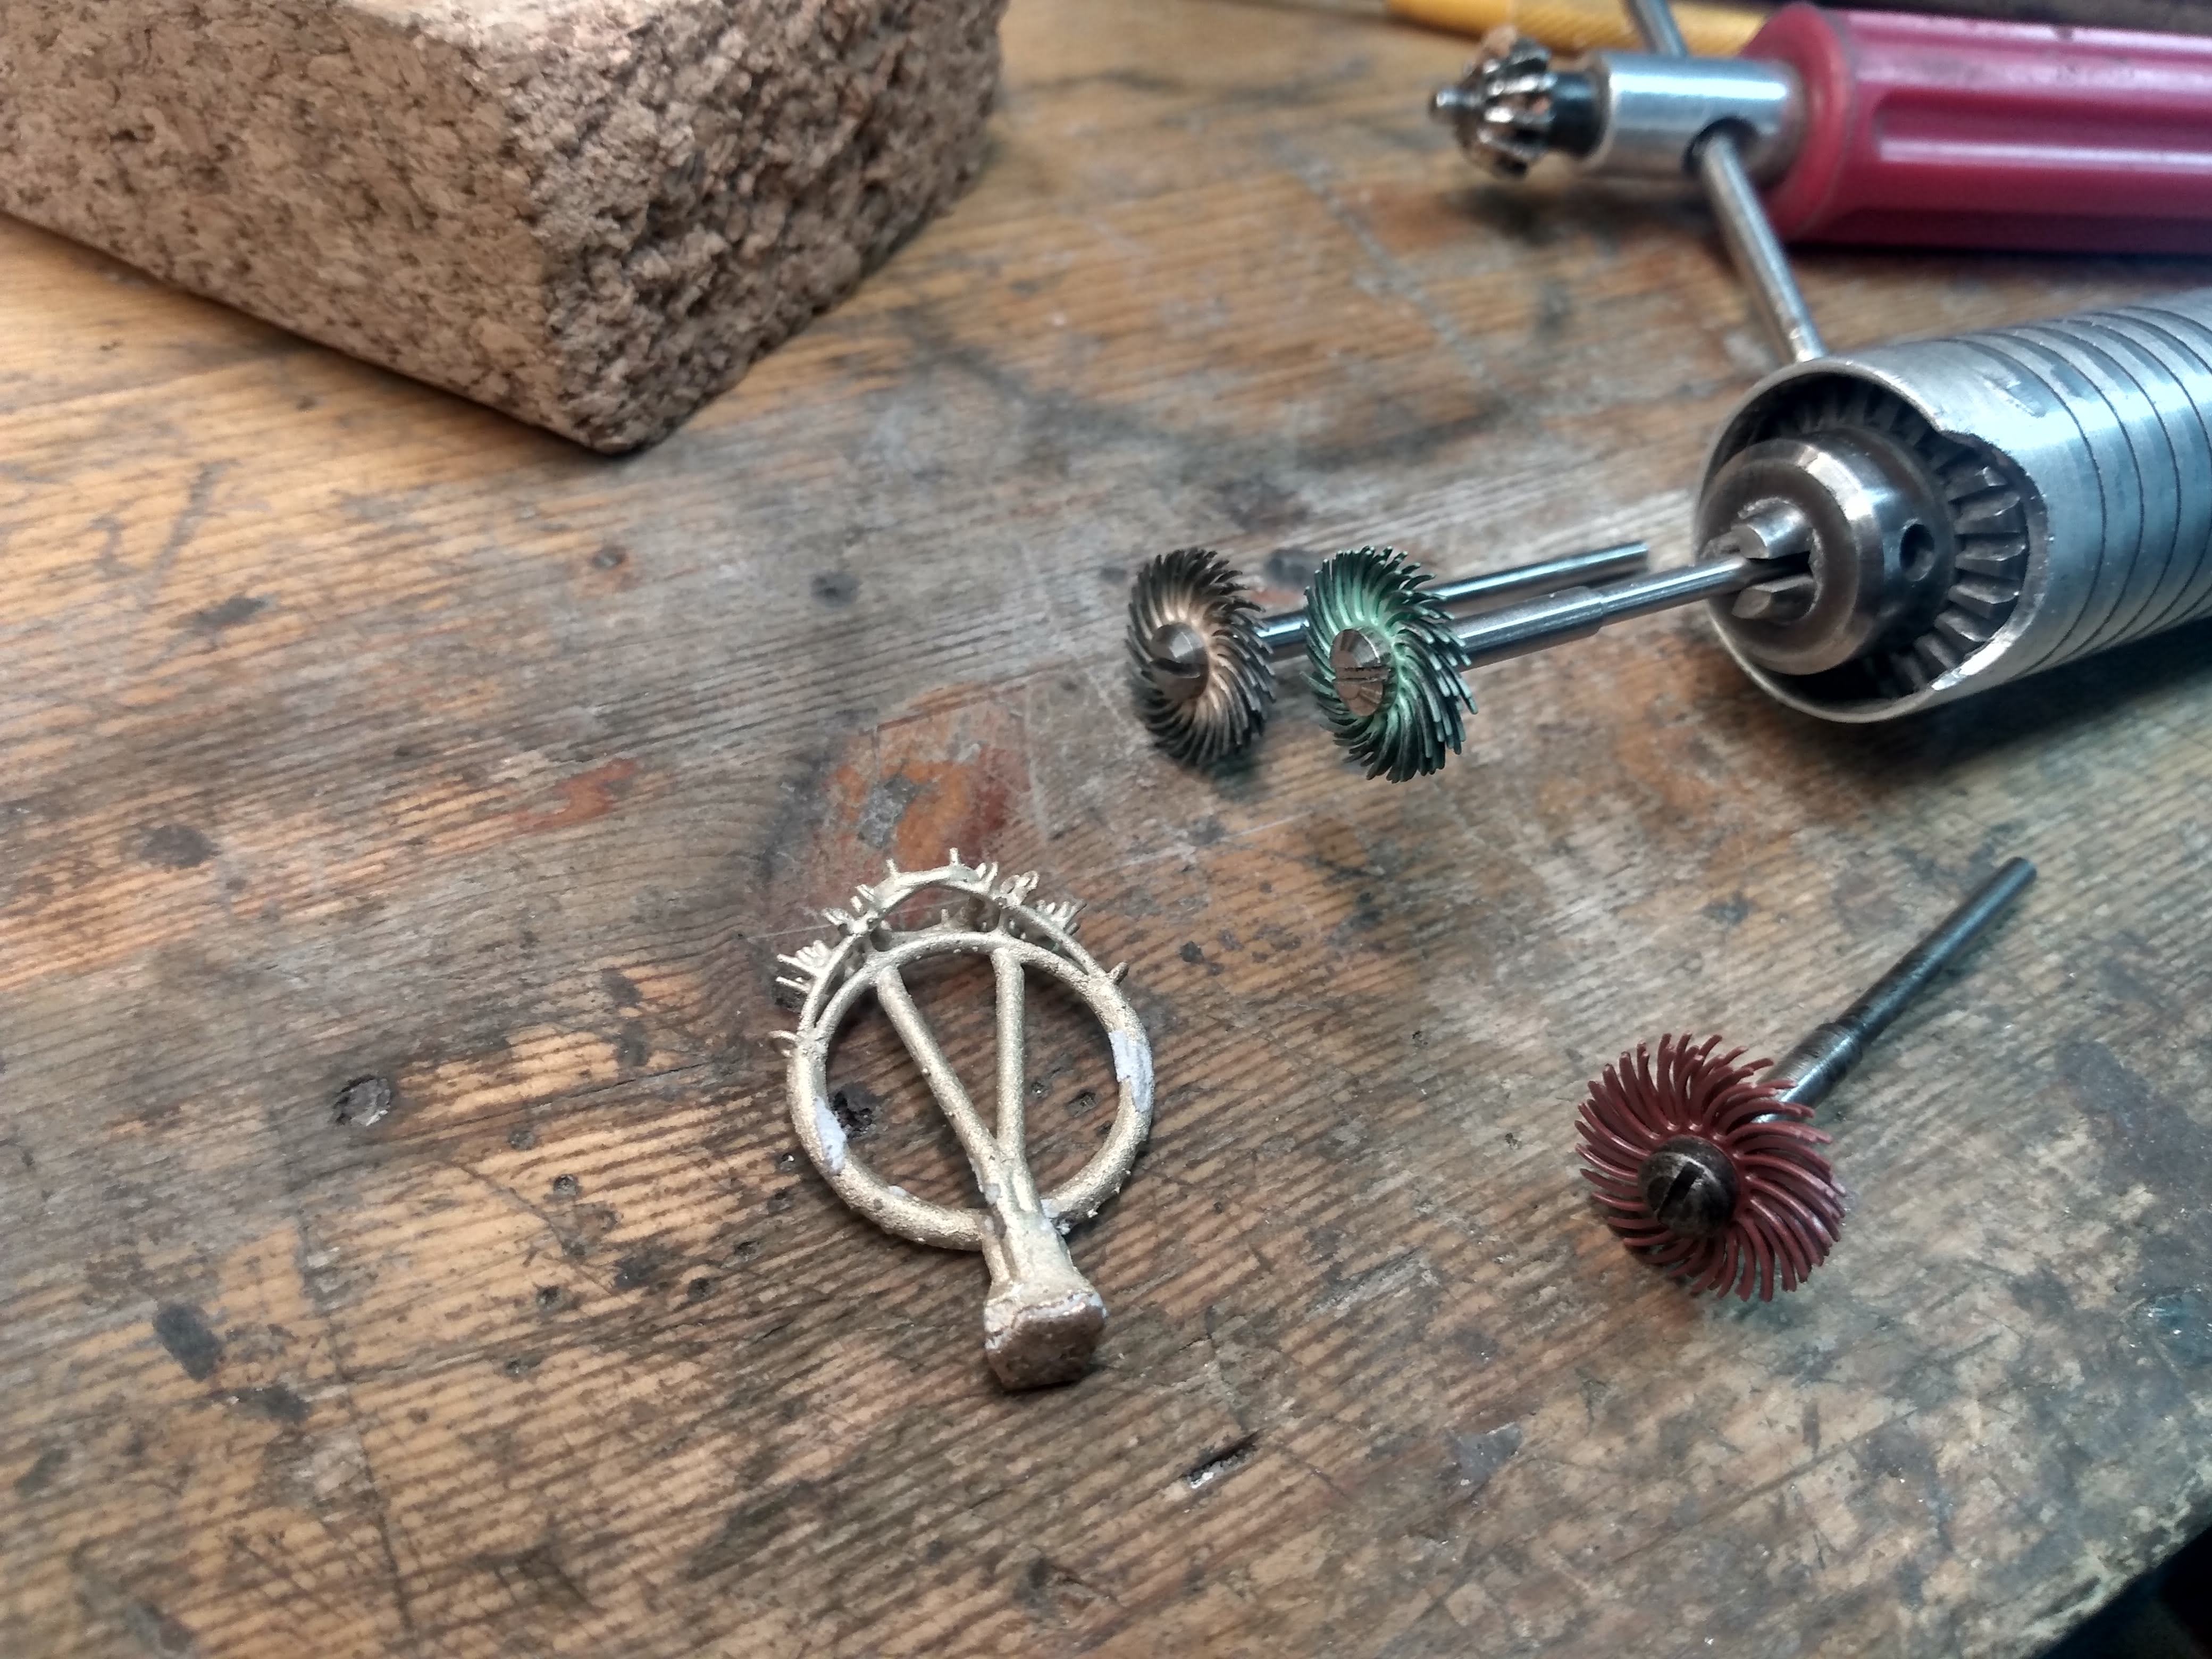
One thing I want to mention is that I had a lot of success with the miniature 3M radial bristle brushes. These brushes range from 0.75″ to 3″ diameters and are polymers with embedded grits (different colors = different grits). I found these tools, especially the small diameter on a flexible rotor shaft, a great option to following the variety of contours my design had.


Polishing
The line blurs between roughing and polishing. I would define it as the grit point where things actually start becoming reflective rather than just smooth. For polishing I found the best tool was a burnisher. Unlike sanding/filing which removes material in order to reduce the surface roughness, burnishers push material. Basically material on the hills are smushed into the valleys, which works great for a soft metal like gold. Using the burnisher really reduced my need to sand as I could smoothing things out relatively easily and quickly.
After the burnishing I would utilize these rubberized polishing discs. Very similar to the radial bristle brushes but these discs/points embed a finer grit into a complete package. Great that I didn’t have to deal with compounds and complicated cleanings and the variety of shapes was easy to get into all of the nooks and edges of the ring.
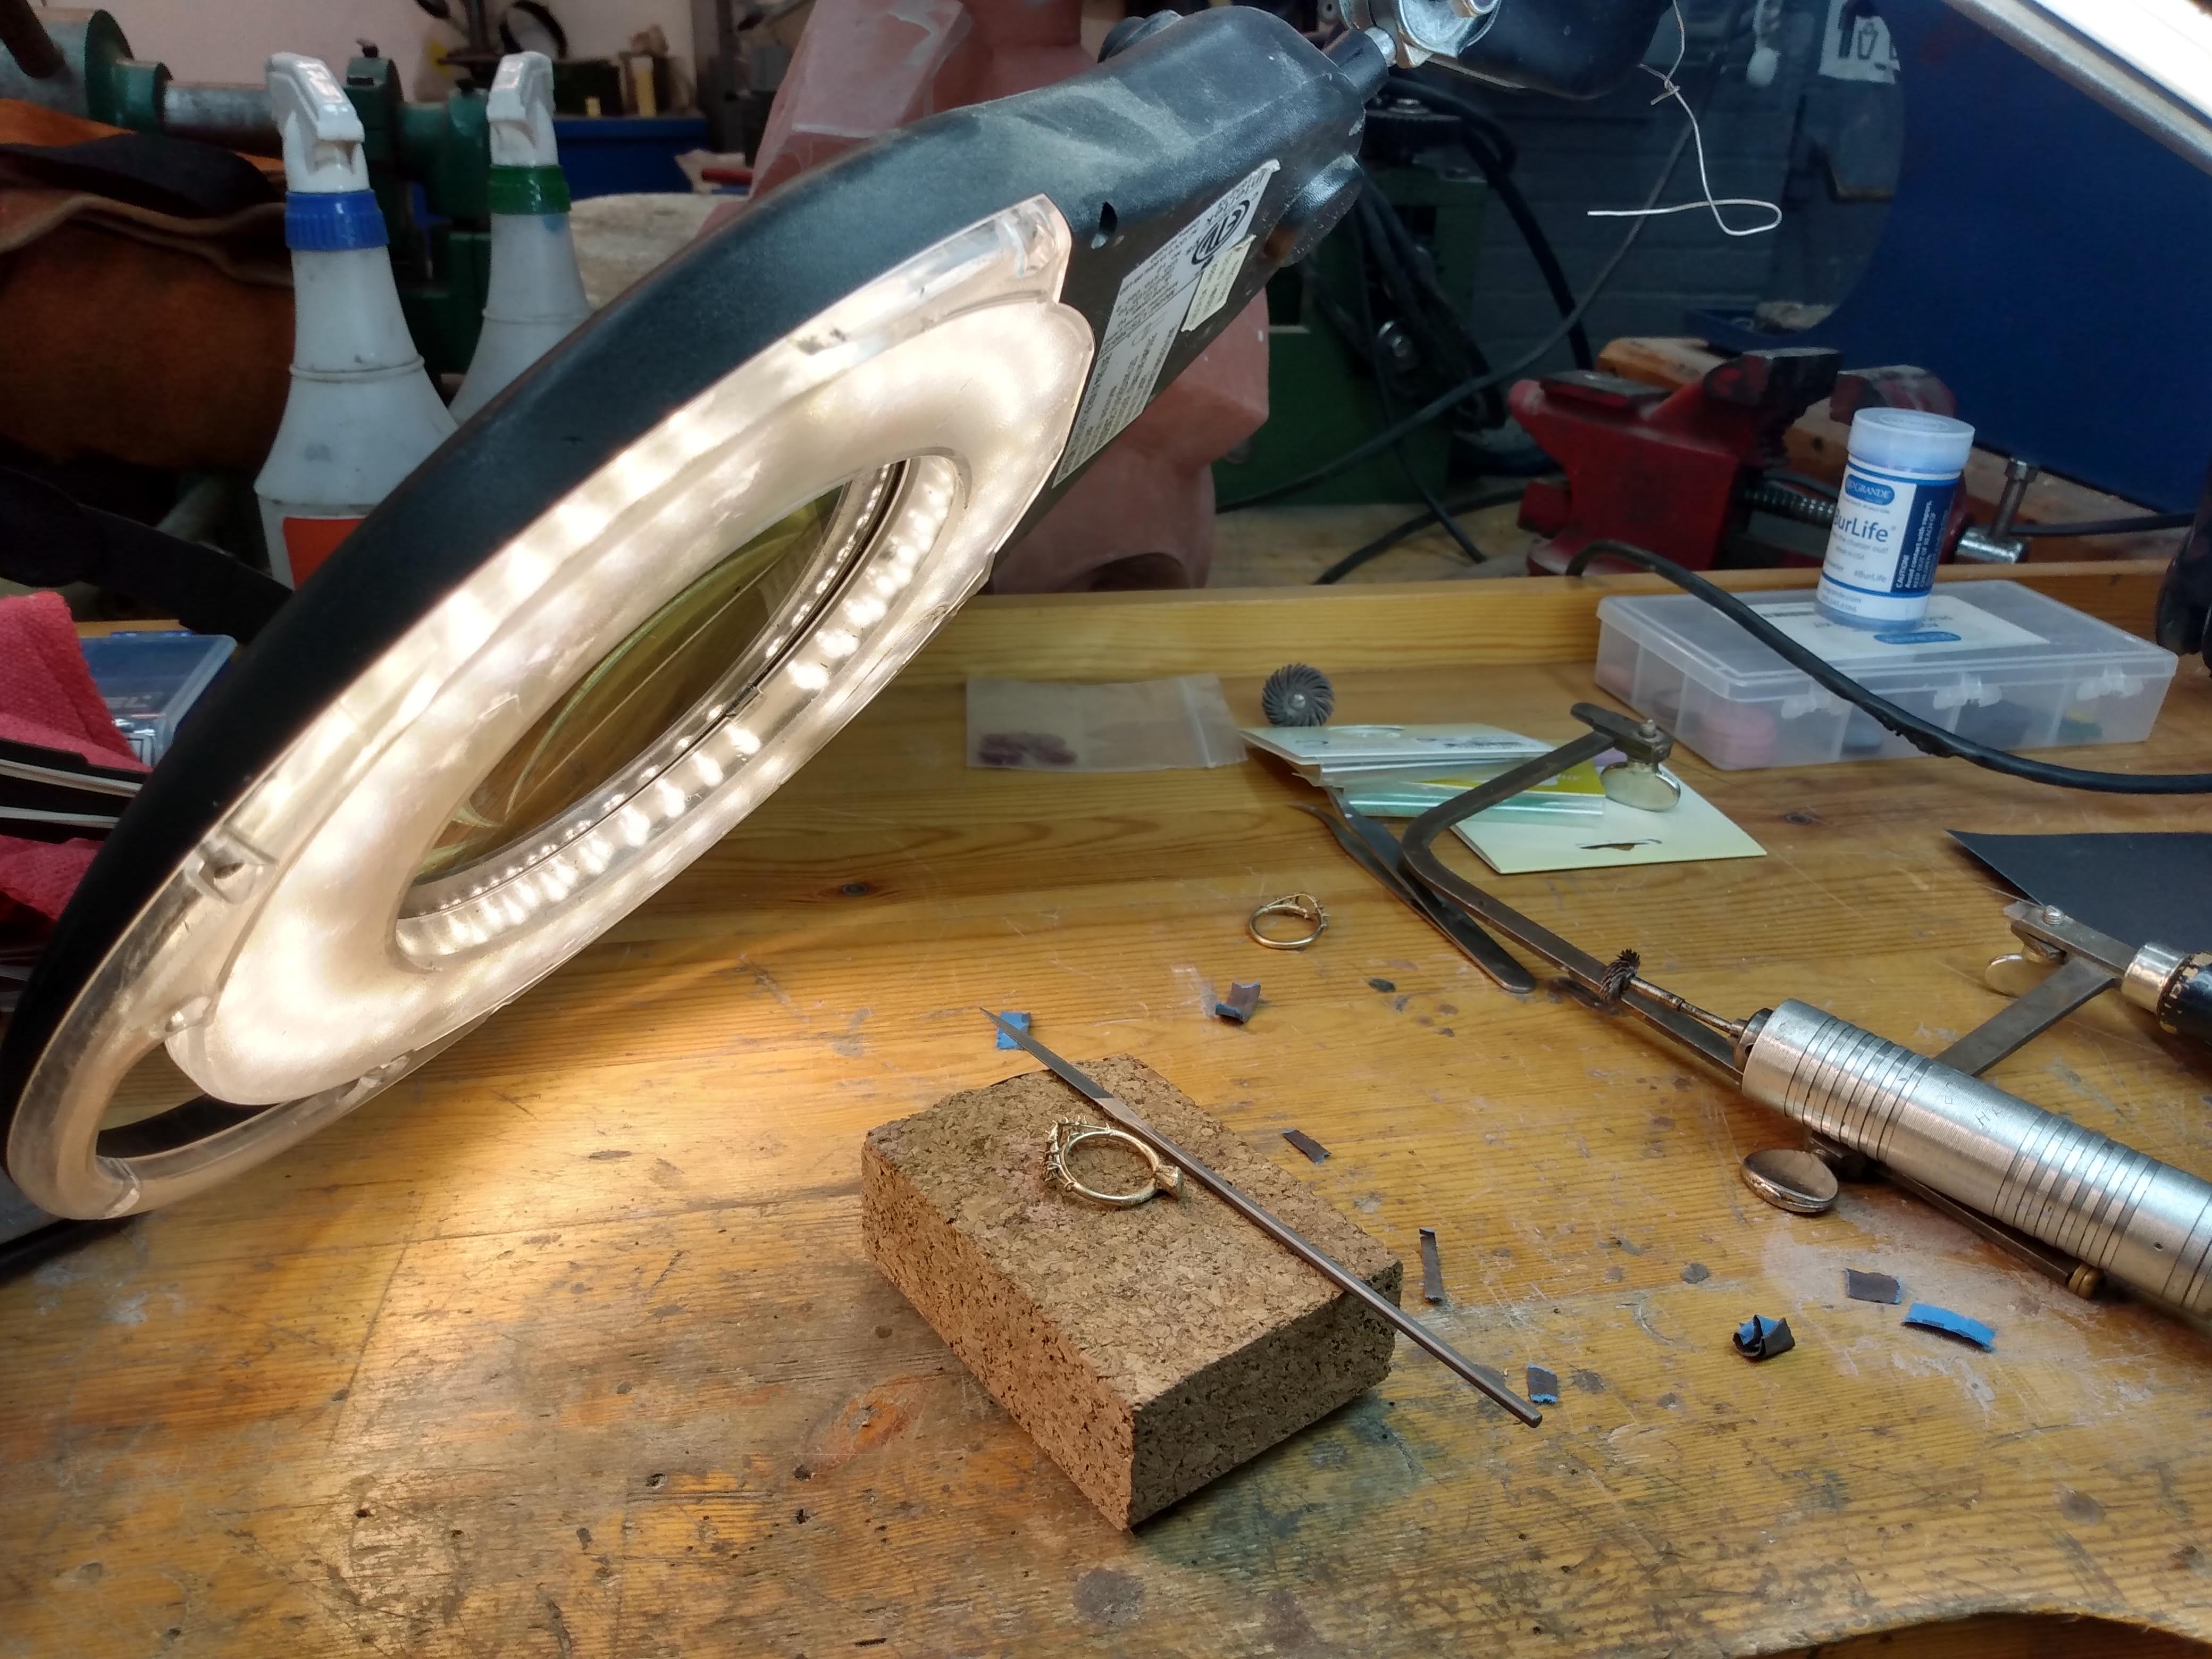
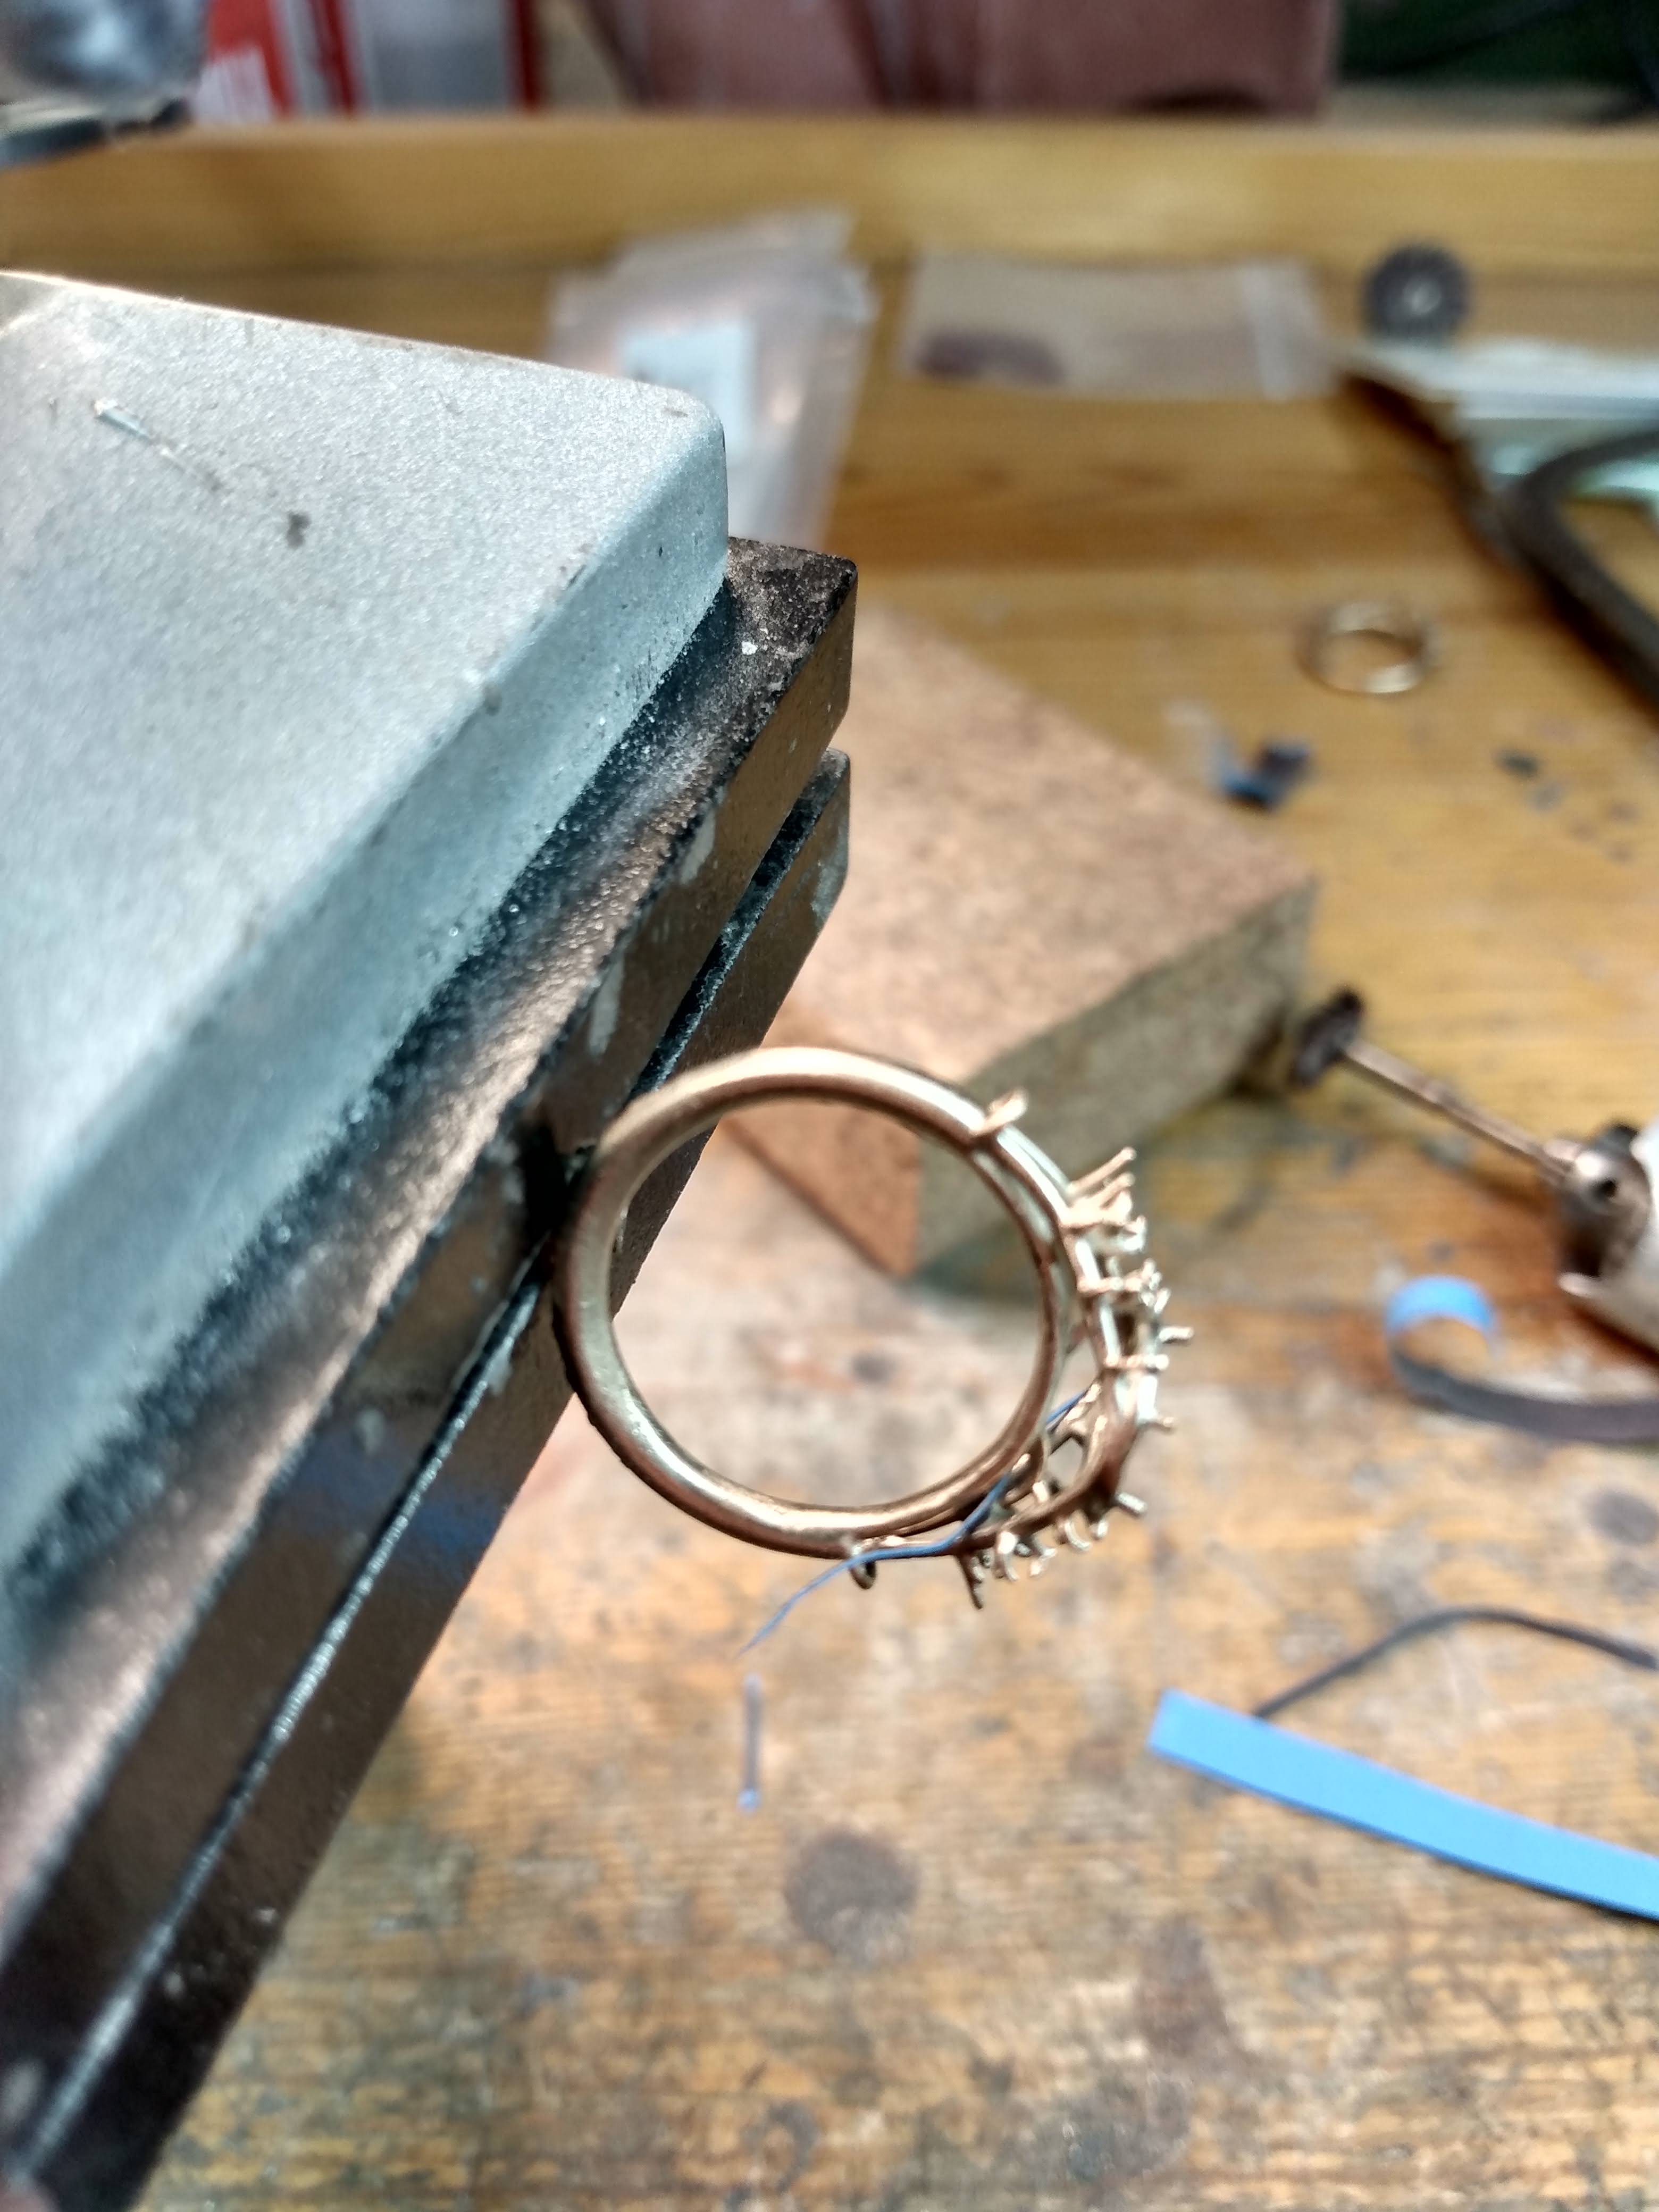
Stone Setting
Setting the stones was the most stressful part of the whole operation. Its were a cumulation of all the previous work is seriously put to the test, and where I’ve had to completely redesign/tweak and do everything over again.
The diamond setting was the easiest one to accomplish as I had very precise measurements from the manufacturer. The stone lands within the setting and hovers over the ring portion with 6 prongs clamping it down.
The moissanites around the sides were very difficult to pull of as some of the stones shared some of the prongs. Which meant a careful balancing act when putting it all together. Definitely a test of patience as you’d put one stone in and it’ll fall out as you’re putting the other stone in. Fortunately I had a lot of practice keeping a steady hand! Its quite amazing how much you actually move when viewing the tip of a pair of tweezers under a microscope.
The last part I put in where 2 pear shaped opals on the ends. These were difficult to set because opals are so fragile and the act of pushing the prongs down shattered at least one of them o.o . They come in a small parcel so I had some backup and it took a bit to dial in the exact force you need. Overall stressful balance between making sure the stones never move and not breaking the stones/ring!