AIRROBO T9 Battery Fix

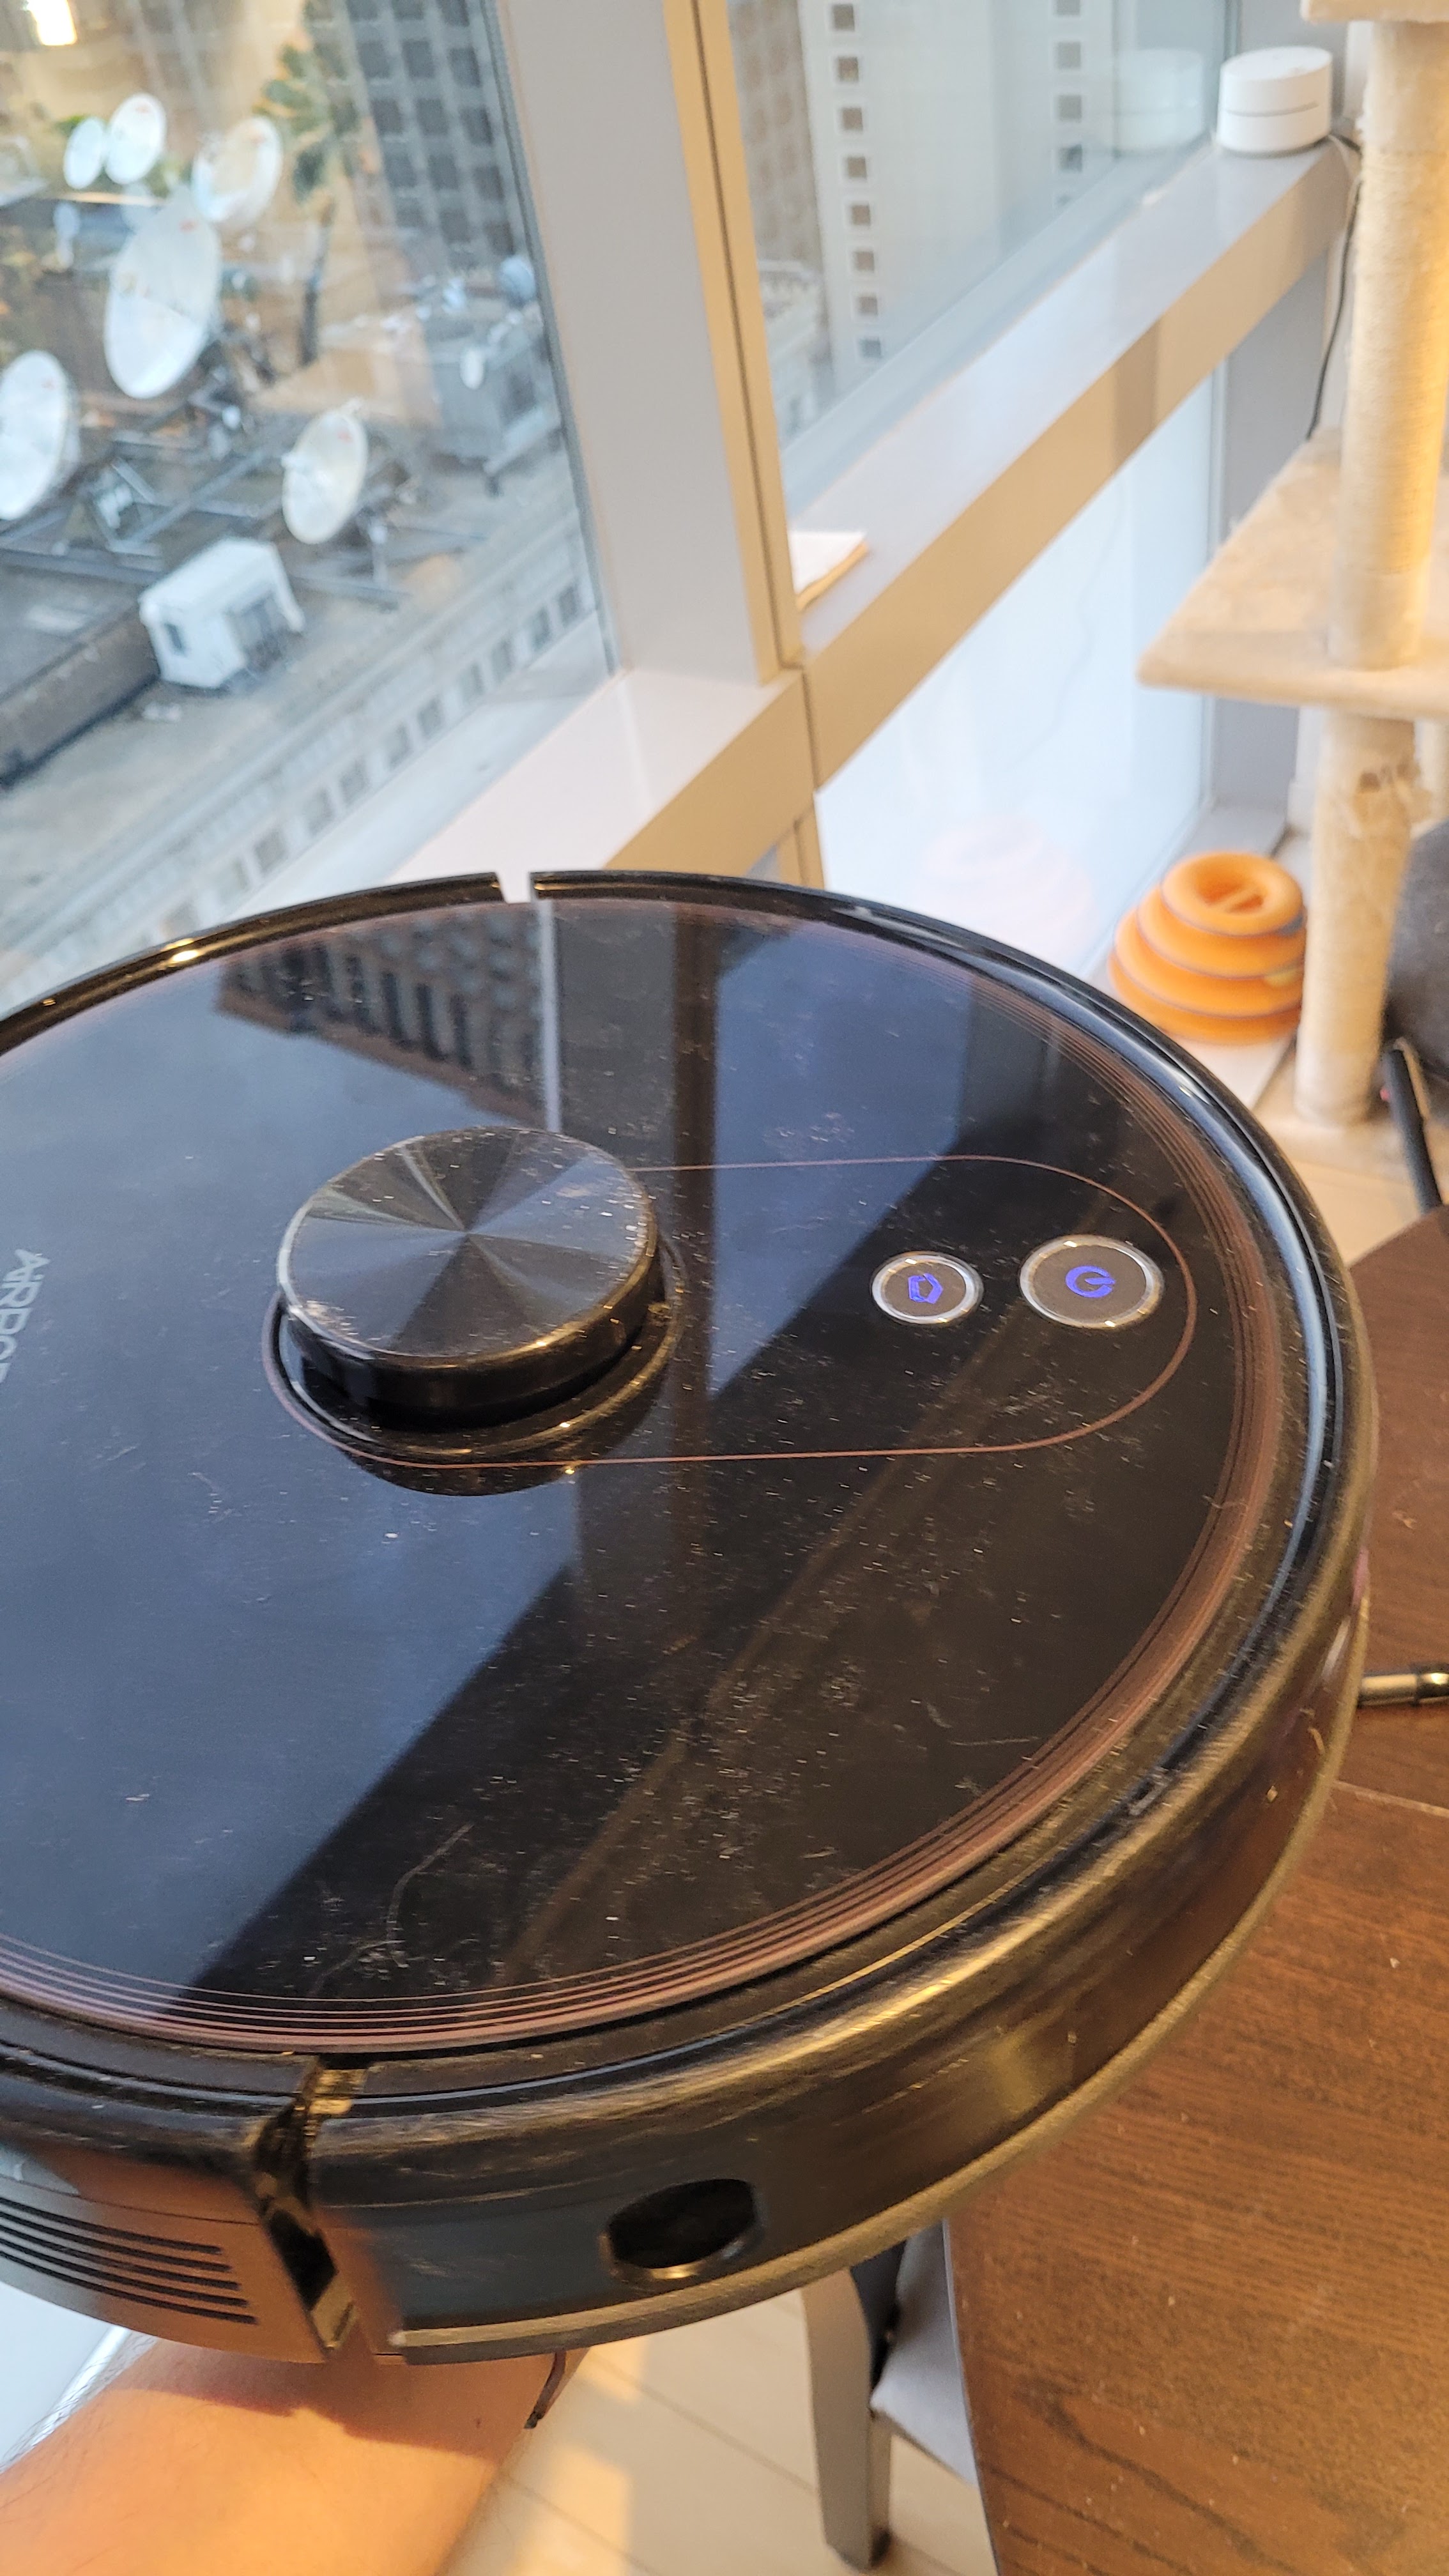
I got myself a robot vacuum about 2 years ago to help me battle the dust generated by 2 fluffy cats and humans in a tiny apartment. Got to say its one of the best purchases (and deals!) I’ve ever made as I had no idea how dirty my floors were until they were swept daily.

Unfortunately I noticed that Arby (what we call our robot) began to act odd and in rather short order completely stopped working once it left the charging base. This clearly indicated that the failure was battery related.

Searching online for a replacement battery pack I was shocked at not only how expensive they were ($50+!) but also how long it would take to get here (4+ weeks). I’m not sure if its because the model I have is discontinued or if this is how it is with battery packs from China. In the end I figured my lungs would appreciate fixing my robot sooner, so that’s just what I did.

Supplies

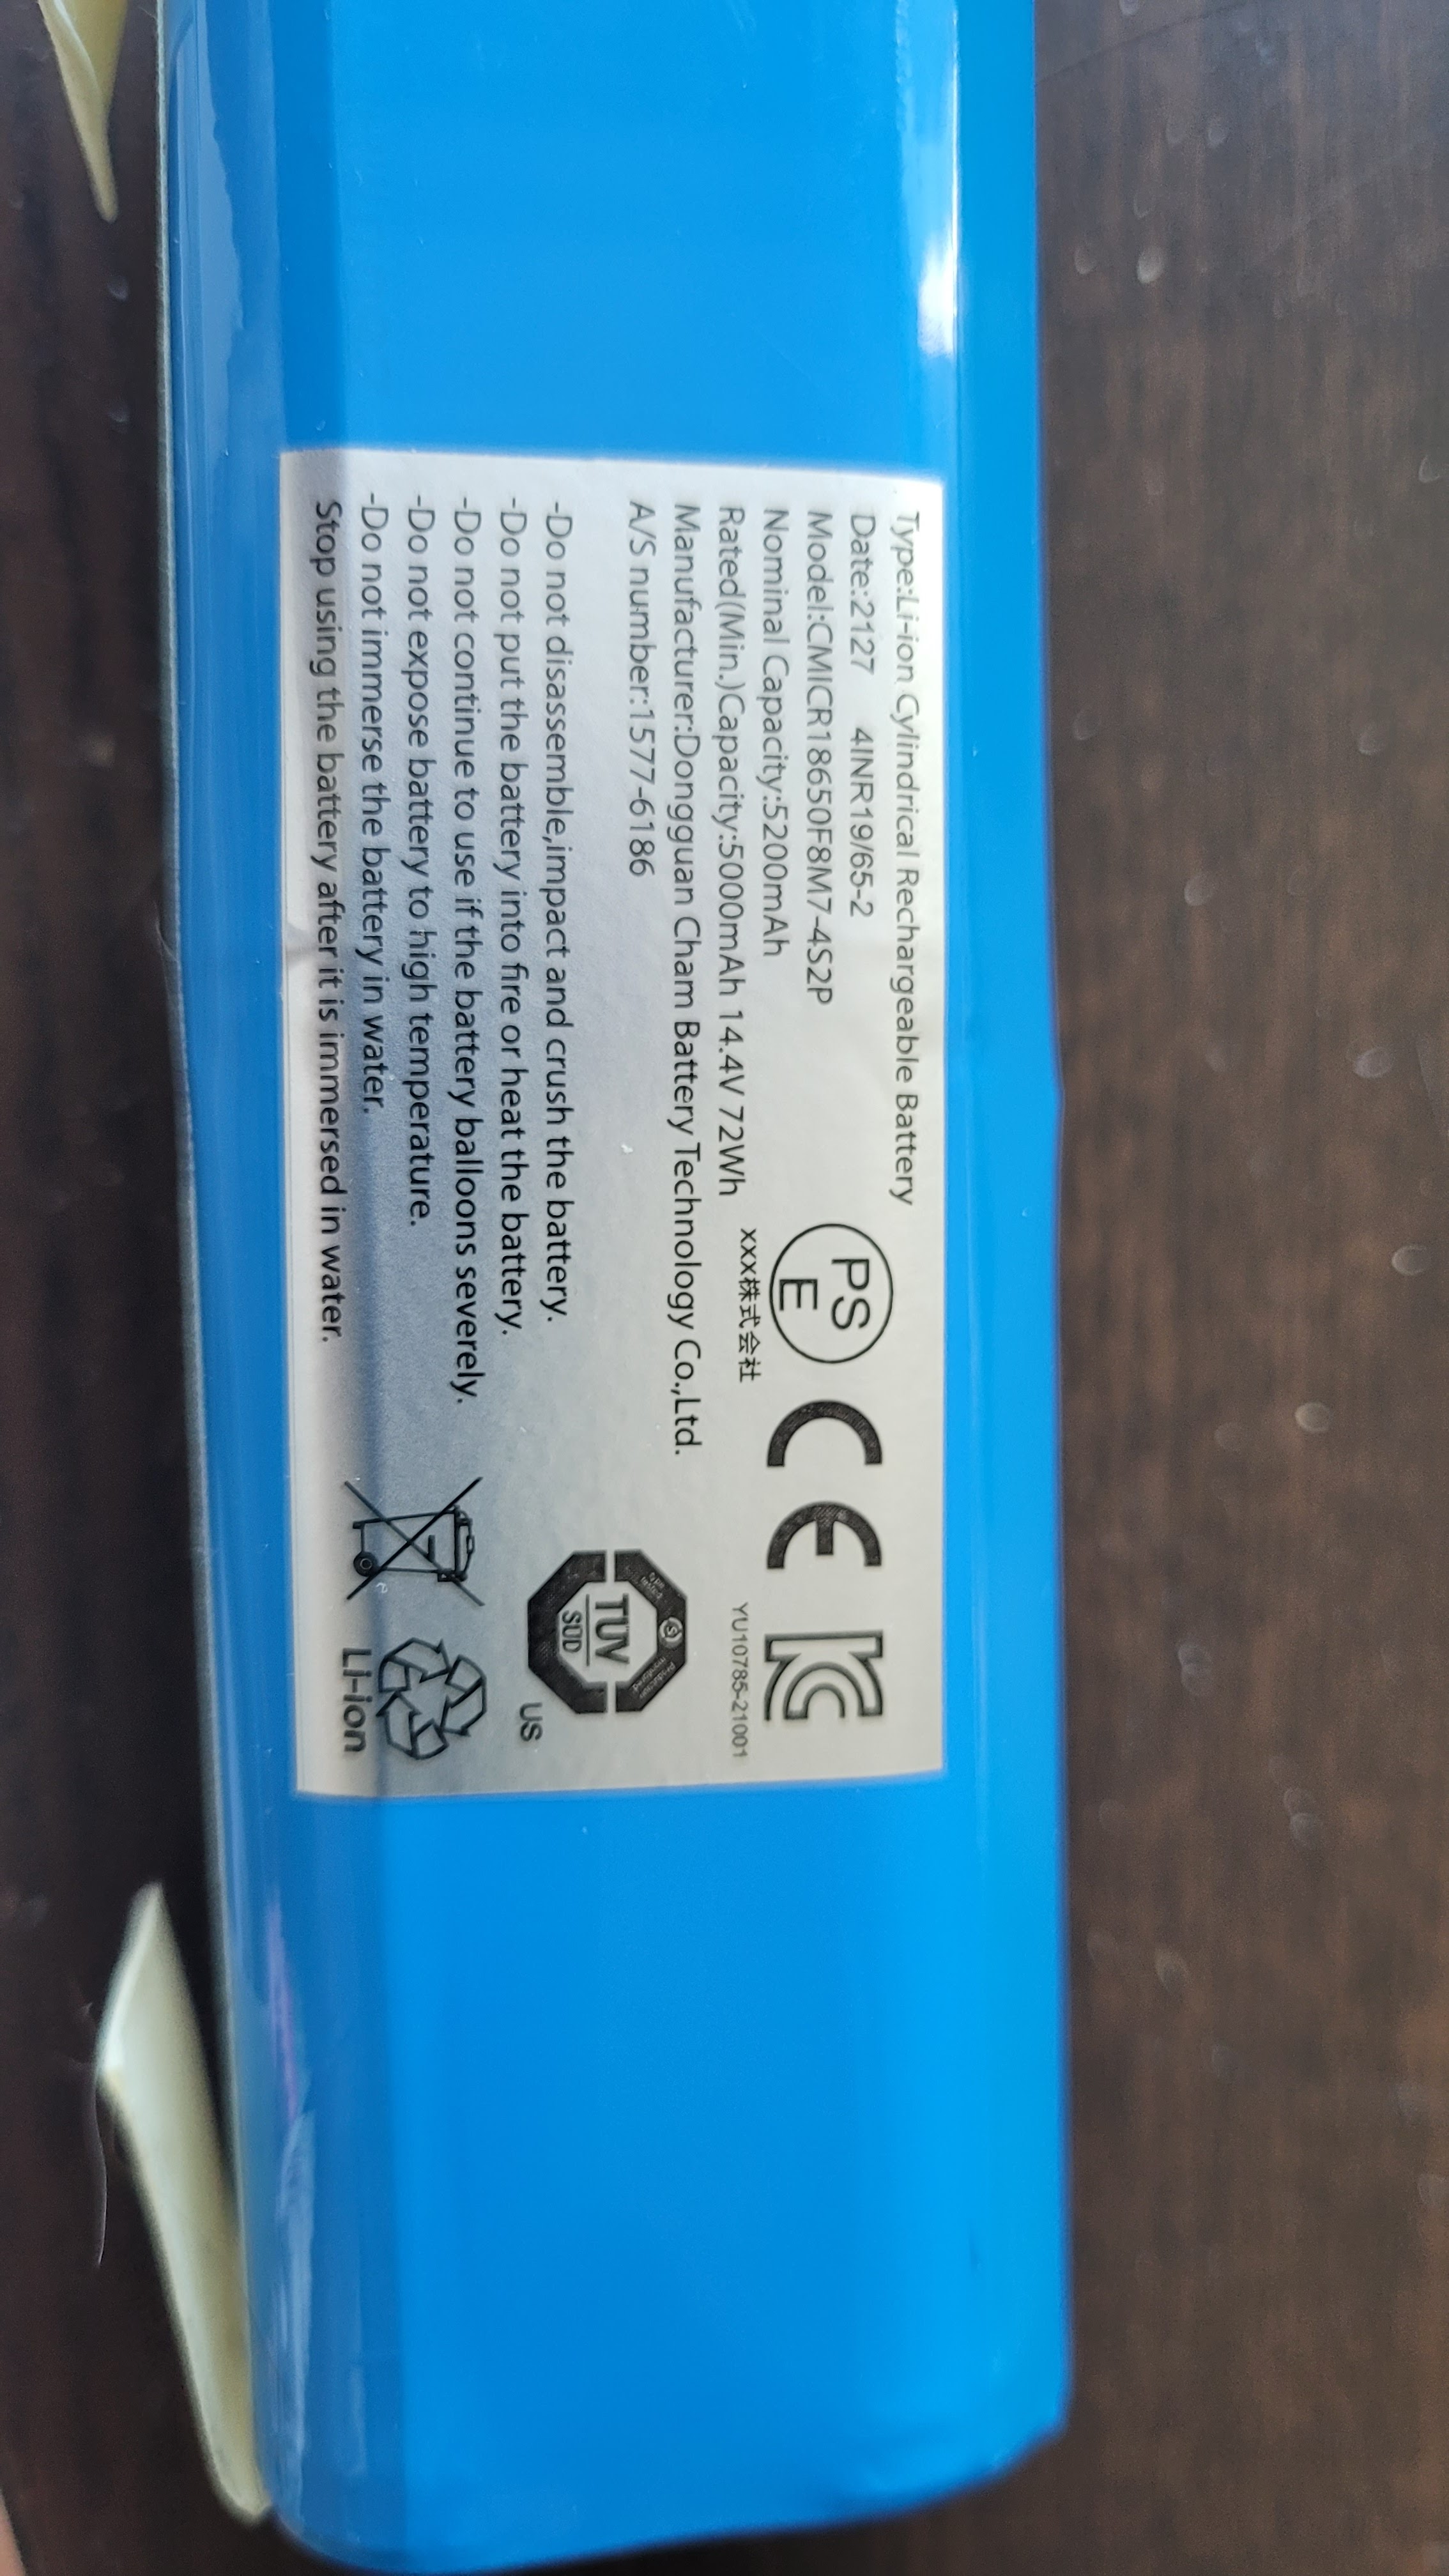
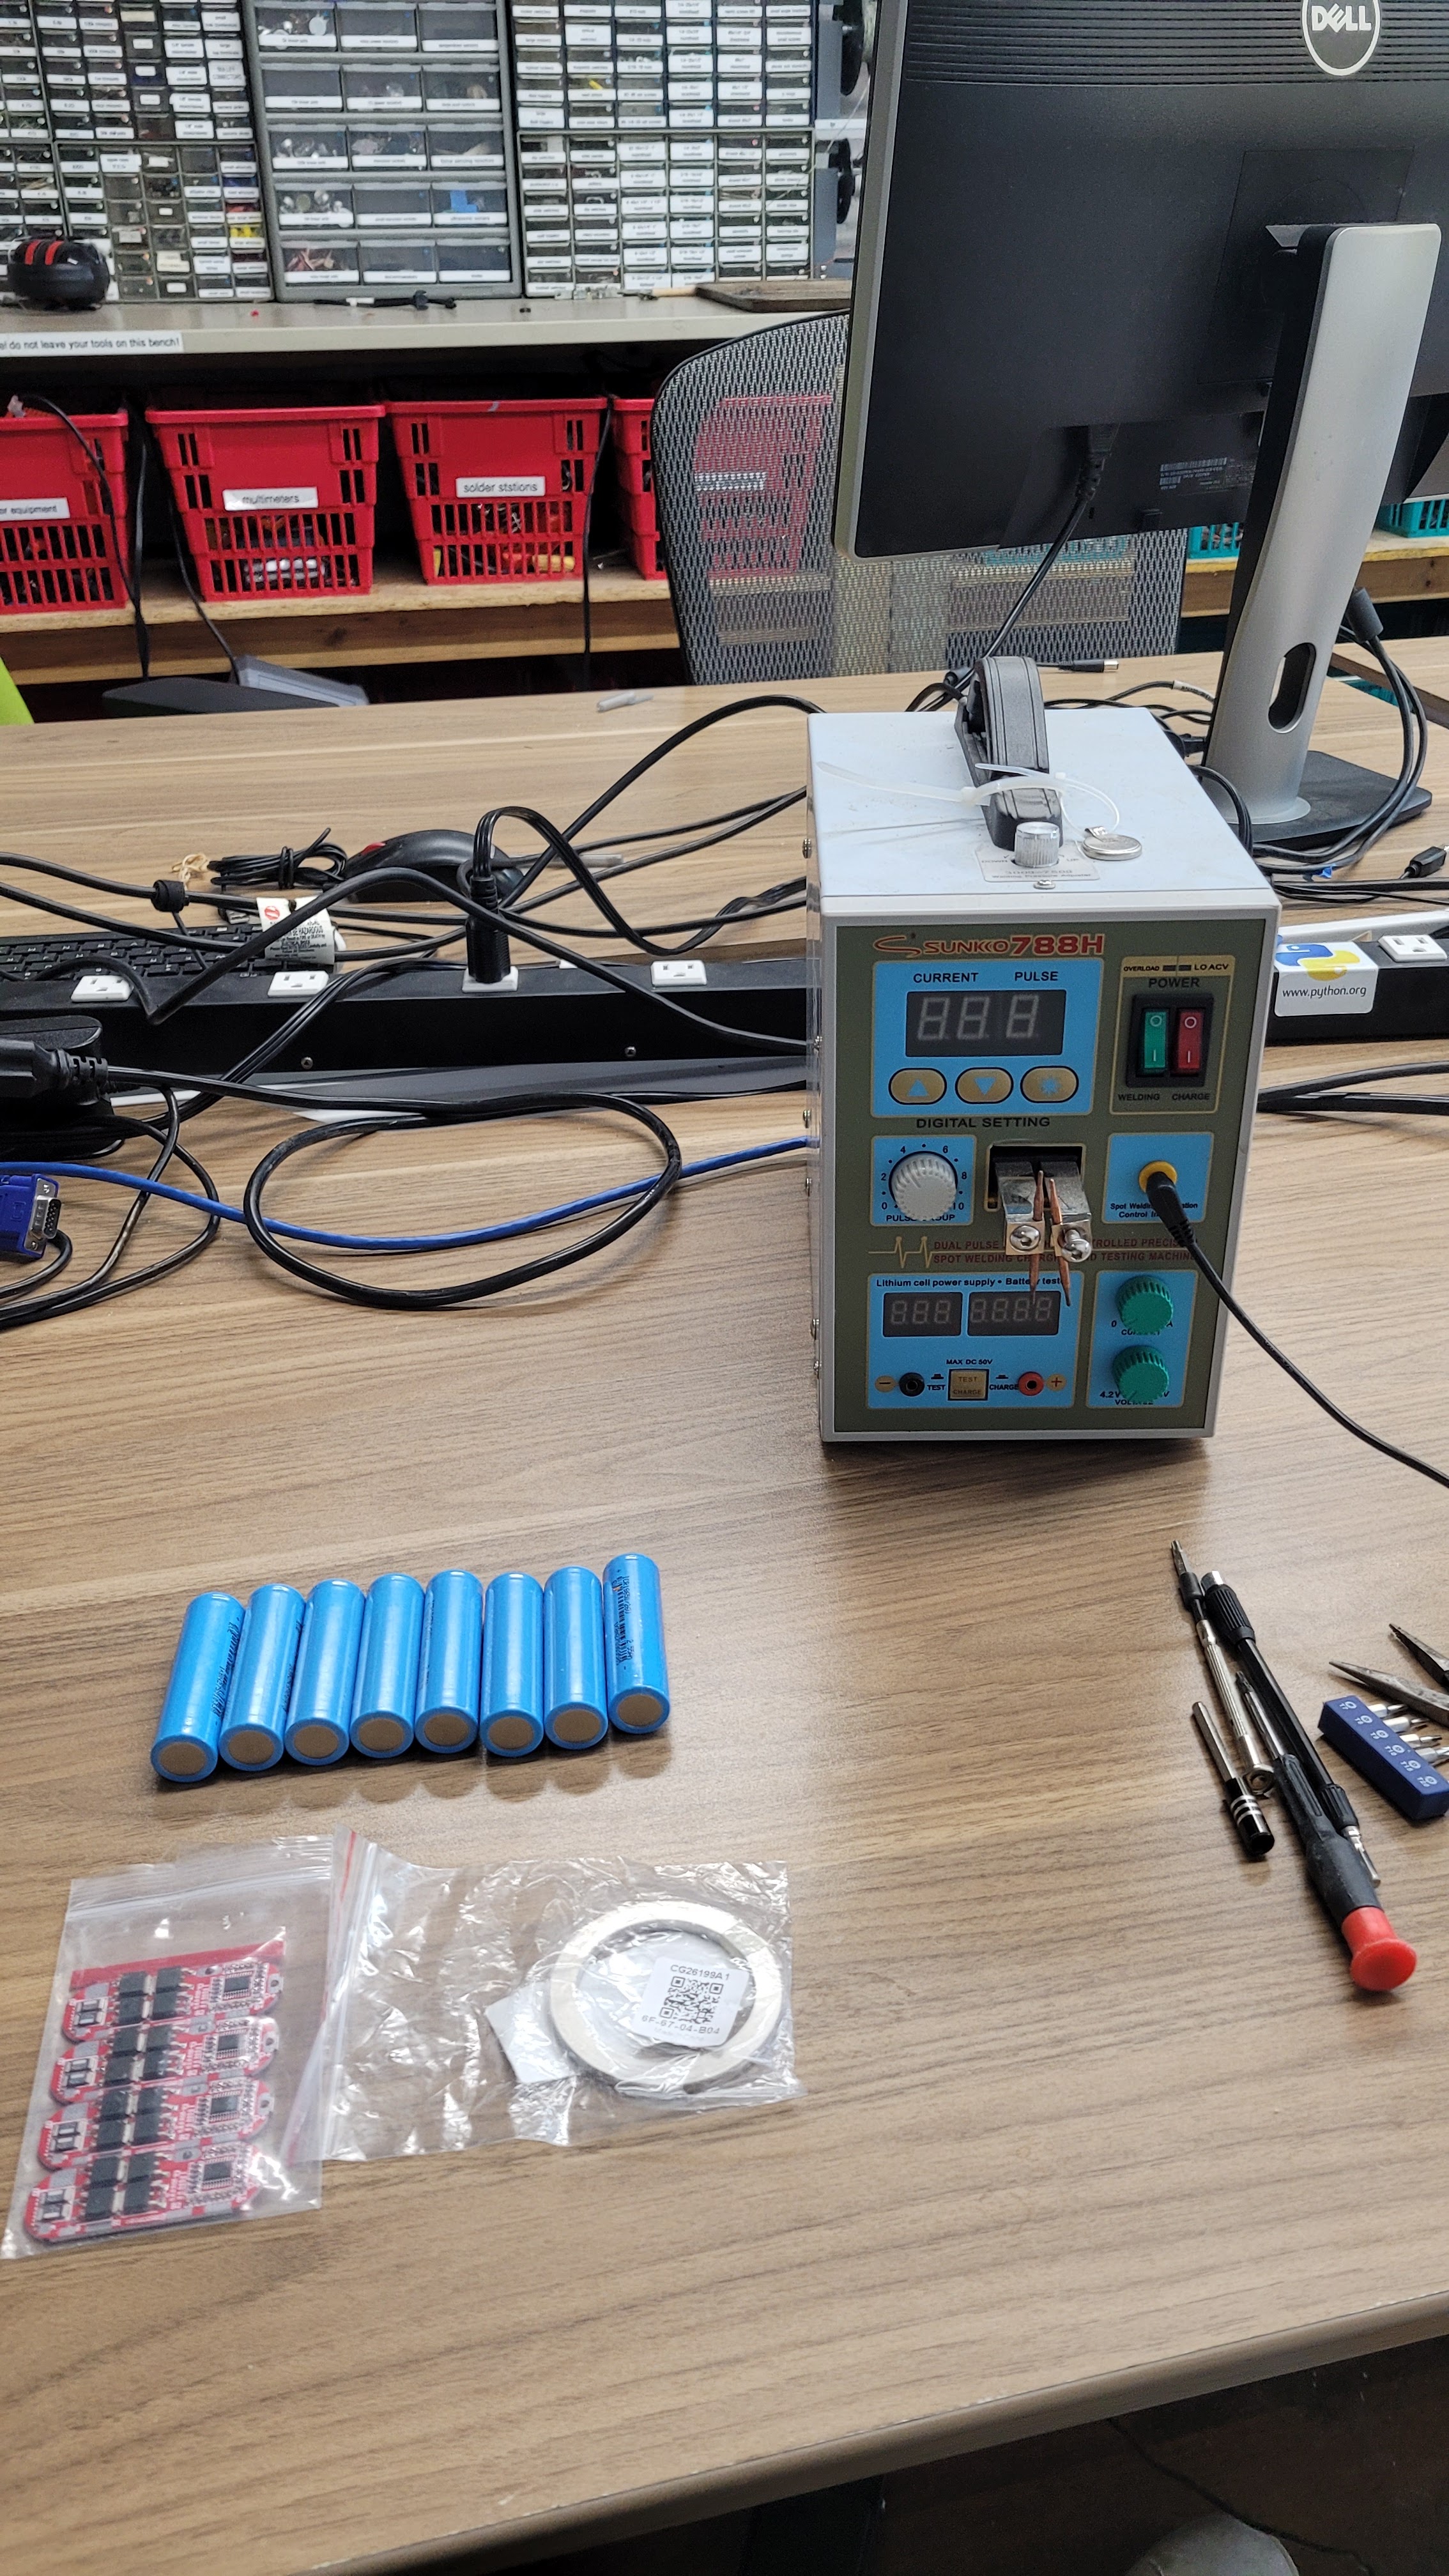
The battery pack is a 4S2P configuration, meaning I needed 8 cells. I found a good deal on 18650 cells from of all things the 18650 cell store (https://www.18650batterystore.com/collections/18650-batteries) for ~$22.

Unfortunately for me when I disassembled the existing pack I broke the current protection PCB and so had to get myself a new one. Got a pack of 5 from Amazon for $13. So overall this project cost me $25, not bad for 50% savings.

Assembly

To put together my cells I went to my local makerspace and borrowed their spot welder. First time using the machine so I messed around with the settings and my zinc strip to test it out. Few things I learned:

  1. The zinc strip I used was 4mm wide. Would have had an easier time with a wider strip so that the welder’s electrodes would have had an easier time touching down.
  2. Spot welding does not work well on the edge. Placing the electrode on the edge tends to have a bad contact and when the spark is initiated it would vaporize the zinc tape rather than a weld to the battery.
  3. I created a more reliable zinc strip to battery weld with more hits instead of stronger sparks. I figured since I’m not churning out 100000s of these units I could spend more time to put 6 welds in rather than just 4.
  4. I could not get a reliable solder tinned wire to zinc strip weld. Rather than weld the solder just vaporized in a flash of sparks.

In order to attach the cells to the battery protection circuitry I utilized some 22awg wires soldered to the zinc strip and then to the exposed pads. This was pretty easy as long as I had a hot enough iron to get a good melt on the heat wicking zinc strip. I was partially worried about heat damaging the cells, but I made sure to not prolong the soldering process and to choose a location on the zinc strip away from the battery cells themselves.
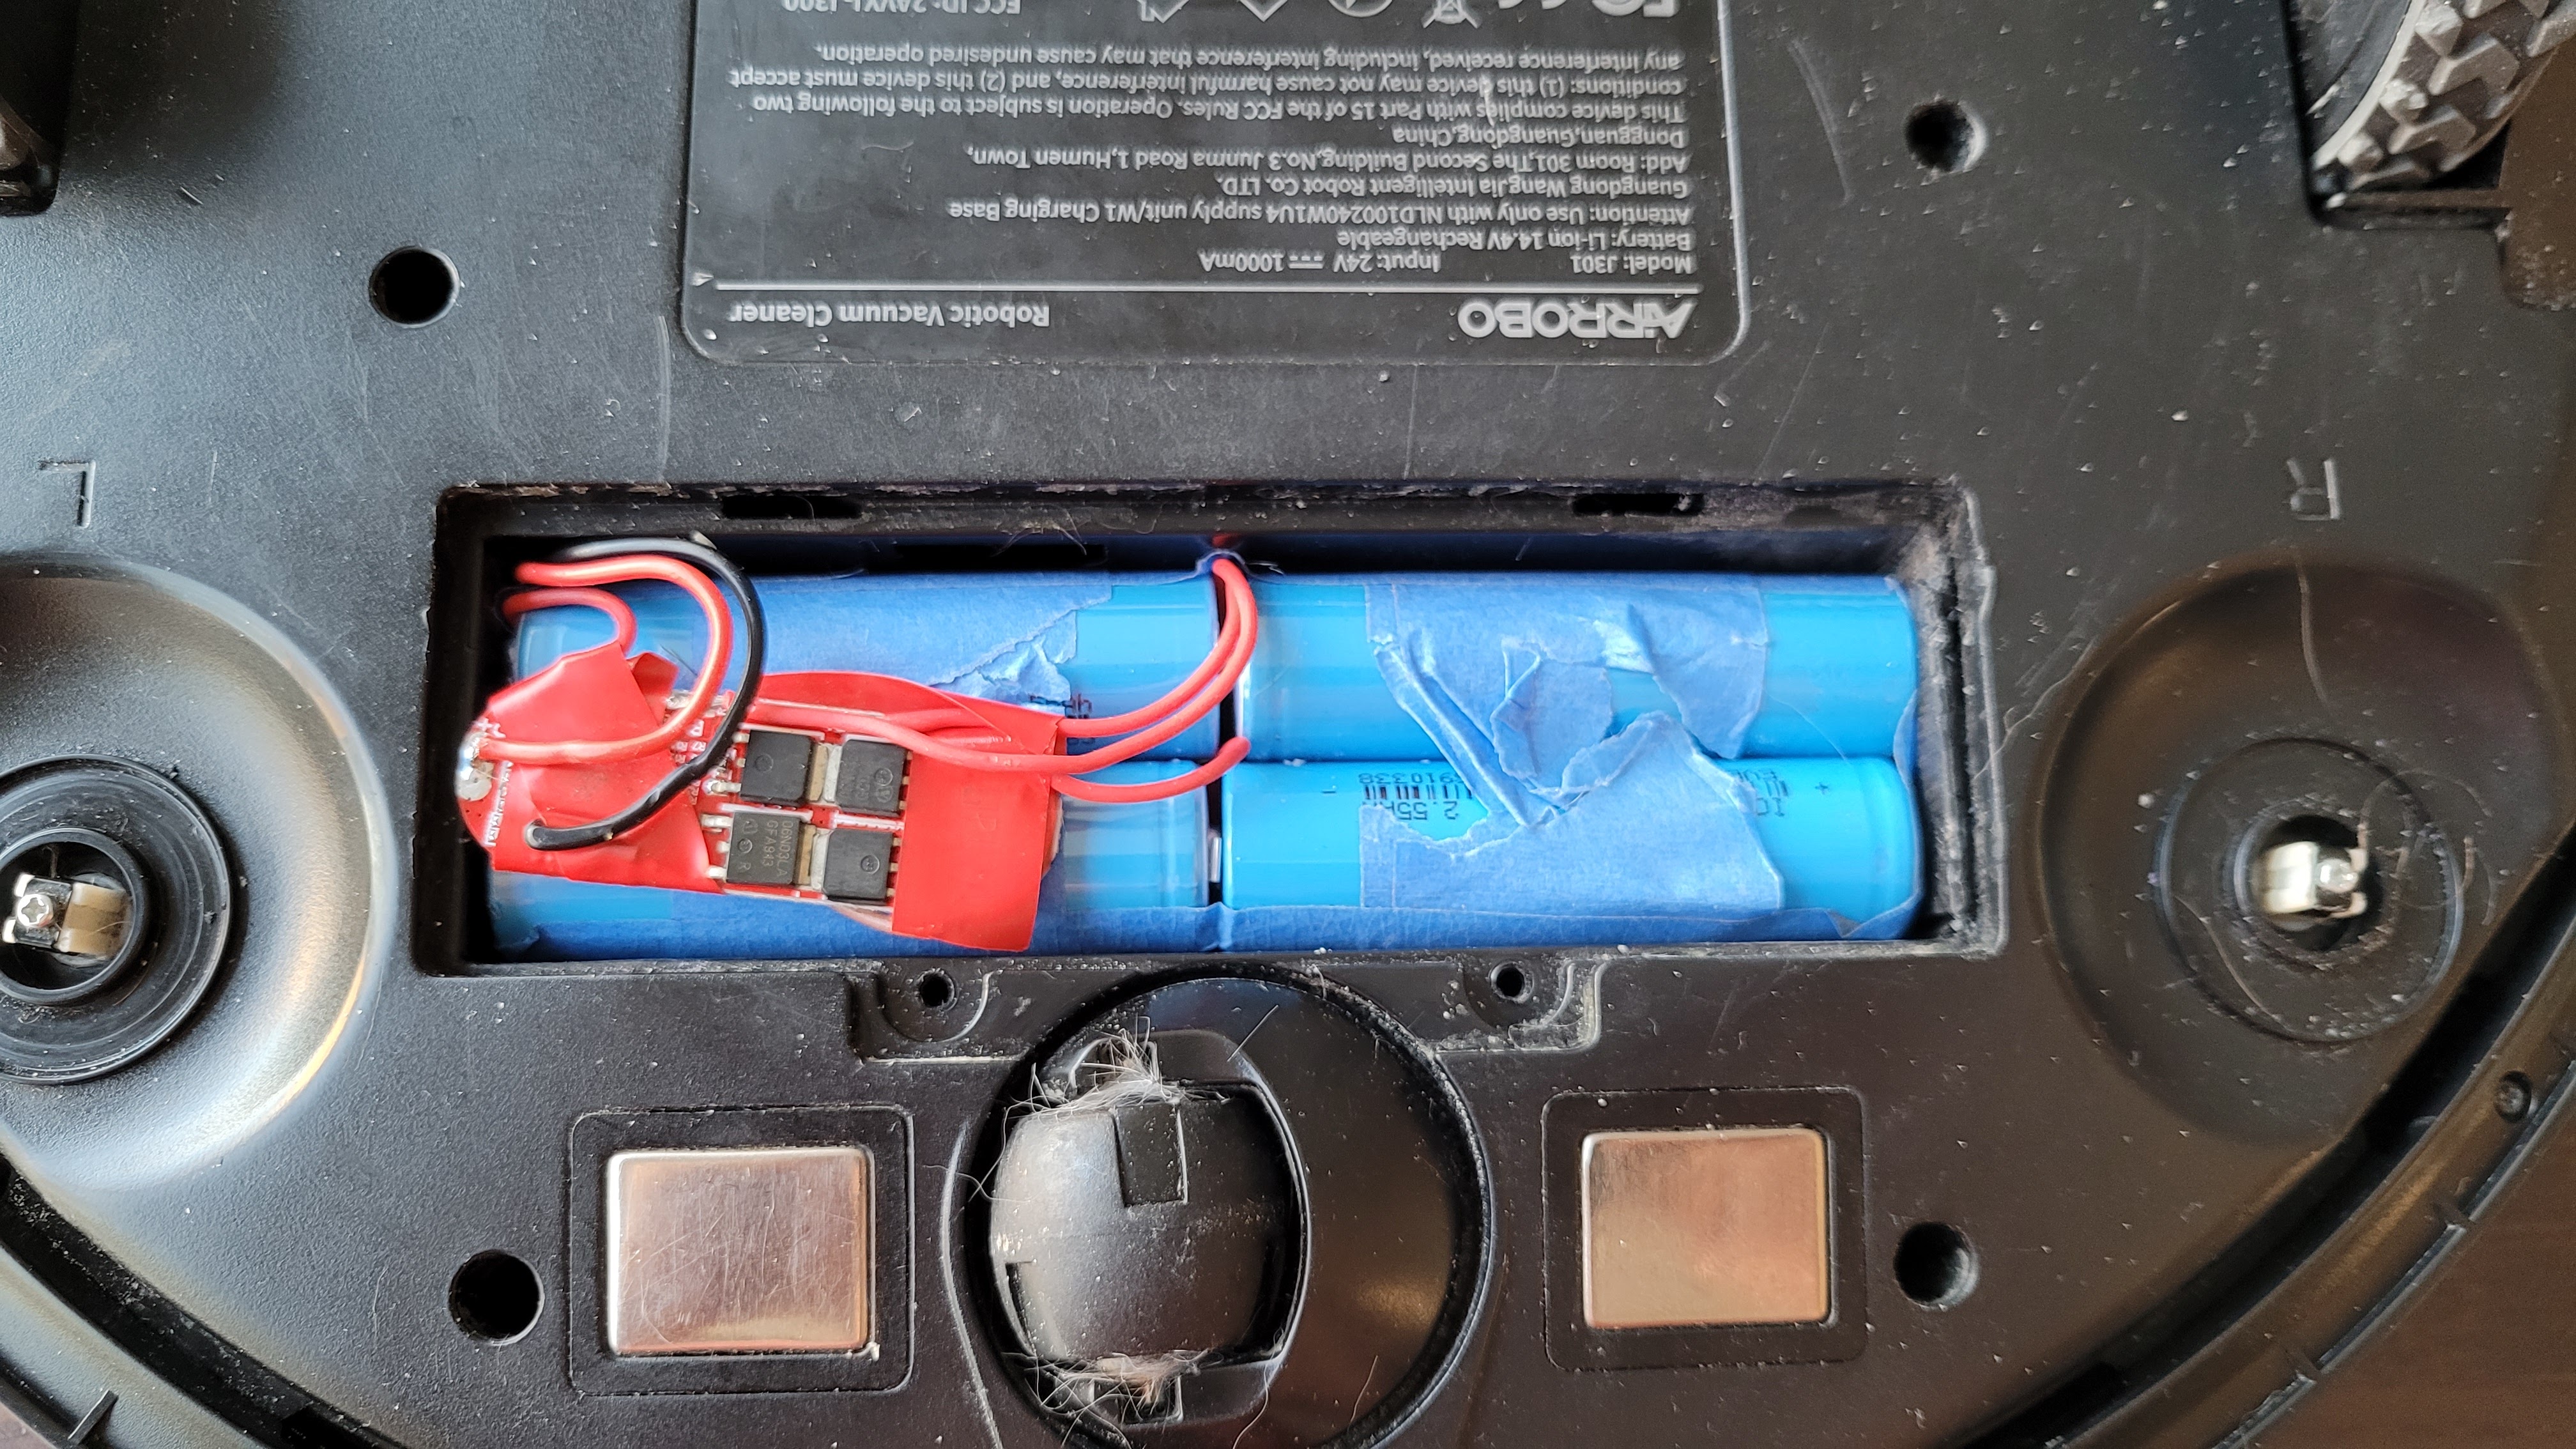
Installation

After completing the pack to a rough emulation of the original pack the next step was to install it back into Arby. I have to say I was impressed at the packing efficiency of the battery pack to battery bay, which unfortunately for me left me no wiggle room. I was probably off by less 0.5mm in length but that was sufficient to make re-installing the battery pack very difficult. To make it work I cut through one side of the battery bay plastic housing in order to allow the bay to expand as I forced the pack into its slot. This fortunately proved enough to make it work!

Electro-melt Kiln Fix

You can tell a device is engineer named when the device starts with “Electro”. But naming conventions is probably best relegated to a different post so instead will dive into my foray into trying to fix a defunct kiln.

These kilns are designed to hold standard graphite crucibles used to melt ~1kg of metal up to 2100 degrees Fahrenheit. How it accomplishes this is by wrapping a resistive coil around a ceramic mandrel which is on-off regulated by a simple SCR with PID feedback from a thermocouple. Pretty simple device.

Before I started disassembling the device I had a hunch that the resistive wire had an open. Given the fact that most metals degrade in air at 2100 degrees there’s only so much time a wire can survive. After opening the bottom lid and poking around with my multimeter I confirmed that the coil was registering a solid infinite resistance.

Taking the coil apart however proved very difficult. I’m not sure if it was the overall age of the device, the abuse it experienced housed in a community makerspace, or a deliberate assembly process, but the coil was completely immersed within a tightly packed ceramic powder. I have a feeling that this was probably a technique used to help prolong the element life by displacing the air that would have otherwise contacted the wire. It took quite a bit of screwdriver persuasion to release the element and crucible mandrel from the kiln cavity.

After removing the broken element I found another issue. A portion of the ceramic mandrel had cracked and a small pool of metal had worked its way out and fused against the element. Although not 100% detrimental to the function of the kiln, it did have the effect of removing the element from the mandrel difficult. Again nothing a little screwdriver persuasion couldn’t fix.

Wrapping the new element around the mandrel wasn’t too difficult. The most challenging aspect of it was properly threading it back into the kiln housing without it unspooling and or contacting itself to cause a short.

In the end I was able to hook things back together to give it some new life, but it probably won’t last very long given that the powder insulation couldn’t be stuffed back in. At least it’ll survive for a few more pours for a little bit of TLC until the new machine arrives at the space.

Nutribullet Gear Fix

Needed to rant so I turn to the internet. Who knew fixing a Nutribullet would be so difficult.

A bit of background – the Nutribullet I’ve been using for the past 7 years decided it had its last turn. The issue was the main gear that interfaces with the blender cup decided to grind itself to dust. This just happens over time with repeated use as the blender-cup interface is made to slip/lock. Sometimes there’s isn’t a good lock so it slowly grinds away material. Well last week it ground enough material to no longer lock into place – thus I ordered a new gear to fix the problem.

Tearing apart the blender was a simple matter, but removing the old gear from the motor shaft assembly was extremely challenging. The designers did a good job with keeping the system simple, but they really did not want you to replace parts yourself. The issue is that the tiny flat head screw that you can use to prevent rotation while twisting off the gear is so small that it easily strips/slip. Even with two people trying to wrestle the gear off was impossible. In the end I had to resort to using a lineman’s pliers coupled with a screw guide rail clamp to get enough holding torque on the tiny gear.

I think the moral of this story is that companies really should do a better job to enable everyday people the right to repair. There’s multiple reasons why this would be good for the company and the customer. For the company it shows a commitment to a lasting product and the opportunity to sell spare parts. For the customer its cheaper to repair a device than to trash and re-buy. Environmentally it saves material from entering the waste stream as well as energy needed to build a brand new device.

The design change to make this more readily repairable is simple – replace the tiny flat had screw with a hex bolt. Larger diameter = easier to hold and less likely to strip. No change to assembly time or cost.