What If? : Trans-Atlantic Superconductor

One principle tenant to avoid the worst of climate change is to electrify everything and move away from fossil fuel sources towards renewable sources. Unfortunately renewable sources are intermittent and so we need to find solutions for when the sun doesn’t shine or the wind doesn’t blow.

One way around this is to physically place these renewable sources spatially apart so that cloud coverage or doldrums over one generation point doesn’t affect the other. Local spatial distribution is great for solar in case of localized cloud coverage, but this distribution doesn’t help at night.

What would help out at night though is to place these generation stations on different sides of the planet. So lets think that out: What if we combined our grids with a cable under the Atlantic? What would it look like? And how could it be done?

Lets start with some assumptions and goals.

  1. How much power should we transfer?
  2. Which route should we take?
    • Lets follow some historical precedence and follow the routing studies for TAT-1. Lets also cheat and find the shortest distance that still counts -> Newfoundland to Ireland = ~1770NM = 3278km.
    • undefined

As a first attempt at tying things together lets consider some practical problems. First off an AC system is almost immediately ruled out given that European power systems operate at 50hz while North American power systems operate at 60hz. What this means is that there must always be some kind of converting station on either end of the transmission line. If you must have a station you might as well use that capital to make it a AC-DC conversion station too. Given a 450GW power load it’ll be quite the facility, but that’s not the problem we’re solving for right now.

Making our transmission line on DC vs AC has a lot of benefits:

  1. Better mass efficiency
    • Without the skin effect we can fully utilize the cable’s cross-sectional area.
    • Having 2 poles rather than 3 phase means less conductors in general.
  2. No reactive power – AC transmission lines have a reactive component that is compounded by length (longer cables means more capacitive loading means more loss). Being an undersea cable drastically increases the capacitive loading as well.

There’s naturally a tradeoff between AC vs DC systems. Typically AC systems win out when the distances are short (100s km) vs long (1000s km). In our case we’re pushing everything to the extreme so we easily fall within DC territory.

https://cleanenergygrid.org/wp-content/uploads/2014/08/High-Voltage-Direct-Current-Transmission.pdf

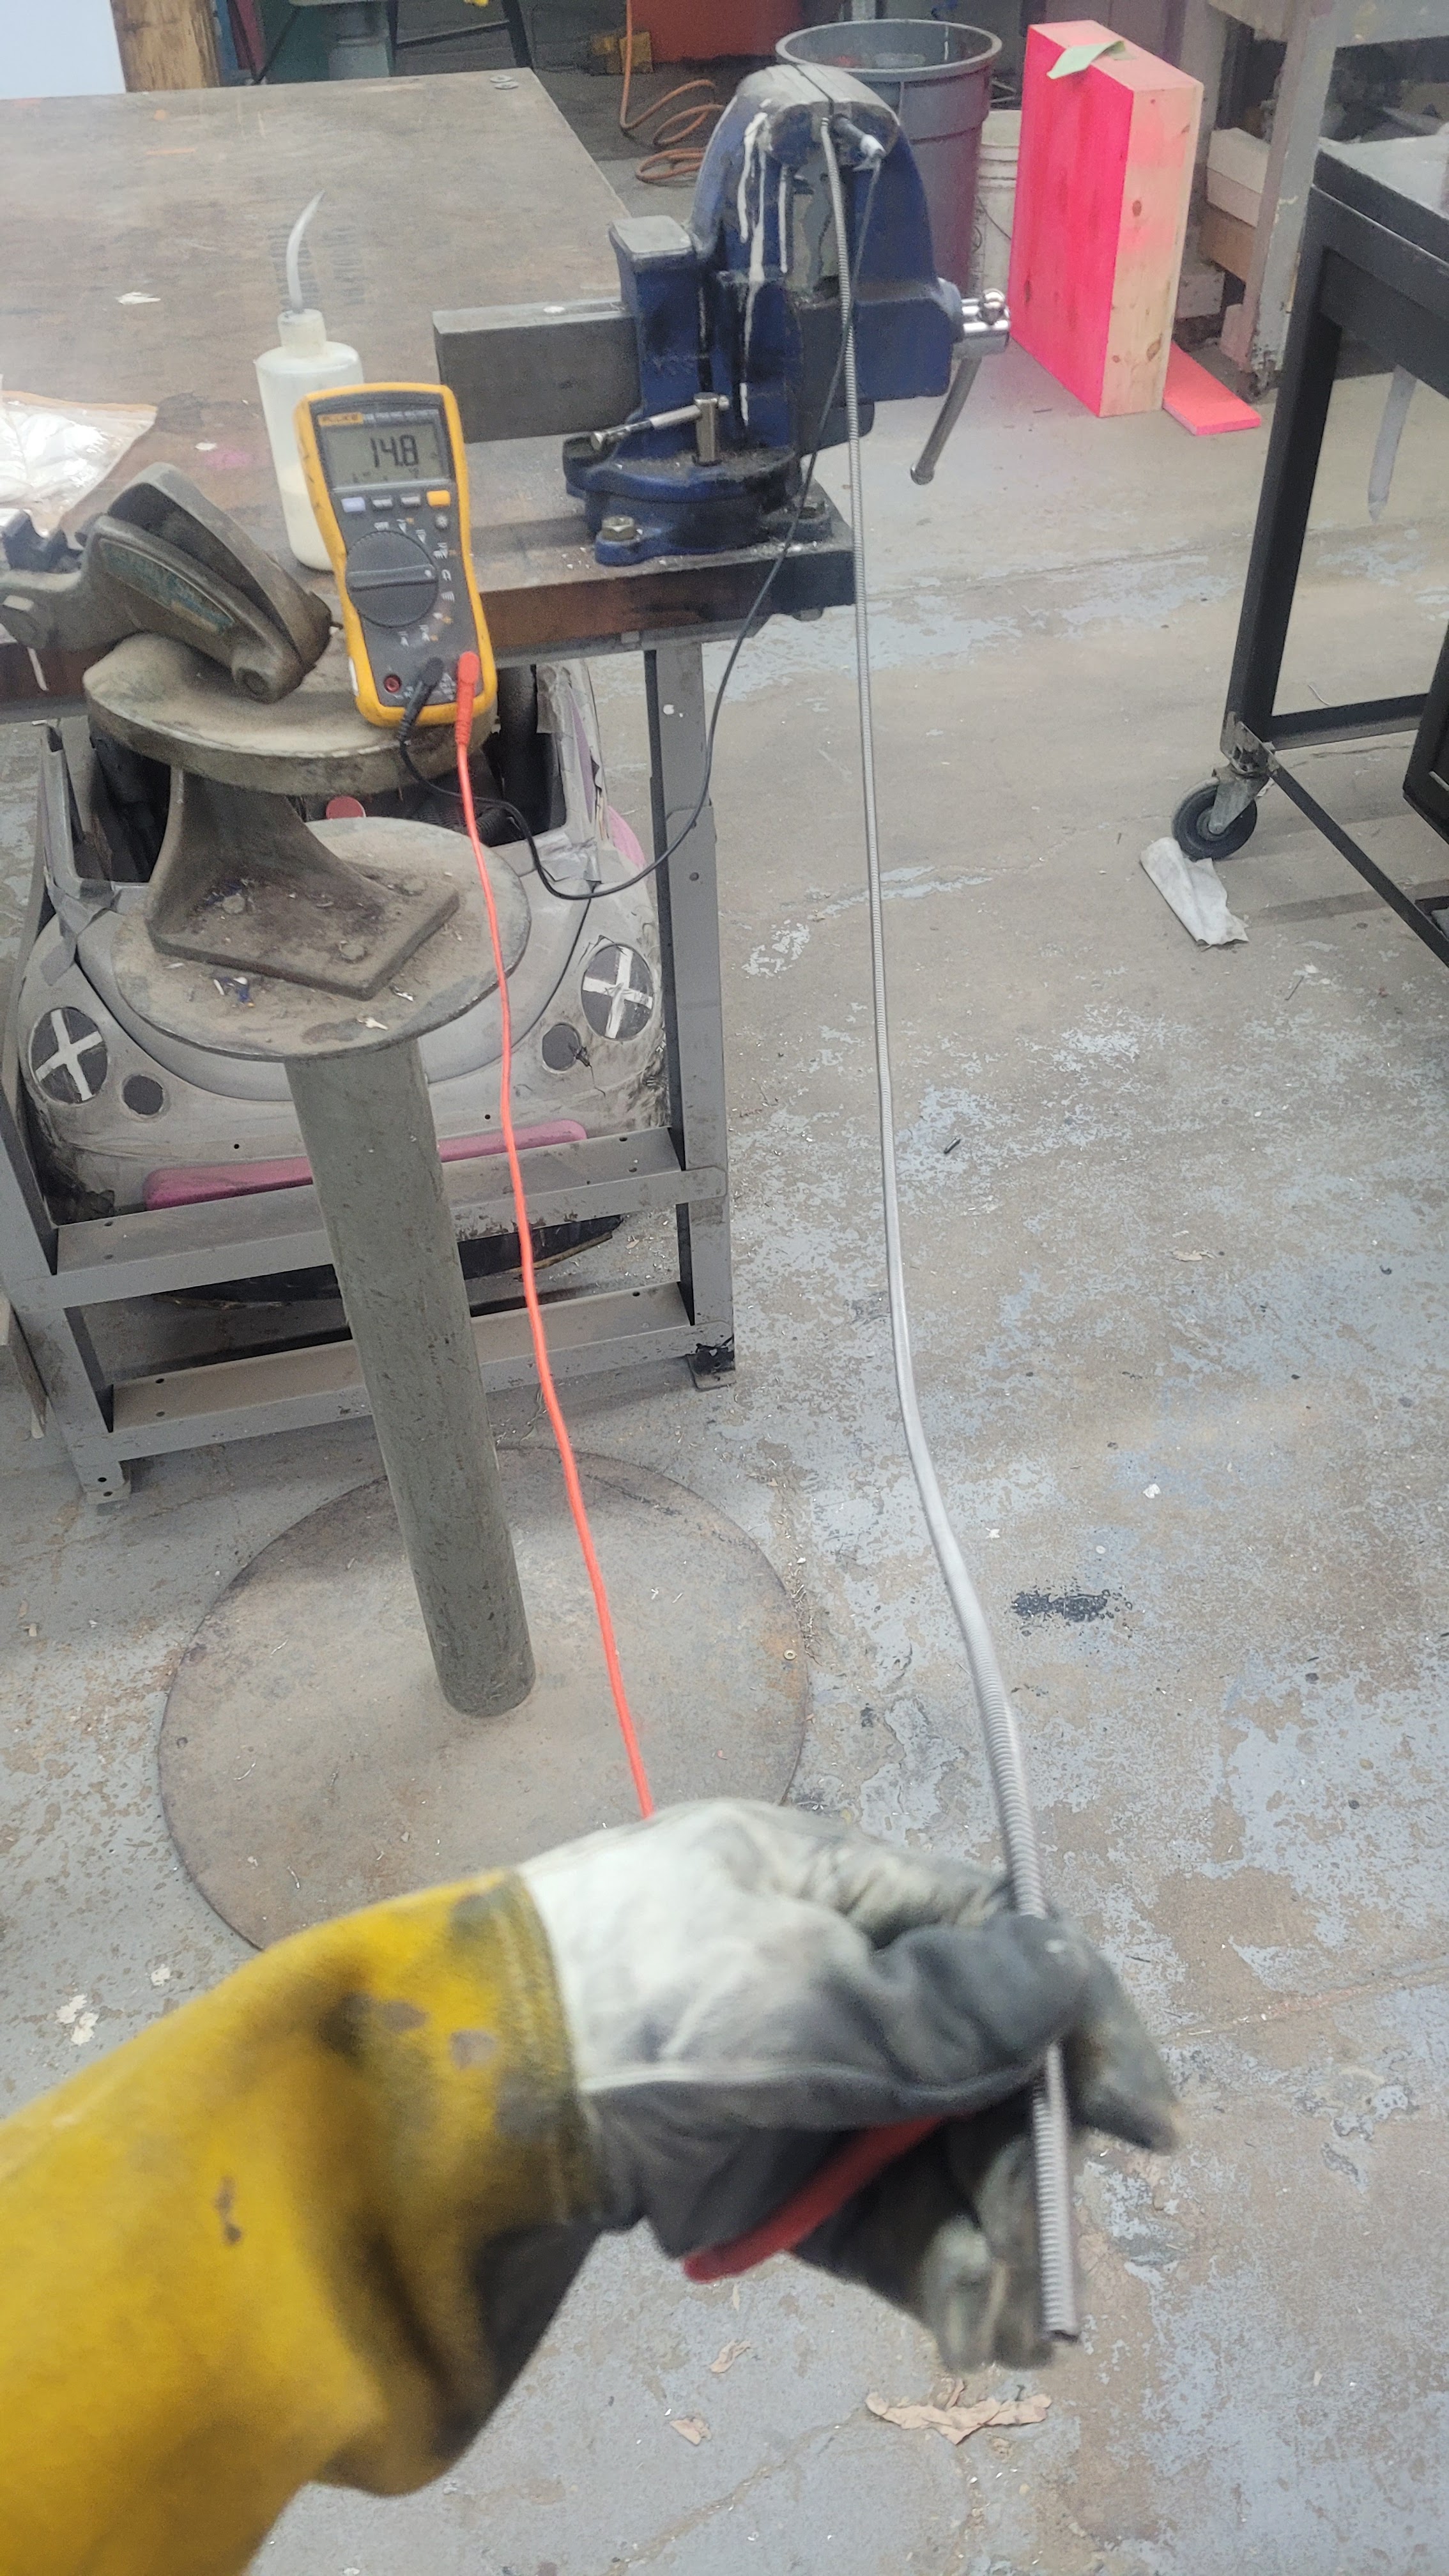
So given that we’ve got a DC system lets run some numbers. Lets assume we can use the latest and greatest HVDC cable – 600kVDC with a conductor cross section of 3000mm2 (60mm diameter). https://www.entsoe.eu/Technopedia/techsheets/hvdc-xlpe-cross-linked-polyethylene#:~:text=The%20basics%20for%20HVDC%20submarine,other%20insulated%20DC%20cable%20types.

So how do things stackup. Lets go through some scenarios:

  1. Immediately evident is that the power cable selected above has a rated power rating of only 1GW. That automatically puts us at 900 strands (2 each way)!
    • We could technically do better and just do a single strand and utilize the ocean’s conductivity as the return path. But not sure how environmentally friendly it would be to dump 450GWs let alone the corrosion problems.
    • We’re fudging the numbers a bit with this 1GW mark – the specification didn’t define a length, which I’m sure is muuch less.
  2. We could force 450GW into 2 strands- whats the power loss like?
    • With the cross-sectional area, length, and a resistivity of 1.68e-8 we get the resistance of 2 strands as 36.7ohms.
    • 450GW @ 600 kVDC –> 750kA
    • which yields an absurd power loss of 20,651GW. Clearly not worth it!
    • The issue is the 750kAs. Given that power loss is proportional to the square of the current we really want to reduce this number. Easiest way is to up the voltage, but eventually we hit a ceiling on the best dielectric strengths.
  3. Lets re-run try 2 with a higher voltage.
    • 1MV -> 7435GW loss
    • 4MV -> 465GW loss (on parity with power delivered)
    • 8MV -> 116GW loss (25% of power delivered)
    • 16MV -> 29GW loss (6.4% of power delivered).
    • Cool things trend in the right direction. But good luck finding a material reliable enough to block 16MV!

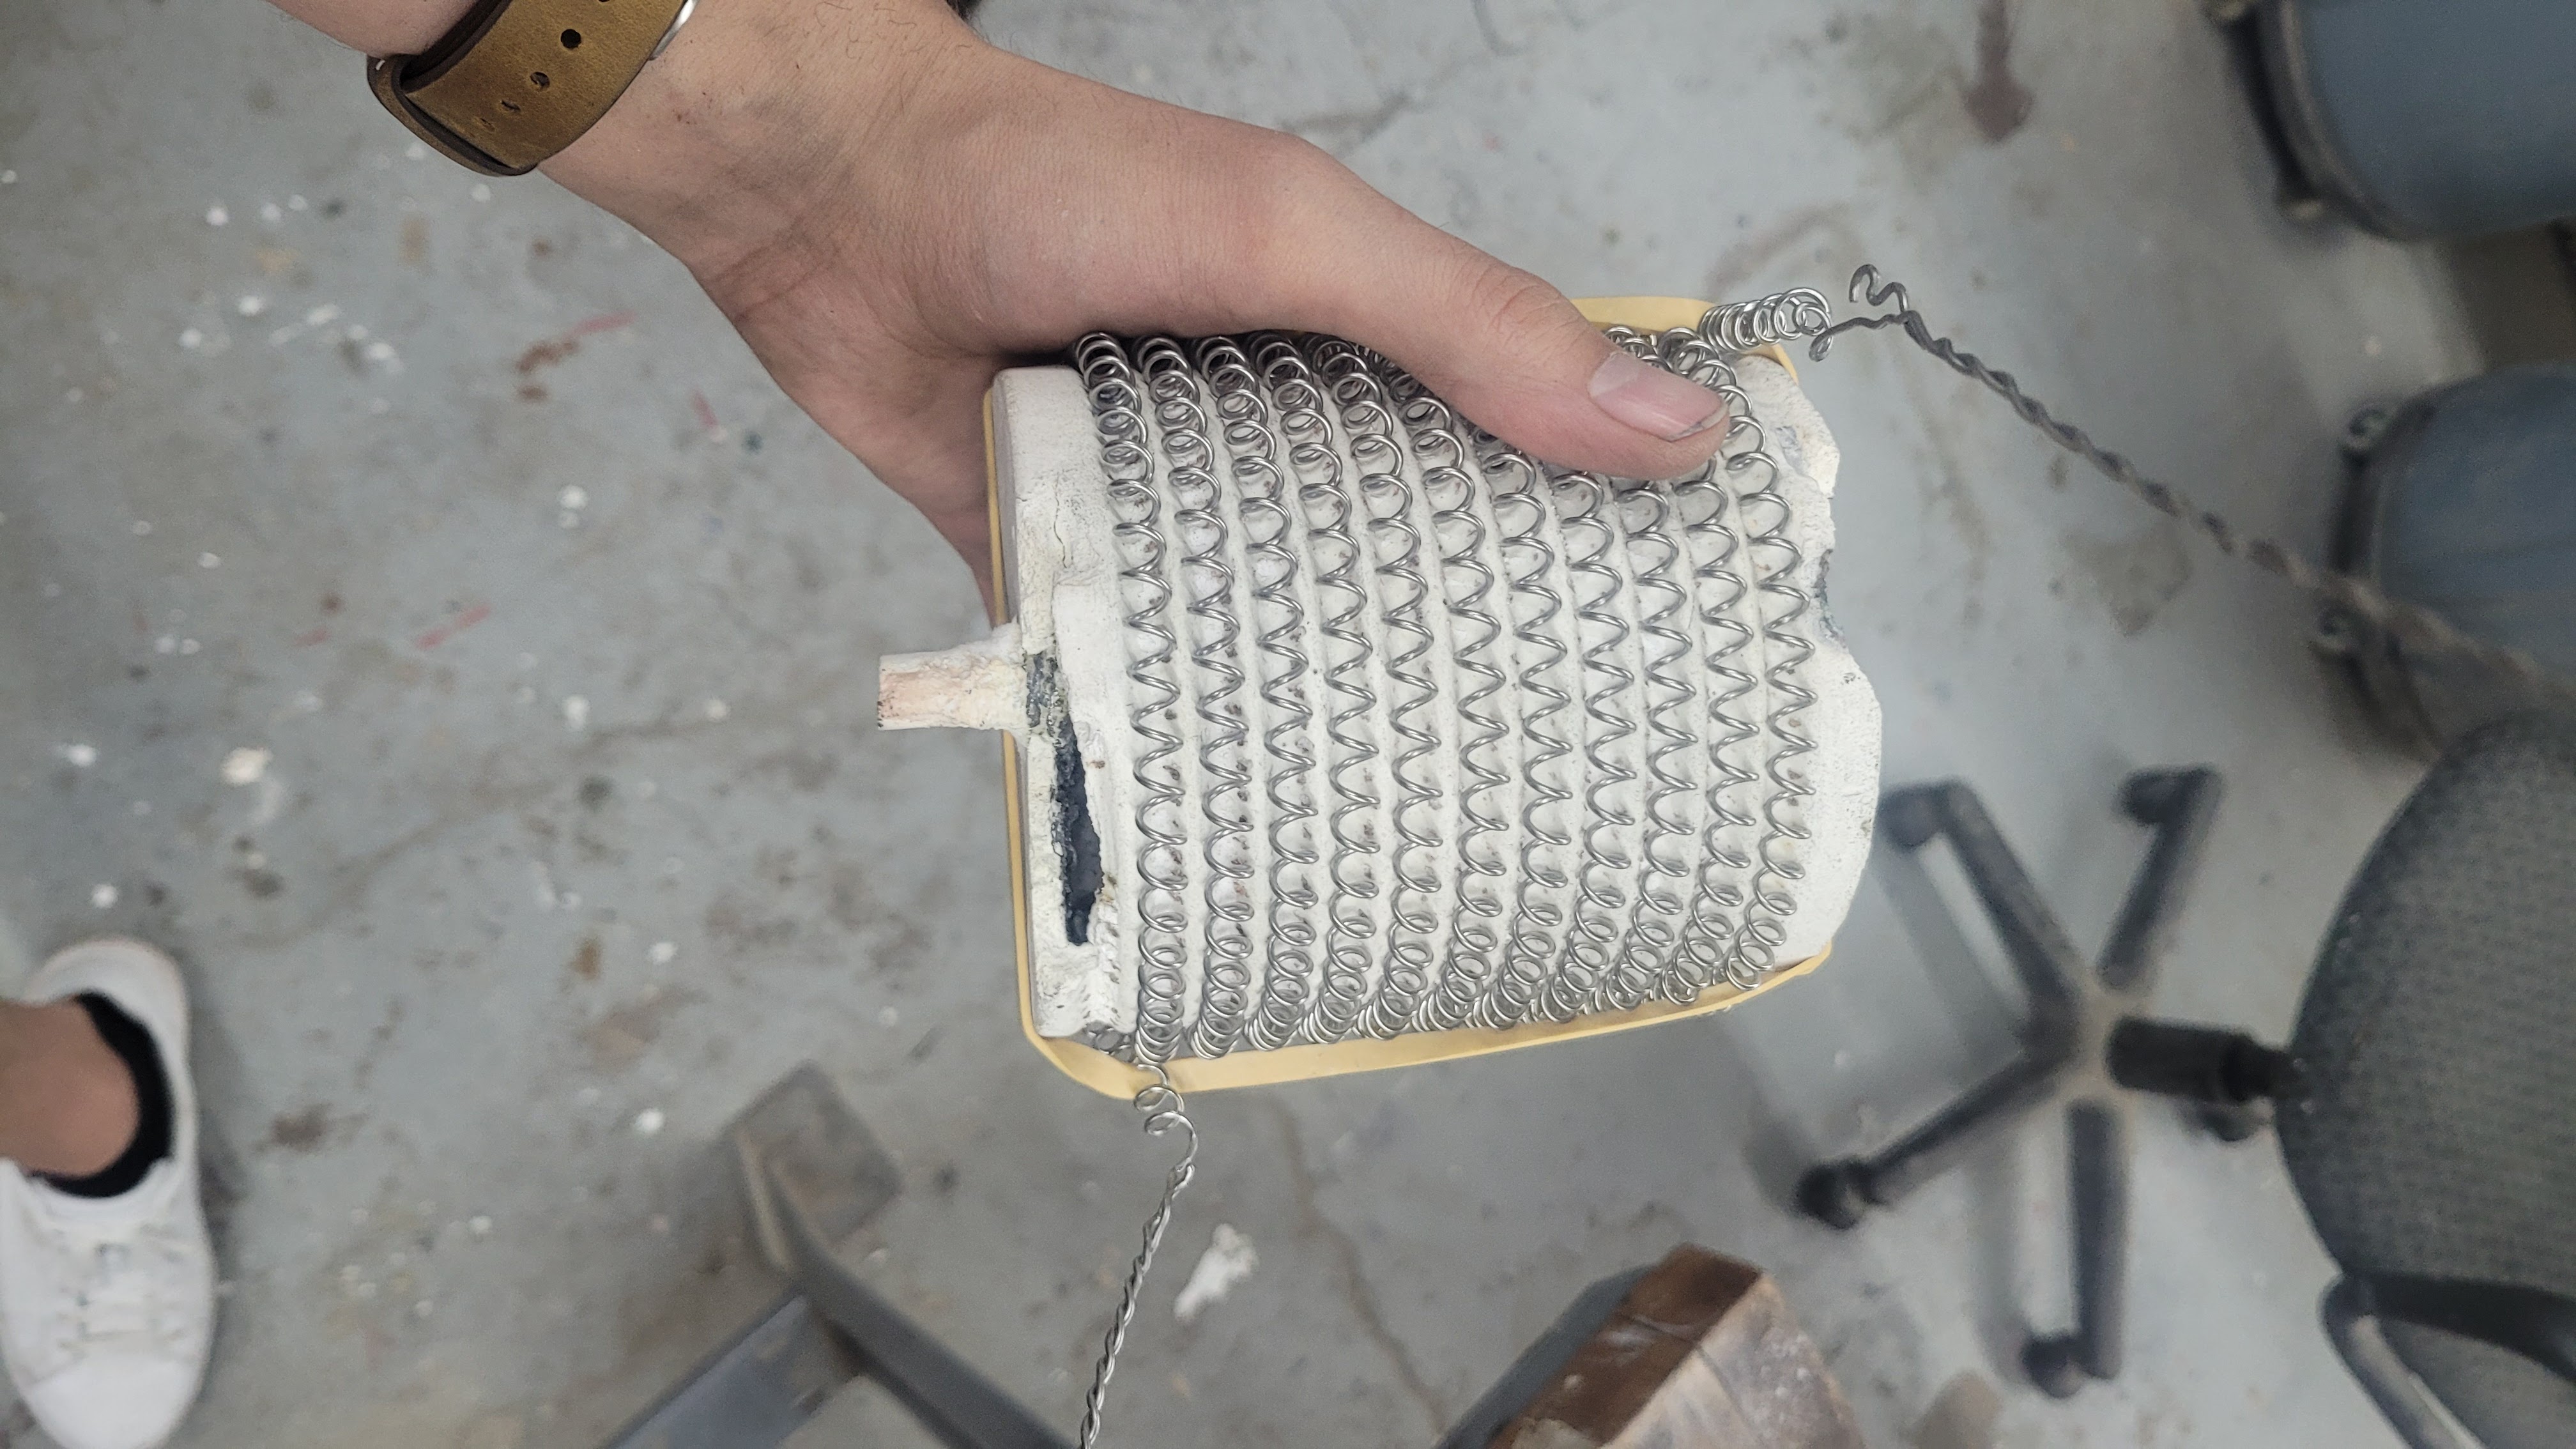
Clearly copper has its physical limits, if only we could have a cable that had no resistance… lets try using high temperature superconducting tapes (HTSTs)!

Lets start with our assumptions:

  1. We’re going to use 15MA/cm2 for our maximum current density. https://www.nature.com/articles/s41598-018-25499-1
  2. Assuming a 12mm width tape with 4.8um thick (Gd,Y)BaCuO layer.
  3. 1 & 2 yields a 8.64kA tape capacity.

With the above assumptions lets run some numbers. If we assume a 600kV system (same as current state of the art HVDC) we’ll need 174 strands of HTSTs. If we bump ourselves to 1MV we can get away with 104 strands. Lets go with 1MV which would result in a total length of 341458km of tape. That’s quite a lot, is it at all reasonable?

The SPARC reactor by CFS uses 270km of REBCO tapes per coil (https://indico.cern.ch/event/975584/contributions/4430919/attachments/2352866/4014284/TFMC_FinalPresentation_MT27_Hartwig.pdf ). Considering a single reactor utilizes 22 of these coils each reactor would consume 5950 km of high temperature tape. Meaning you could create 57.5 reactors for the quantity needed to span the Atlantic.

Is that a reasonable number? I would argue maybe. Its doable if we consider the engineering just exceptionally difficult. It far exceeds the worlds current HTS production, but that’s scaling regardless given the needs driven by fusion and other green energy development.

We haven’t even considered the cooling energy required to bring this cable down to the 4.2-20K requirement. Overall it seems like the solution could be technically feasible, but not economically or geo-politically.

AIRROBO T9 Battery Fix

I got myself a robot vacuum about 2 years ago to help me battle the dust generated by 2 fluffy cats and humans in a tiny apartment. Got to say its one of the best purchases (and deals!) I’ve ever made as I had no idea how dirty my floors were until they were swept daily.

Unfortunately I noticed that Arby (what we call our robot) began to act odd and in rather short order completely stopped working once it left the charging base. This clearly indicated that the failure was battery related.

Searching online for a replacement battery pack I was shocked at not only how expensive they were ($50+!) but also how long it would take to get here (4+ weeks). I’m not sure if its because the model I have is discontinued or if this is how it is with battery packs from China. In the end I figured my lungs would appreciate fixing my robot sooner, so that’s just what I did.

Supplies

The battery pack is a 4S2P configuration, meaning I needed 8 cells. I found a good deal on 18650 cells from of all things the 18650 cell store (https://www.18650batterystore.com/collections/18650-batteries) for ~$22.

Unfortunately for me when I disassembled the existing pack I broke the current protection PCB and so had to get myself a new one. Got a pack of 5 from Amazon for $13. So overall this project cost me $25, not bad for 50% savings.

Assembly

To put together my cells I went to my local makerspace and borrowed their spot welder. First time using the machine so I messed around with the settings and my zinc strip to test it out. Few things I learned:

  1. The zinc strip I used was 4mm wide. Would have had an easier time with a wider strip so that the welder’s electrodes would have had an easier time touching down.
  2. Spot welding does not work well on the edge. Placing the electrode on the edge tends to have a bad contact and when the spark is initiated it would vaporize the zinc tape rather than a weld to the battery.
  3. I created a more reliable zinc strip to battery weld with more hits instead of stronger sparks. I figured since I’m not churning out 100000s of these units I could spend more time to put 6 welds in rather than just 4.
  4. I could not get a reliable solder tinned wire to zinc strip weld. Rather than weld the solder just vaporized in a flash of sparks.

In order to attach the cells to the battery protection circuitry I utilized some 22awg wires soldered to the zinc strip and then to the exposed pads. This was pretty easy as long as I had a hot enough iron to get a good melt on the heat wicking zinc strip. I was partially worried about heat damaging the cells, but I made sure to not prolong the soldering process and to choose a location on the zinc strip away from the battery cells themselves.

Installation

After completing the pack to a rough emulation of the original pack the next step was to install it back into Arby. I have to say I was impressed at the packing efficiency of the battery pack to battery bay, which unfortunately for me left me no wiggle room. I was probably off by less 0.5mm in length but that was sufficient to make re-installing the battery pack very difficult. To make it work I cut through one side of the battery bay plastic housing in order to allow the bay to expand as I forced the pack into its slot. This fortunately proved enough to make it work!

Electro-melt Kiln Fix

You can tell a device is engineer named when the device starts with “Electro”. But naming conventions is probably best relegated to a different post so instead will dive into my foray into trying to fix a defunct kiln.

These kilns are designed to hold standard graphite crucibles used to melt ~1kg of metal up to 2100 degrees Fahrenheit. How it accomplishes this is by wrapping a resistive coil around a ceramic mandrel which is on-off regulated by a simple SCR with PID feedback from a thermocouple. Pretty simple device.

Before I started disassembling the device I had a hunch that the resistive wire had an open. Given the fact that most metals degrade in air at 2100 degrees there’s only so much time a wire can survive. After opening the bottom lid and poking around with my multimeter I confirmed that the coil was registering a solid infinite resistance.

Taking the coil apart however proved very difficult. I’m not sure if it was the overall age of the device, the abuse it experienced housed in a community makerspace, or a deliberate assembly process, but the coil was completely immersed within a tightly packed ceramic powder. I have a feeling that this was probably a technique used to help prolong the element life by displacing the air that would have otherwise contacted the wire. It took quite a bit of screwdriver persuasion to release the element and crucible mandrel from the kiln cavity.

After removing the broken element I found another issue. A portion of the ceramic mandrel had cracked and a small pool of metal had worked its way out and fused against the element. Although not 100% detrimental to the function of the kiln, it did have the effect of removing the element from the mandrel difficult. Again nothing a little screwdriver persuasion couldn’t fix.

Wrapping the new element around the mandrel wasn’t too difficult. The most challenging aspect of it was properly threading it back into the kiln housing without it unspooling and or contacting itself to cause a short.

In the end I was able to hook things back together to give it some new life, but it probably won’t last very long given that the powder insulation couldn’t be stuffed back in. At least it’ll survive for a few more pours for a little bit of TLC until the new machine arrives at the space.

Nutribullet Gear Fix

Needed to rant so I turn to the internet. Who knew fixing a Nutribullet would be so difficult.

A bit of background – the Nutribullet I’ve been using for the past 7 years decided it had its last turn. The issue was the main gear that interfaces with the blender cup decided to grind itself to dust. This just happens over time with repeated use as the blender-cup interface is made to slip/lock. Sometimes there’s isn’t a good lock so it slowly grinds away material. Well last week it ground enough material to no longer lock into place – thus I ordered a new gear to fix the problem.

Tearing apart the blender was a simple matter, but removing the old gear from the motor shaft assembly was extremely challenging. The designers did a good job with keeping the system simple, but they really did not want you to replace parts yourself. The issue is that the tiny flat head screw that you can use to prevent rotation while twisting off the gear is so small that it easily strips/slip. Even with two people trying to wrestle the gear off was impossible. In the end I had to resort to using a lineman’s pliers coupled with a screw guide rail clamp to get enough holding torque on the tiny gear.

I think the moral of this story is that companies really should do a better job to enable everyday people the right to repair. There’s multiple reasons why this would be good for the company and the customer. For the company it shows a commitment to a lasting product and the opportunity to sell spare parts. For the customer its cheaper to repair a device than to trash and re-buy. Environmentally it saves material from entering the waste stream as well as energy needed to build a brand new device.

The design change to make this more readily repairable is simple – replace the tiny flat had screw with a hex bolt. Larger diameter = easier to hold and less likely to strip. No change to assembly time or cost.

EFNMR: I2S troubleshooting

With the board assembled and the filter issues figured out the next step is to figure out the digitization process. For this we’re using a PCM186X family of audio analog converters which relies on utilizing the I2S protocol. In addition to the PCM186X device I’ve also got a SI5351a frequency generator in order to have fine control of our sampling rate. Overall the connectivity is shown below.

One important thing to note is that we are utilizing the PCM186X in master mode whereas the Raspberry Pi Zero I2S is in slave mode. This allows us to use a more accurate clock source than what is available on the pi.

Setup

I used to be more of a bare-metal microcontroller guy, but I’m starting to really enjoy the flexibility of utilizing a single board computer running linux. The greatest thing about it is that remotely managing my devices is verrrrry easy! I can sit on my couch while my pi and scope sit on the bench in the other room. Some of the tools that I employ include PuTTY, WinSCP, and my scopes over-the-network control functionality.

SI5351a

The SI535a is a very easy to use frequency generator and is basically a 25 or 27 MHz crystal with a PLL and fractional divider. I started with using the adafruit si5351a library however modified it so that I could specify a 27MHz crystal rather than the 25MHz crystal.

Using my scope I could verify the frame frequency which is equivalent to the sample rate.

I2S

Initially I was hoping to utilize the basic configuration for i2s sound input but I’ve run into a few snags that I’m still trying to troubleshoot. It seems like the default method to record is to configure the I2S port on the Pi as master mode, which conflicts with the PCM1861 trying to drive the signals. In the end I get very odd waveforms which manifests itself as a low voltage threshold of 2V. Troubleshooting is ongoing.

EFNMR Assembly

  1. Assembly
  2. Power Testing
  3. Front End Testing
    1. Root Causing

Assembly

Last week assembly of the power supply stages went without a hitch so this week was spent assembling the remainder of the components. This included the front end module, ADC, and clock generator. Below is a few pictures of the final product.


Power Testing

After assembling the board the next step is powering. Always a nerve wracking experience as you never want to hear/see/smell any of the magic smoke escaping. Another layer to my nerves came from the fact that I knew I was pushing my power supply stage near the edge of its performance given the current requirements I had calculated. Fortunately I was conservative in my calculations and the output currents of the amplifier stages is much less than what I had aliquoted.

Final power draw was 150mA @ 5V meaning 750mW. Somewhat higher than I anticipated. Could probably drop this by raising the 2nd stage LDOs closer to the dropout voltage and dissipate less of the headroom.


Front End Testing

Next step was to test out the analog signal change. Jumping the gun a bit I immediately hooked up signal coil. Because if it works right away why go through the baby steps? And the results are in!

Unfortunately it wasn’t the smashing success that I was hoping for. From the scope measurements it was clear that the 2nd stage 8th order Chebyshev Filter was not doing its job. Measuring at the output of each of the 4 amplifier stage showed very bizarre behavior. Stages 1 and 4 were properly amplifying. Stages 2 and 3 were oddly attenuating the signal.

Root Causing

Sleuthing for the root cause lead me try a variety of things:

  1. Assembly Issue
    • Simple idea. make sure all the components are properly assembled. The close clustering of the components means silk was a luxury.
      • Probed all the resistors.
      • Checked orientation of AD8467 amplifier.
      • Checked placement of all caps. Can’t probe the caps, but did double check they looked correct.
  2. Component Issue
    • The original amplifier I was going to use was the ADA4004. However due to the supply chain crisis of Covid-19 I couldn’t get my hands on them so I substituted it with the AD8674 amp. Double checked my assumptions.
      • Checked pinout.
      • Checked amp bandwidth.
      • Checked power supply voltage range.
  3. Power Supply Instability
    • Maybe the power supplies were unstable and we were operating too close to the edge?
      • Probe amplifier power rails. No obvious oscillations detectable in the noise floor of my amp (~20mV)
      • Detach ferrite bead and feed in bench supply. No change in behavior.
  4. ESD issues on amplifier
    • Hey its an expensive amplifier – probably hates lightning bolts. Swap out component – No change in behavior.
  5. Isolate stage 2 amplifier
    • Rather than test out the whole 8th order filter. Isolate stage 2 and see what’s wrong.
      • This test was done in conjunction with the isolated power supply. Here I fed in my function generator and probed the output.
      • Interesting bit of information – The center frequency was ~ 20kHz!! This is a clear indicator as a shift of the center frequency by a decade means there’s a component problem!

In addition to the above I also re-created the filter in LTSpice at step 2. Maybe the behavior was inherent? Below is an image of the response of the filter. My initial simulations were utilizing the ADA4004 so I replaced the model with the AD8674.

With the model and the information that the center frequency was shifted by a decade I experimented with what could cause this. An off by a decade is suspicious of a component order of magnitude error. And naturally when I put in 8.2nF rather than 82nF for stage 2 I found the culprit. I HAD ORDERED THE WRONG CAPACITORS. What a frustratingly simple problem, but glad it wasn’t something more systemic. New caps should arrive sometime this week.